Guide to Decoupage For Beginners With 3 Easy Tutorials
Decoupage is one of the most versatile crafts you can do. You can transform household furniture, coasters, candles, signs… You name it. And with decoupage paper as affordable as napkins, it’s budget-friendly too.
The best way to learn a new technique is to have a go and try it.
Just imagine the amazing projects you could create with old maps, magazine clippings or a sentimental newspaper article.
This post includes gifted products and affiliate links so you can easily find the products I use myself and recommend to friends. If you purchase these products, I may earn a small commission at no extra cost to you.
Decoupage is simple and accessible for everyone. But that doesn’t mean you can’t make mistakes. But fortunately for you, I’ve made mistakes before so you don’t have to!
Here are three easy tutorials, perfect for beginners looking to get creative.
As soon as a craft has time pressure like glue drying. Or a frustration factor like getting sticky, it can take the fun out of creating. So follow these techniques and your decoupage projects are on the way to success.
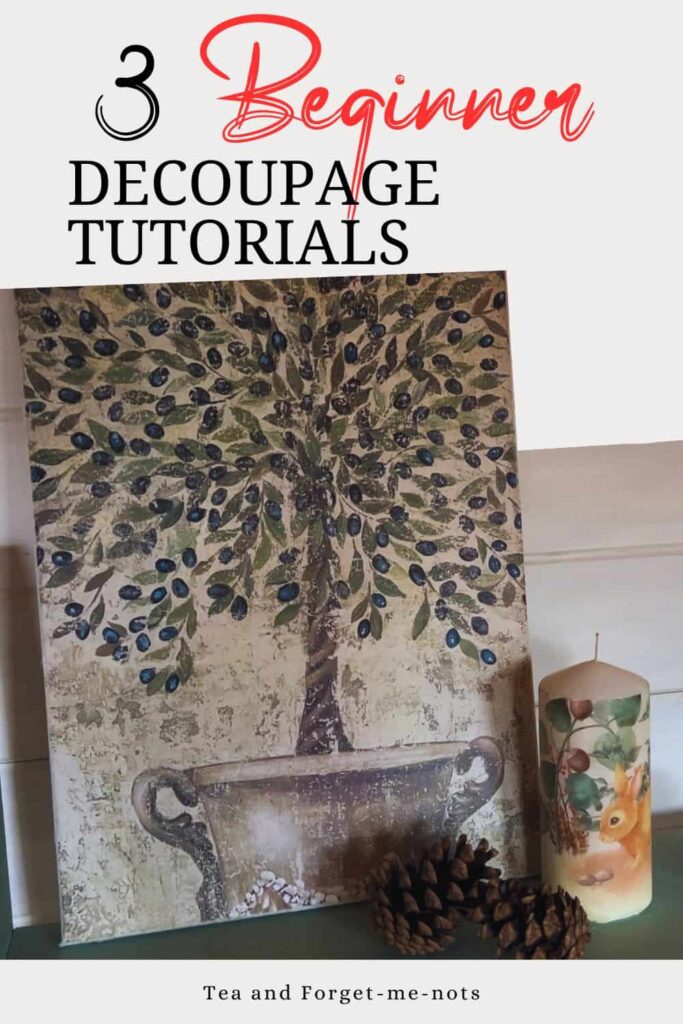
These three tutorials explain how to create decoupage art on canvas, scrap MDF board and a candle — using both thin rice paper and thicker poster paper.
And the supply that will make your beginner decoupage life so much easier, you probably already have in your home. Cling film or plastic wrap, is the secret to great decoupage.
If you want to watch these easy steps to decoupage in just 10 minutes, check out the video!
How to Decoupage for Beginners Step by Step
Materials Needed
Step by Step Instructions
Step 1: Materials for Decoupaging on Canvas
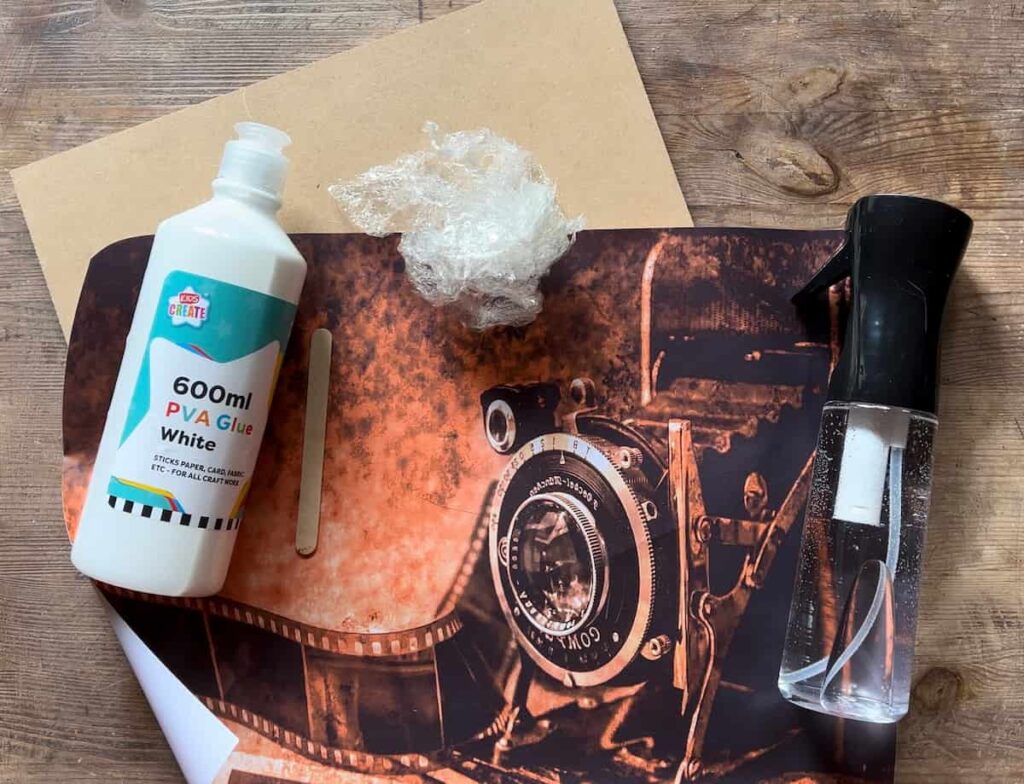
To get started, you need a few basic materials: a surface to decoupage, decoupage paper, a transfer medium like glue, scissors, and a brush.

While transfer medium sounds fancy, it just means how you attach the paper to the surface. And depending on the paper you use, this will be different.
The glue you need to attach a thick poster paper is not the same as for paper napkins or tissue paper.
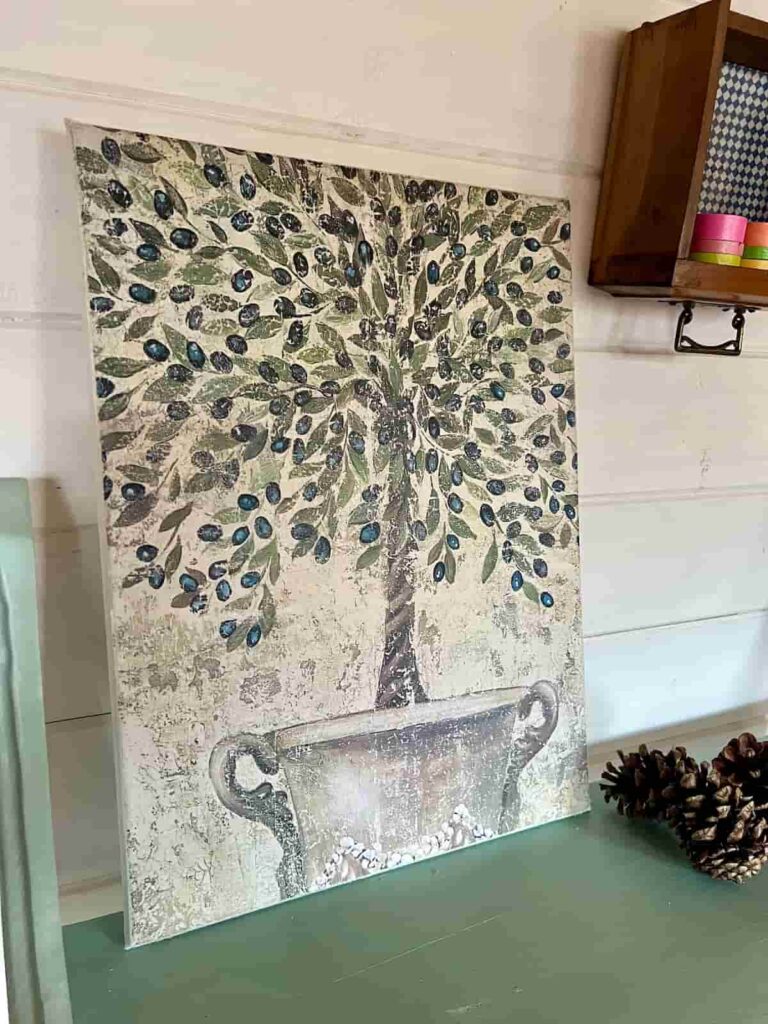
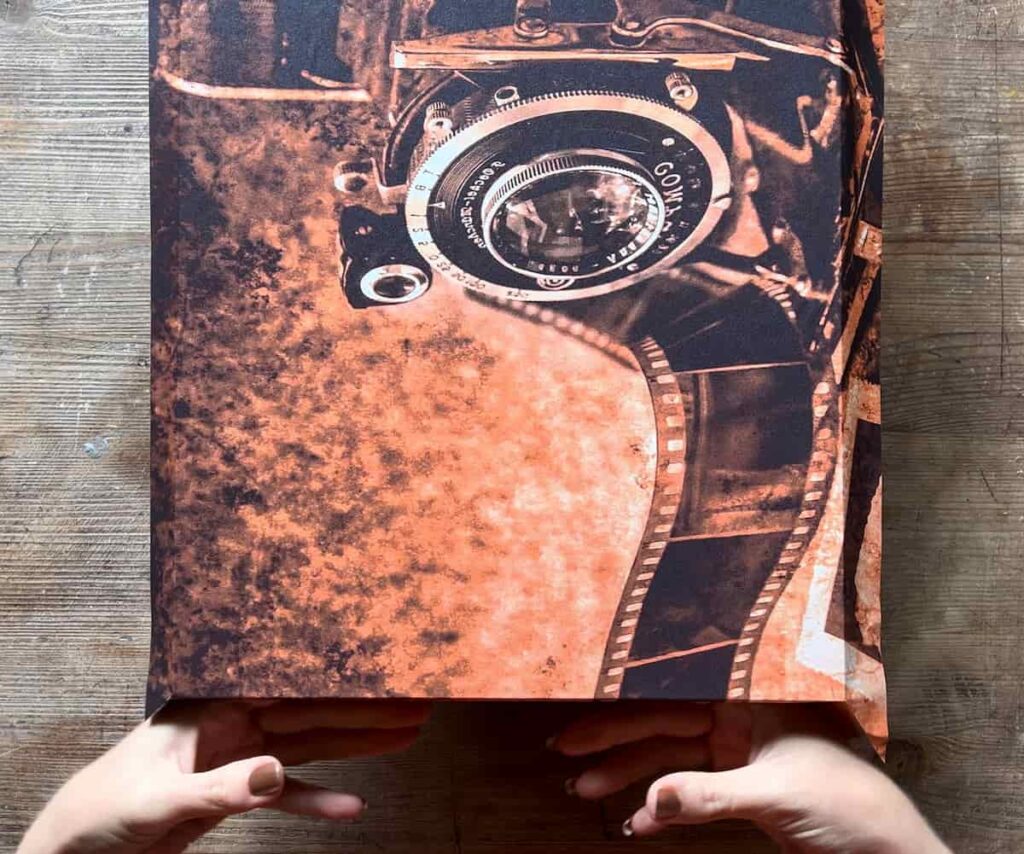
This first tutorial is about how to apply rice paper to a blank canvas. If you don’t have a blank canvas then this is a great way to prep the canvas first.
Step 2: Prep the Paper
If you have a decoupage paper much larger than the surface you’re applying it to, the first step is to cut the paper to size. This makes it less fiddly to work with.
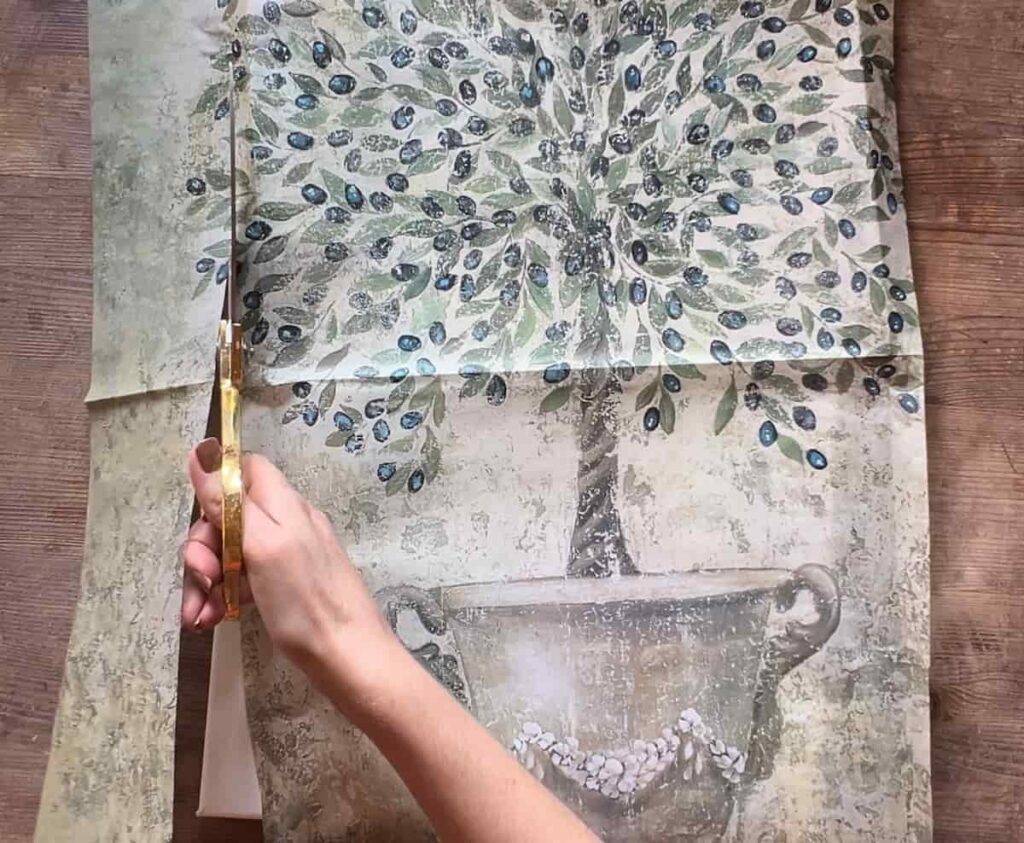
Next, spritz water on the back of the paper with a fine mister bottle.
This gets the paper slightly damp, but not wet. Now the paper is easier to reposition when you apply it.
Step 3: Apply Decoupage Medium to Canvas
Set the paper aside. Then apply the adhesive to the surface.
With thin paper such as rice paper, attach the paper with a clear coat. Such as a top coat that you would use to finish painted projects. This is ideal, as if you’re crafty, you likely already have a sealer to hand.
It’s always helpful when you don’t have to buy more supplies.
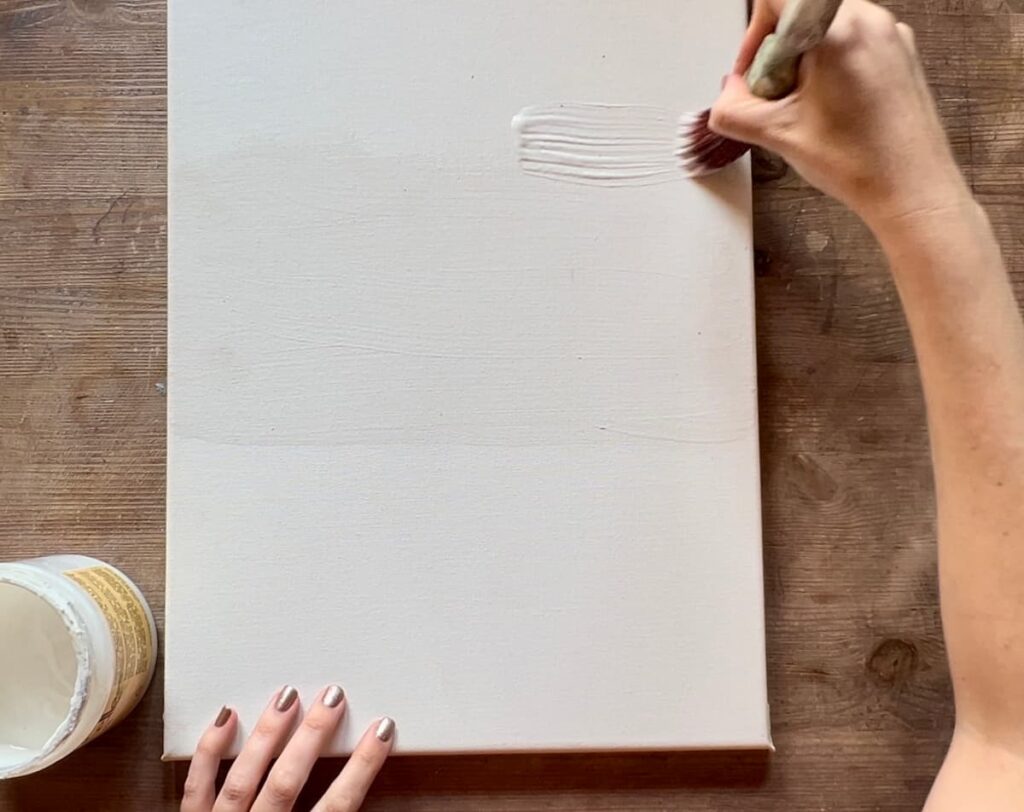
As the top coat is thin, you can apply it with a paintbrush.
It should be a thin layer of decoupage glue. Enough that it covers all of the surface but not so much that it sits in blobs. Any thick areas of the sealer will create bubbles in the paper.
Assuming you want to cover the whole canvas with the image, add the sealer everywhere. It can be easy to miss spots, especially the edges. If you hold the canvas up to the light you’ll be able to see if you have.
Step 4: Attach Decoupage Paper to Canvas
Once your glued surface is prepped, apply the paper.
The most important thing is to start by applying the paper to the middle. That’s because you will smooth the paper and push out bubbles from the middle to the outside.
If you start at an edge, the bubbles will be harder to remove from the middle of the piece.
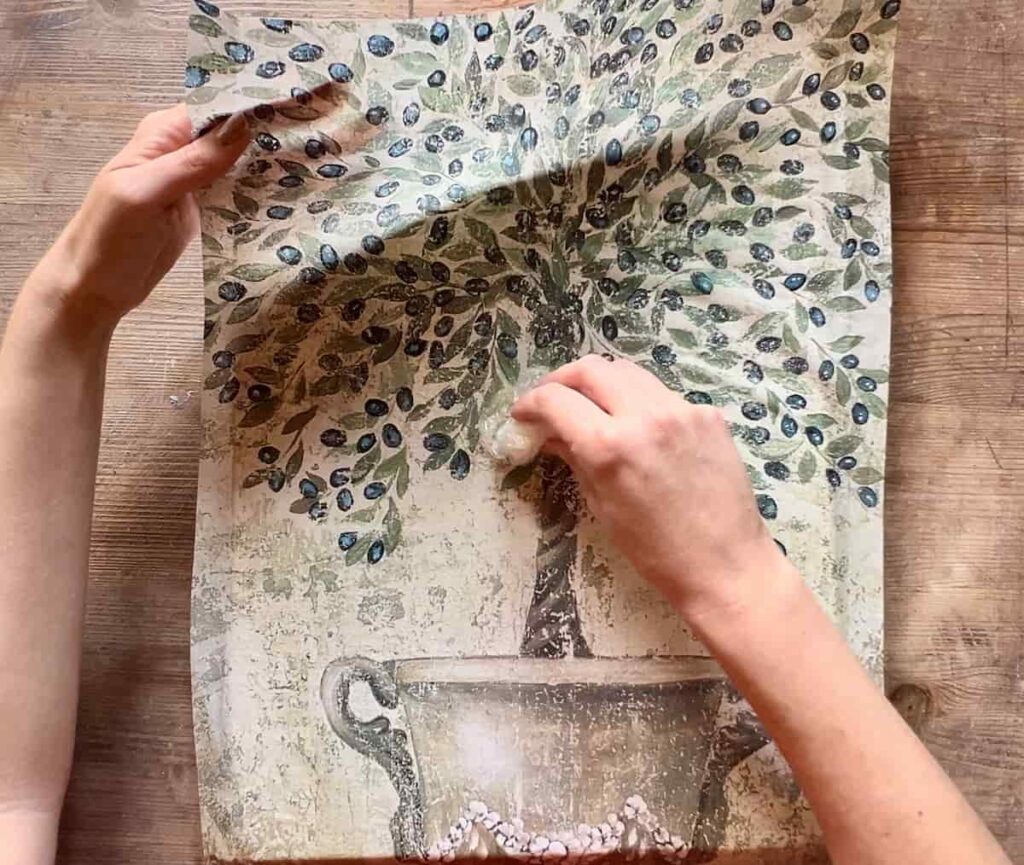
Now, the cling film. Or plastic wrap. This is what will make everything easier.
Get a ball of cling film and use this to glide across the paper to get a smooth finish. As the paper is damp, you can pull it up and reposition it to help remove bubbles. Use the cling film to gently push the paper smooth from the middle to the edge.
After you’ve applied all your image, let the glue dry completely.
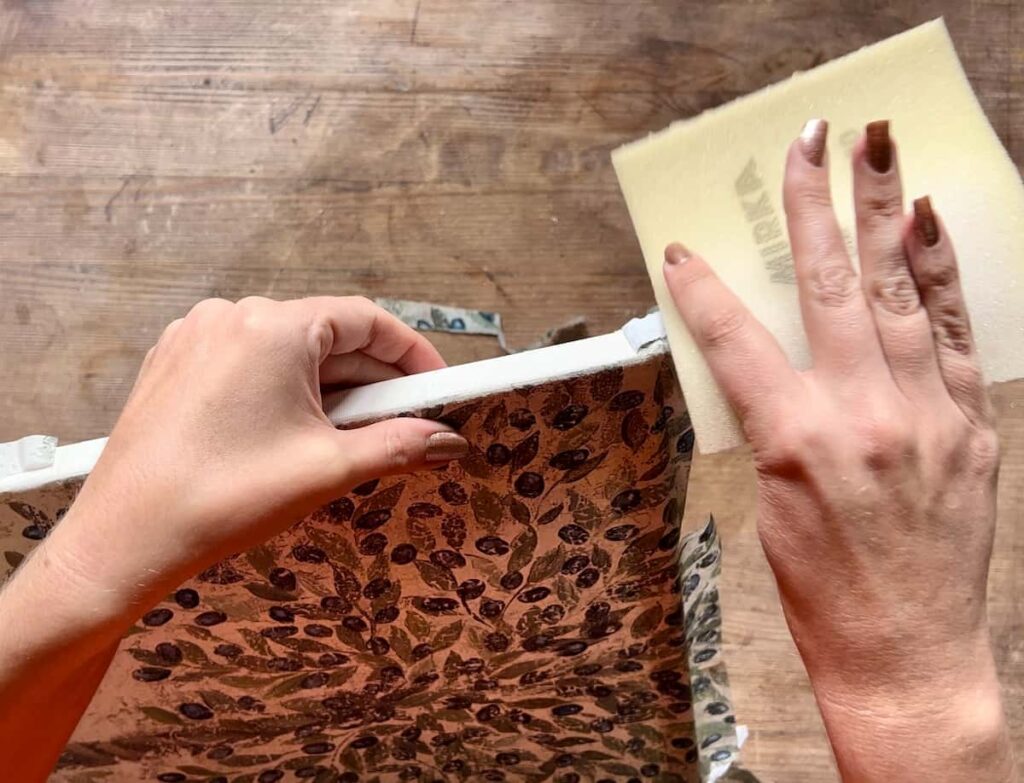
Step 5: Sand or Cut Paper to Size
If your decoupage paper is larger than your canvas, sand or cut the edges. It’s important to do this once the image is dry otherwise it will easily tear.
Use 180 grit sandpaper gently at a 45′ angle. This will tear along the edge and you can pull the extra paper off.
Finally, you can apply a protective coat to seal everything in place. This is only necessary if the surface will be used such as a table or a coaster.
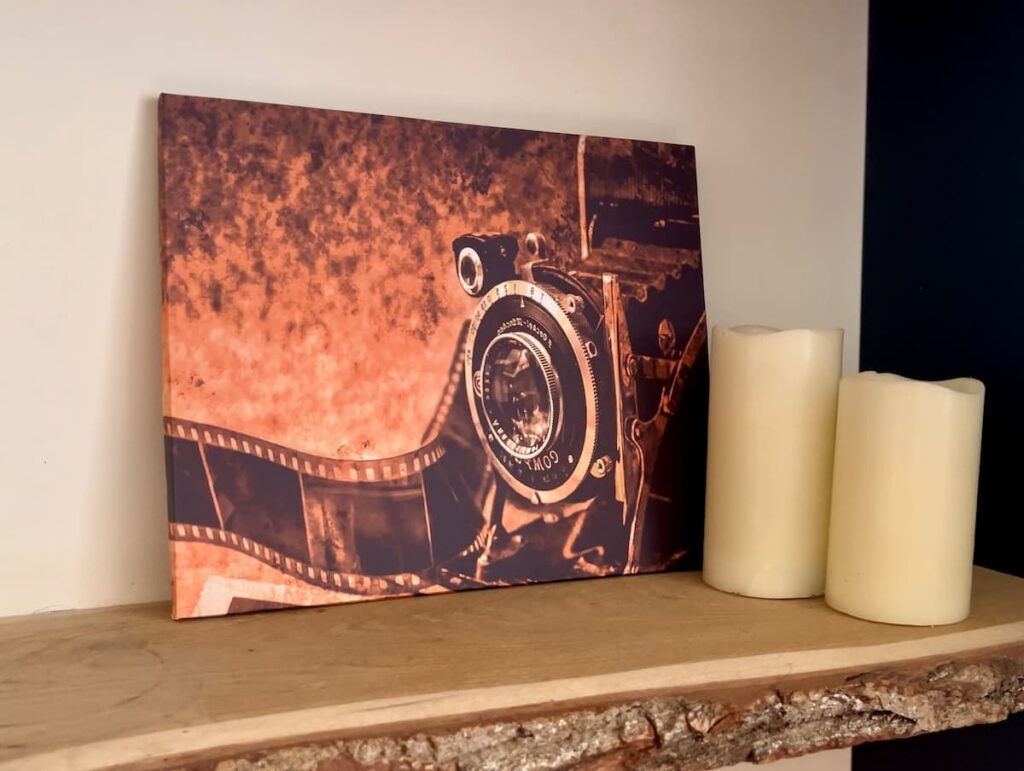
For this wall art, sealing isn’t necessary.
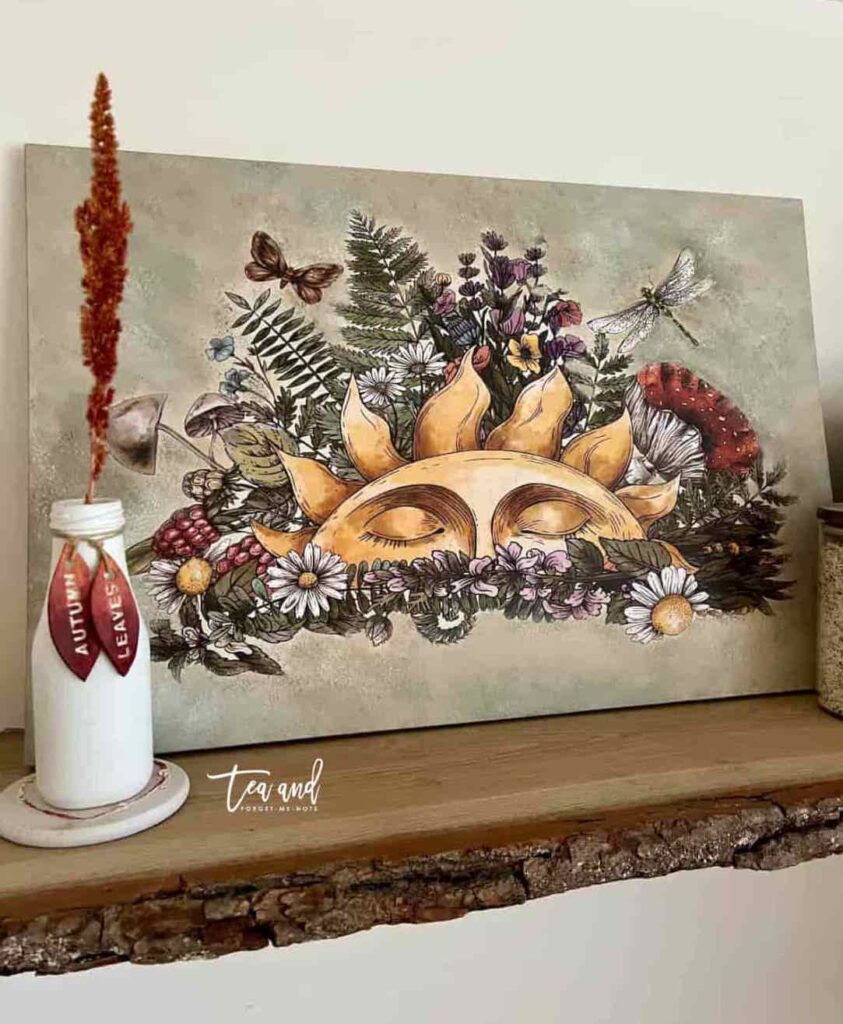
Decoupage Poster Paper
Step 1: Materials for Decoupaging Poster to MDF Board
The second tutorial is for thicker poster paper. Because these are thicker, they need a different way to adhere to the surface.
Other than that, the technique is the same as before.
I also wrap the paper around the sides to hide the MDF board.
Again, spritz the back of the poster paper with water and leave to sit while applying the glue.
Step 2: Apply Glue to MDF Board
For the best results, use PVA glue, or white glue with poster paper. This thicker glue will create a stronger bond with the heavier paper.
A lollipop or popsicle stick is a great tool to spread the glue across the surface. As it is hard and moves the glue easily. A foam brush would also work well for this.
A paintbrush is harder to move glue around as the bristles are flexible.
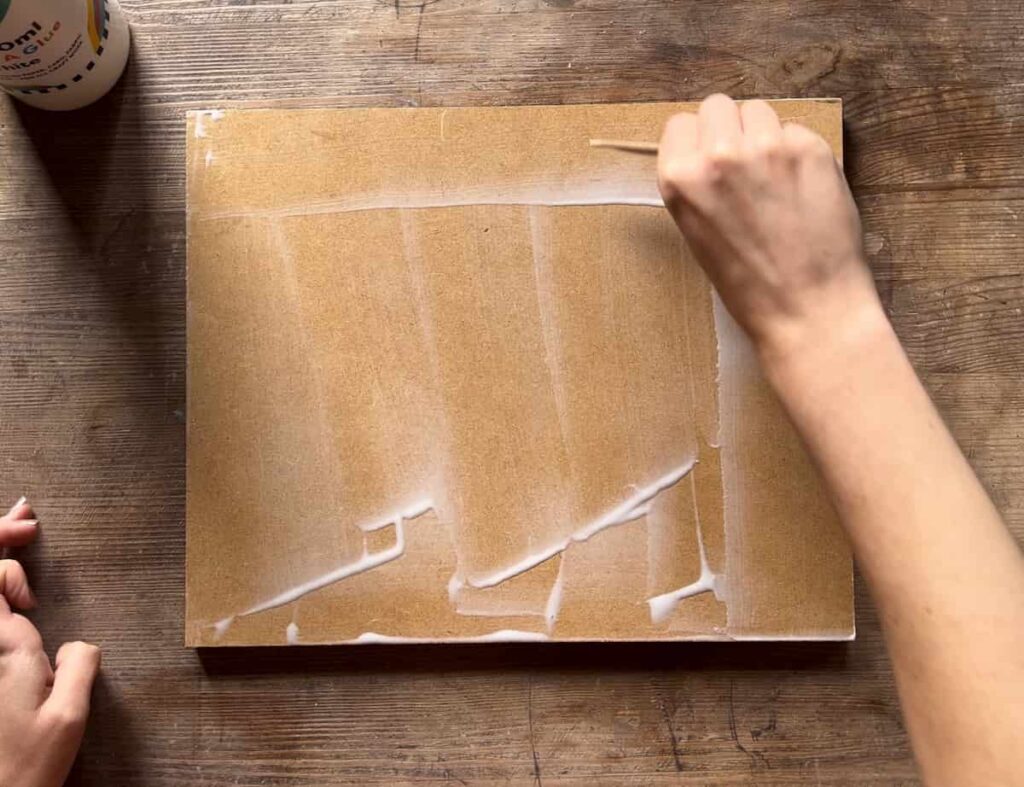
Don’t apply a thick layer of glue. This leaves bubbles and wrinkles. If you get some glue on the image, wipe it off with a damp cloth before it dries.
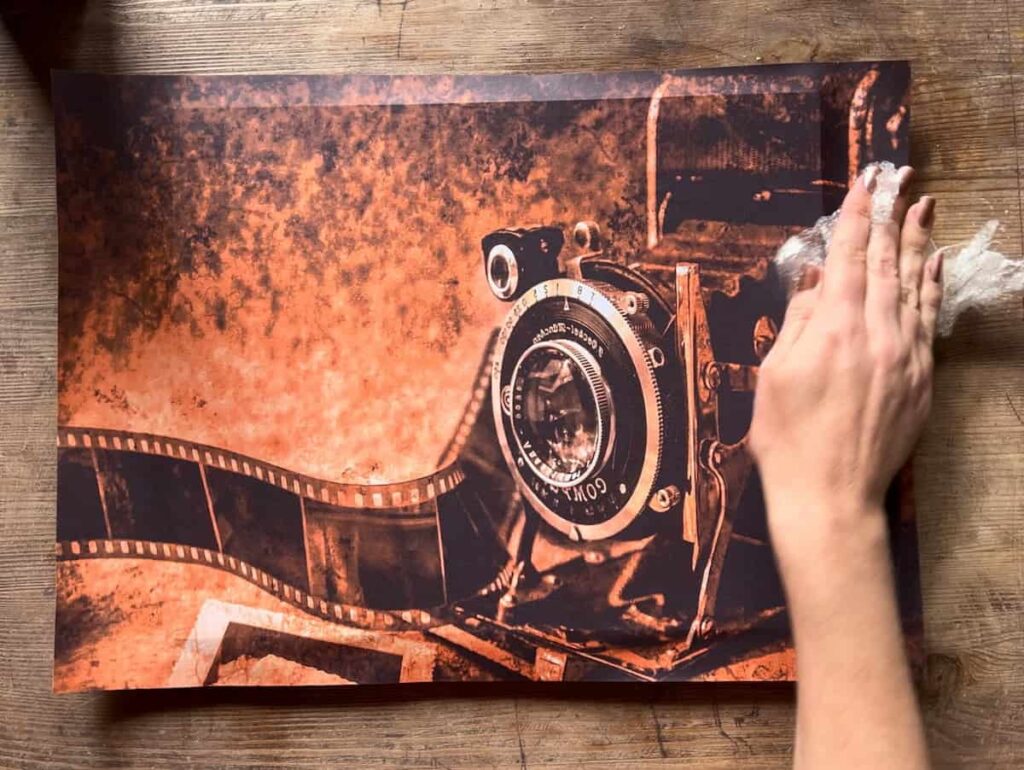
Step 3: Smooth Out Poster with Plastic Wrap
As before, use plastic wrap to smooth out any bubbles or wrinkles.
Step 4: Wrap Poster Around Board Edges
As this surface is a scrap MDF board, it is better to wrap the paper around the edges. This hides them and creates the look of a canvas.
Make sure there is enough image to cover the sides so that the board is hidden.
It’s a good idea to raise the board while wrapping the edges. Cut into the paper at the corners then add glue to the edges of the board.
Step 5: Remove Air Bubbles
If you find air bubbles in your decoupage paper, use a pin or artist syringe to pop the bubble.
Then use the cling film to move the glue underneath to smooth it out nicely.
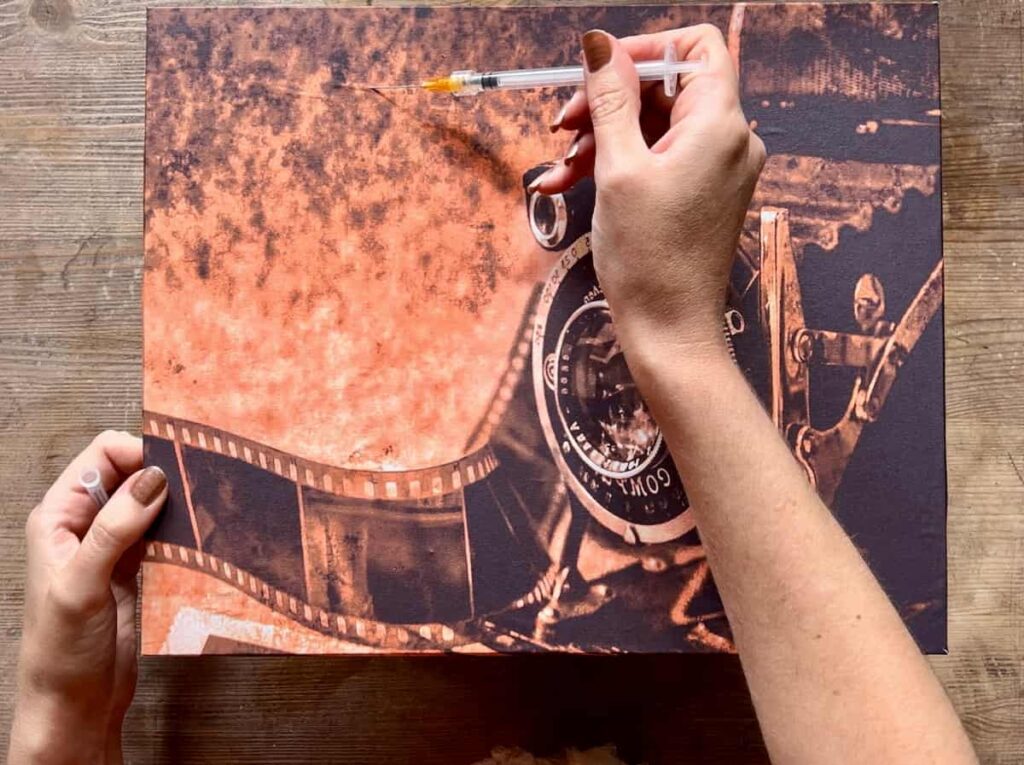
What a great way to use scrap board and a pretty image to create affordable home decor. And by wrapping the edges, it creates a finished, quality look to the piece.
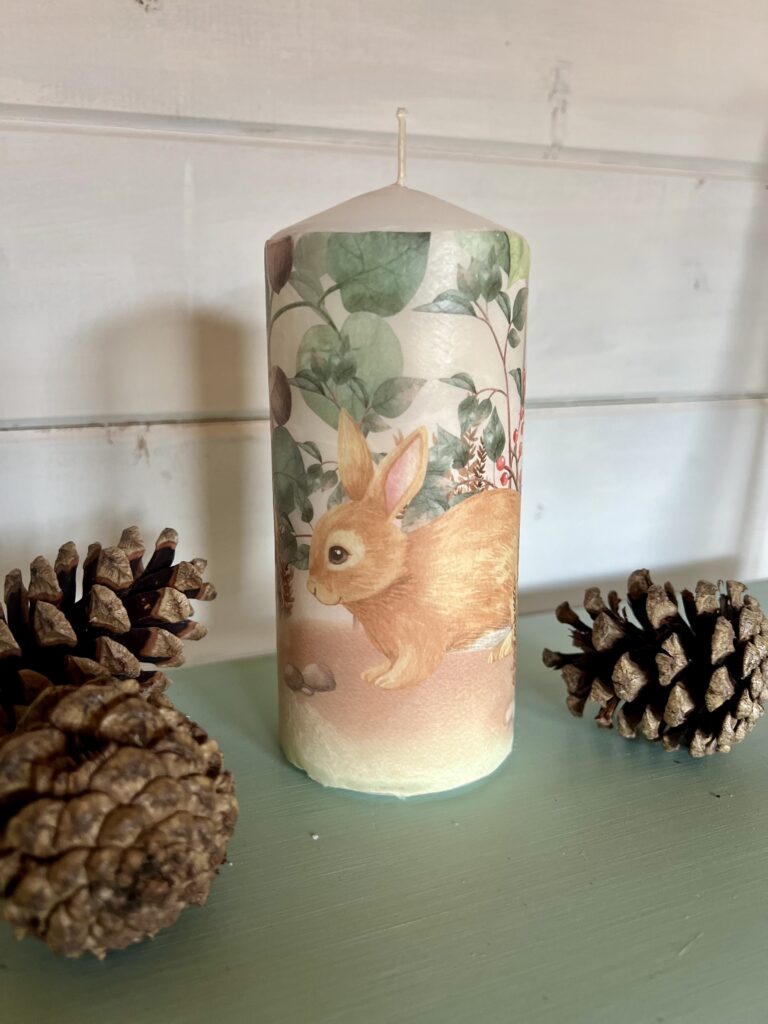
Decoupage Candle
Step 1: Materials for Decoupaging a Candle
Decoupaged candles are simple to make and can be great gifts.
The supplies to decoupage a candle are a wax candle, decoupage paper, a hairdryer, parchment paper, and tape.
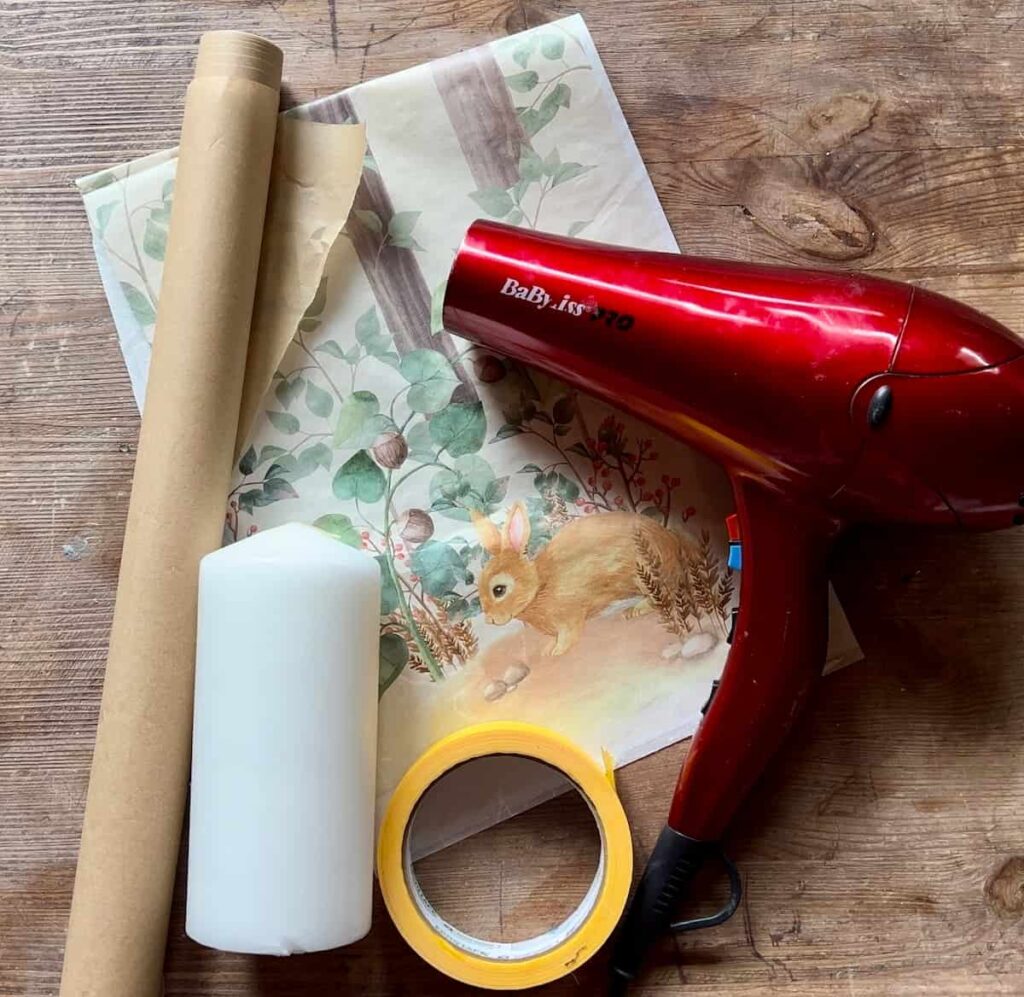
I’m using this scrap piece of rice decoupage paper that I used on a bookshelf makeover for a nursery.
Step 2: Trim and Wrap Paper Around Candle
First of all, cut the paper to size.
You can use a craft knife to trim the paper at the end. But it’s helpful at the start to get the paper close to the size you need. Then you don’t have to work with unnecessary paper.
The next step is to wrap the paper around the candle and keep it in place with tape. Frog Tape is a great tape for this.
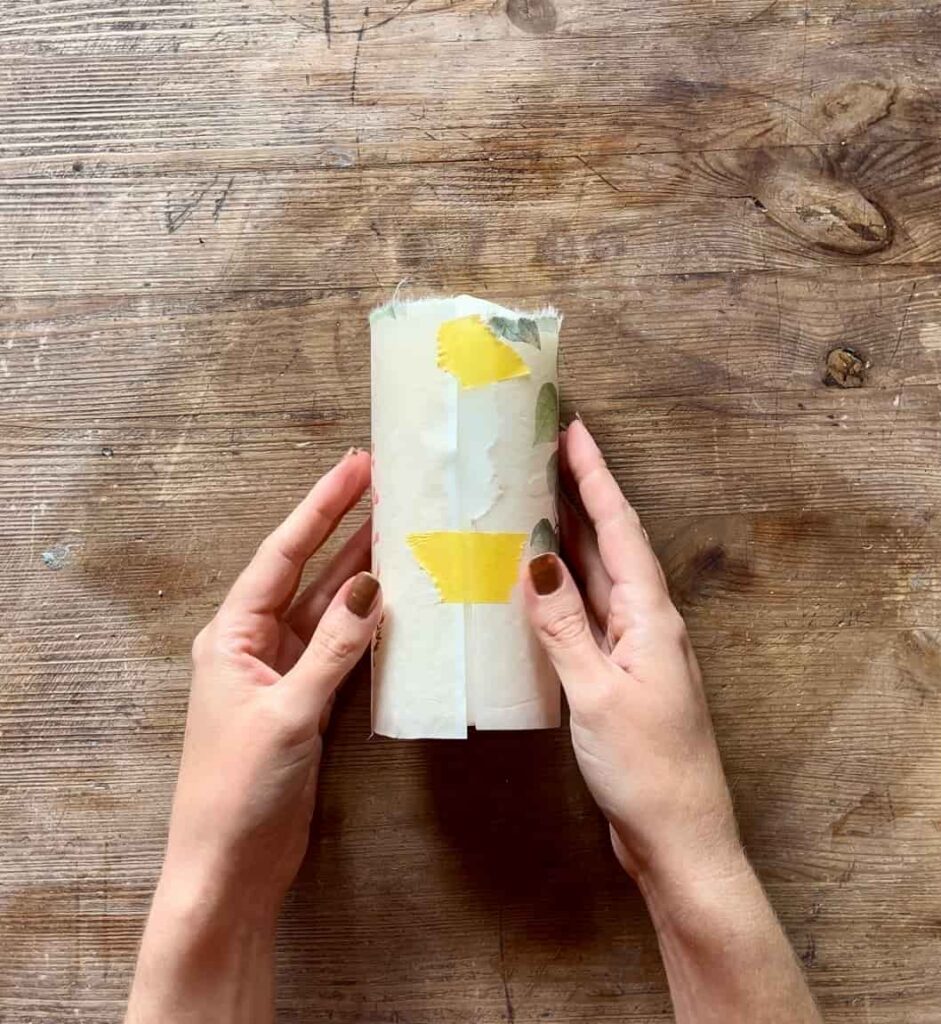
If you are using small pieces of paper instead of a full piece then this works the same.
Trim the paper at the edges of the design. For a more natural edge which is easier to blend into the background, carefully tear the paper. Adding a dab of water to where you want to rip helps tear it more easily.
Step 3: Protect Image with Parchment Paper
The parchment paper or wax paper creates a barrier between the hairdryer and the image.
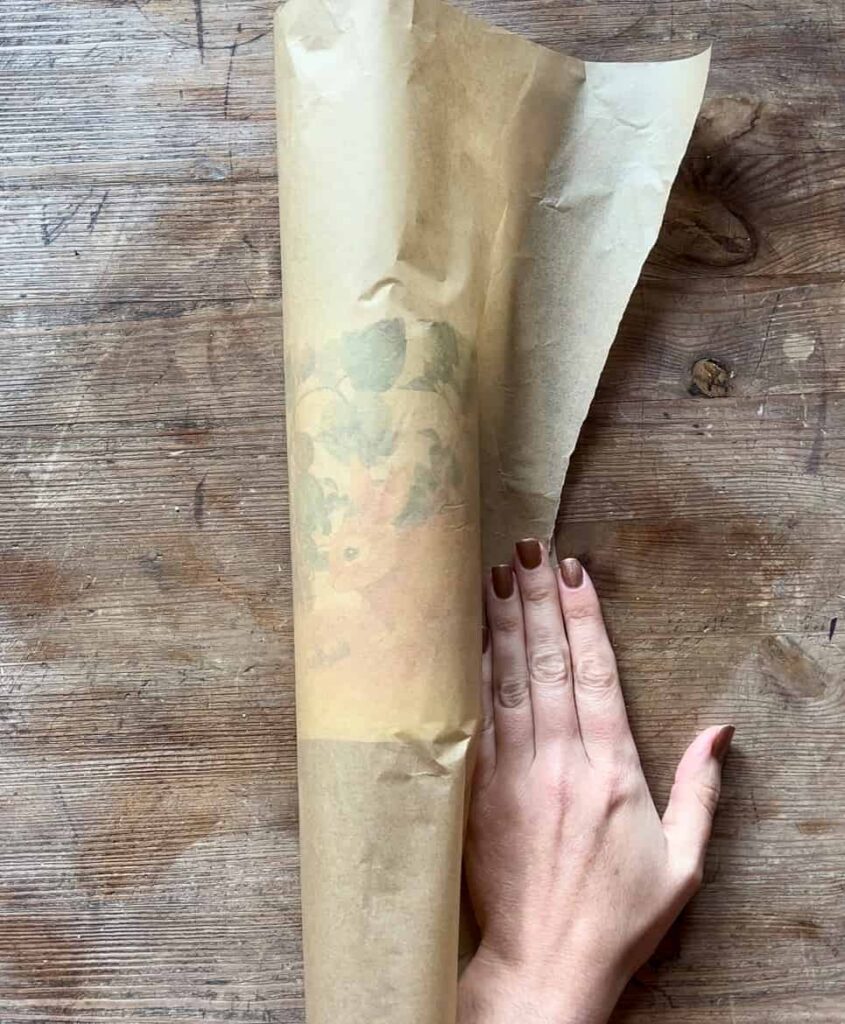
As the hair dryer gets hot you might want to wear something to protect your hands.
Step 4: Attach Decoupage Paper with Hairdryer
A top tip is to keep the hair dryer moving so nowhere gets too hot.
You can see when the picture attaches to the candle because the colour changes.
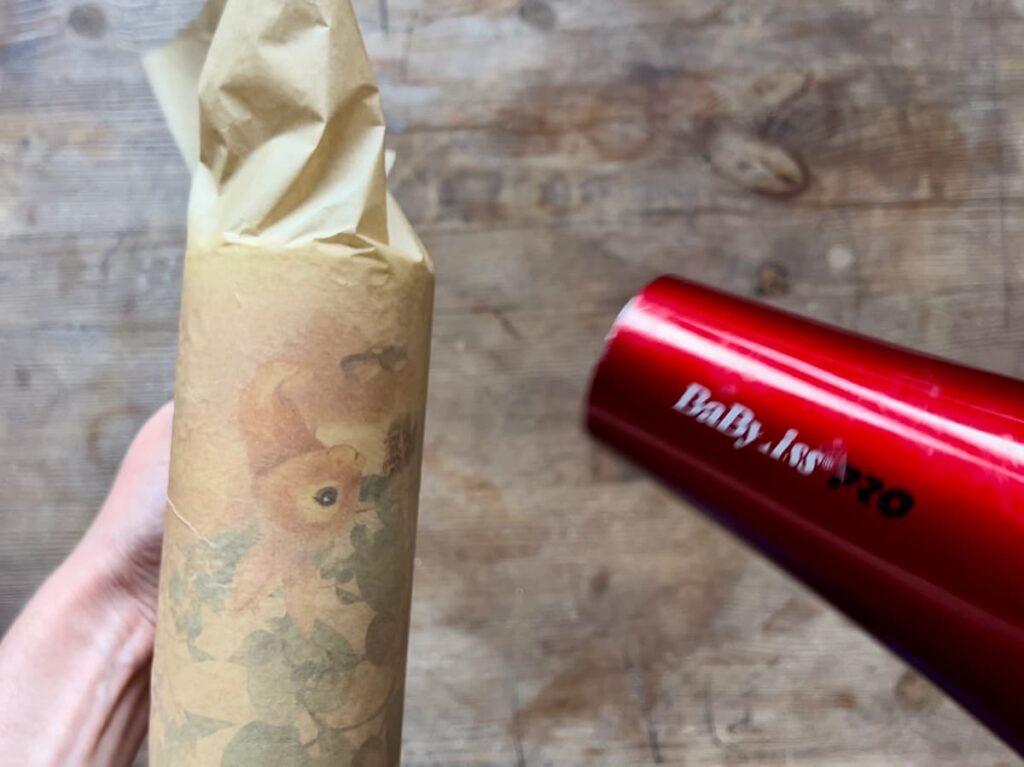
As the image is taped in place you can remove the parchment paper to check on the progress. If there is more to do then keep going.
Don’t stay in the same place too long or the colours of the image may start to bleed.
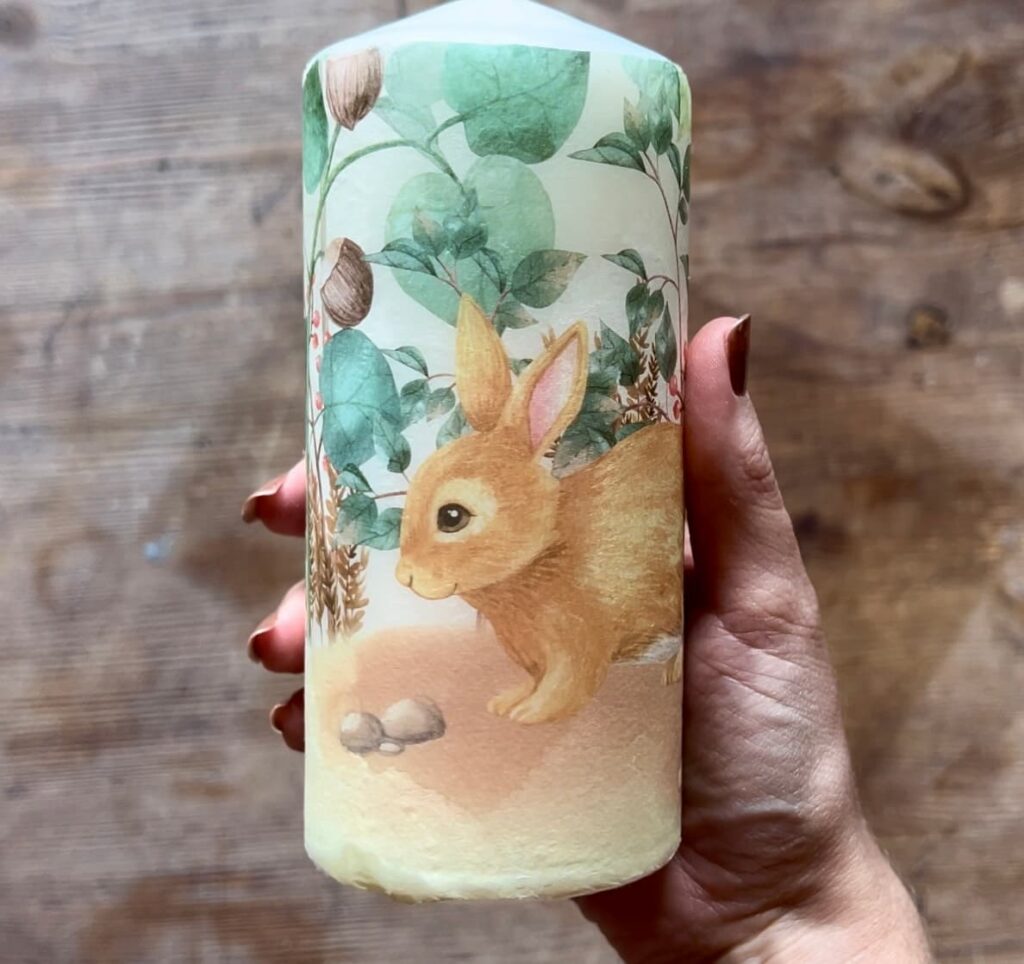
And there you have it. That is how quickly you can master the art of decoupage.
I hope you found this useful because this is such a budget-friendly way to update your decor with a craft project.
Decoupage is all about having fun and experimenting with different techniques and materials. Don’t be afraid to get creative and try new things—it’s all part of the process!
If you have challenges with decoupage or have any questions, please comment below. And if you want to see more crafting tutorials, be sure to check out my other posts.
Answers to Your Questions about Decoupage for Beginners
What if the paper is too small for the surface?
If you want to make the image look the same size as the paper, add paint to the edges. The trick is to build up layers of paint similar to the image colours.
Can you decoupage with wrapping paper or scrapbook paper?
Yes, you can. But thicker paper works best on flat surfaces rather than being wrapped around corners.
Can you decoupage on paper or a card?
Wooden surfaces or solid surfaces like wine bottles are best for decoupage. This is because thin materials can warp and bend with the decoupage medium.
If you loved this project, you’ll love these projects too:
Paint Blended Decoupage
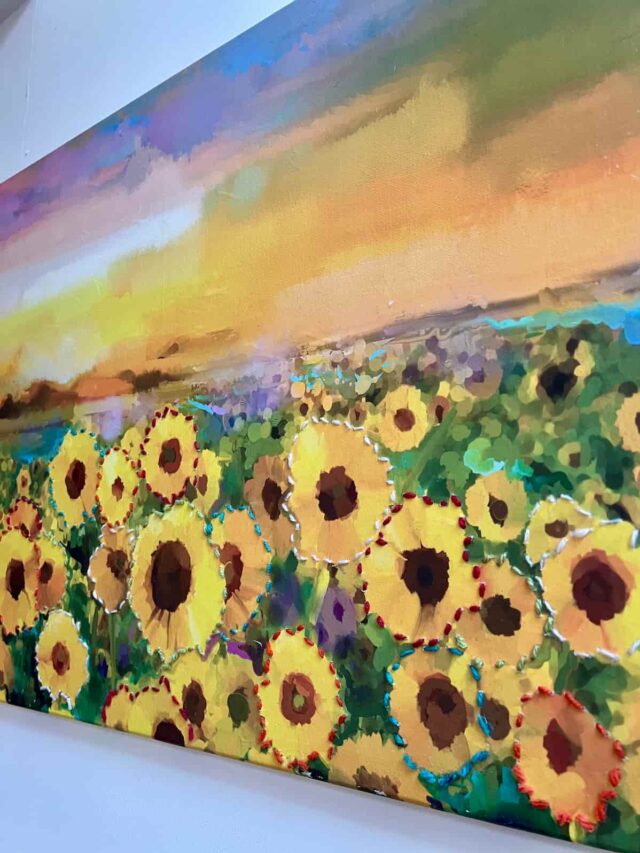
Embroidered decoupage canvas
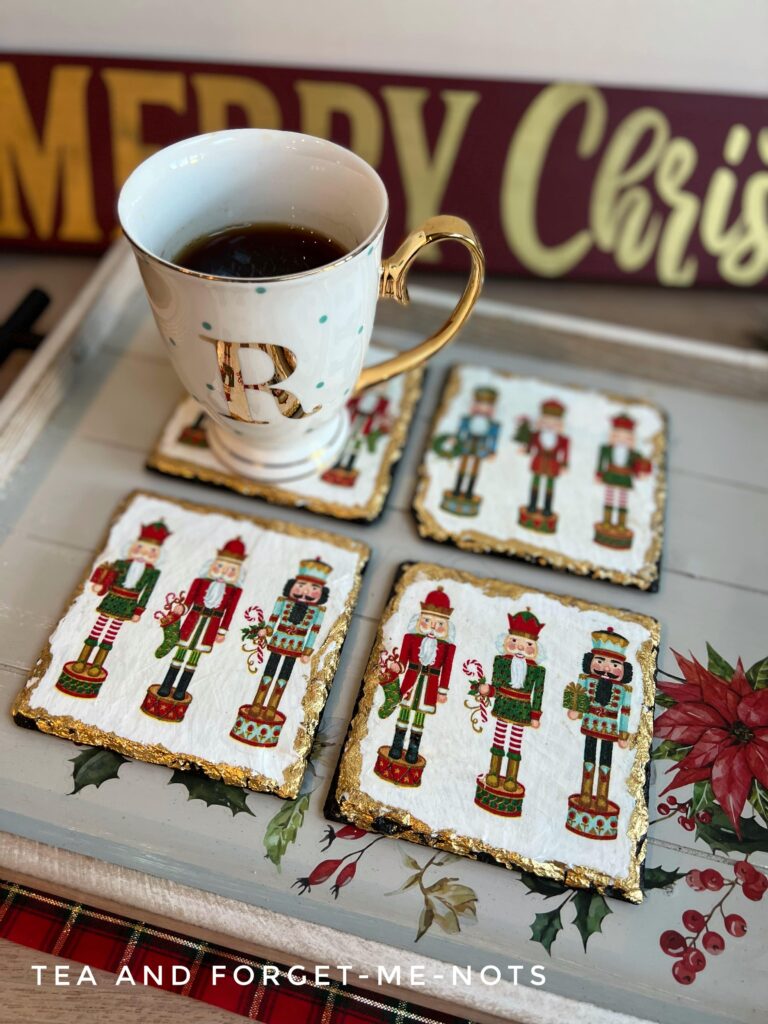
Decoupaged Christmas Coasters
Did you make this craft?
I love seeing what you do. Please mention @teaandforgetmenots and share your creations with me!
Pin it for later – 3 Decoupage for Beginners Tutorials

Hi there! I'm Rachel Bowyer, a passionate DIY enthusiast with a knack for transforming the old into something beautifully new. With a deep love for furniture painting, refinishing, and the art of crafting. I've been documenting my DIY projects and restoration journey since 2018. I specialise in techniques like decoupage, stencilling, and decor transfers. Join me as we explore the world of creativity and home improvement, one project at a time.