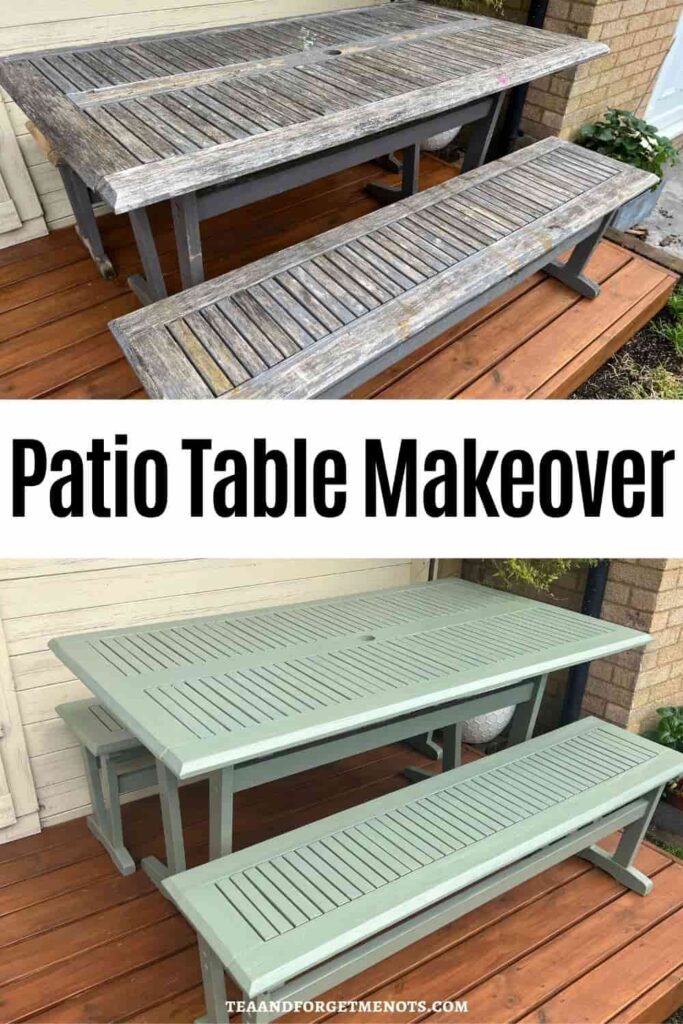
Easy DIY Patio Table Makeover for Outdoor Dining
A fresh coat of paint can completely transform a worn patio table, giving it new life and style. In this garden table makeover, I’ll guide you through prepping, priming, and painting for a durable, weather-resistant finish.
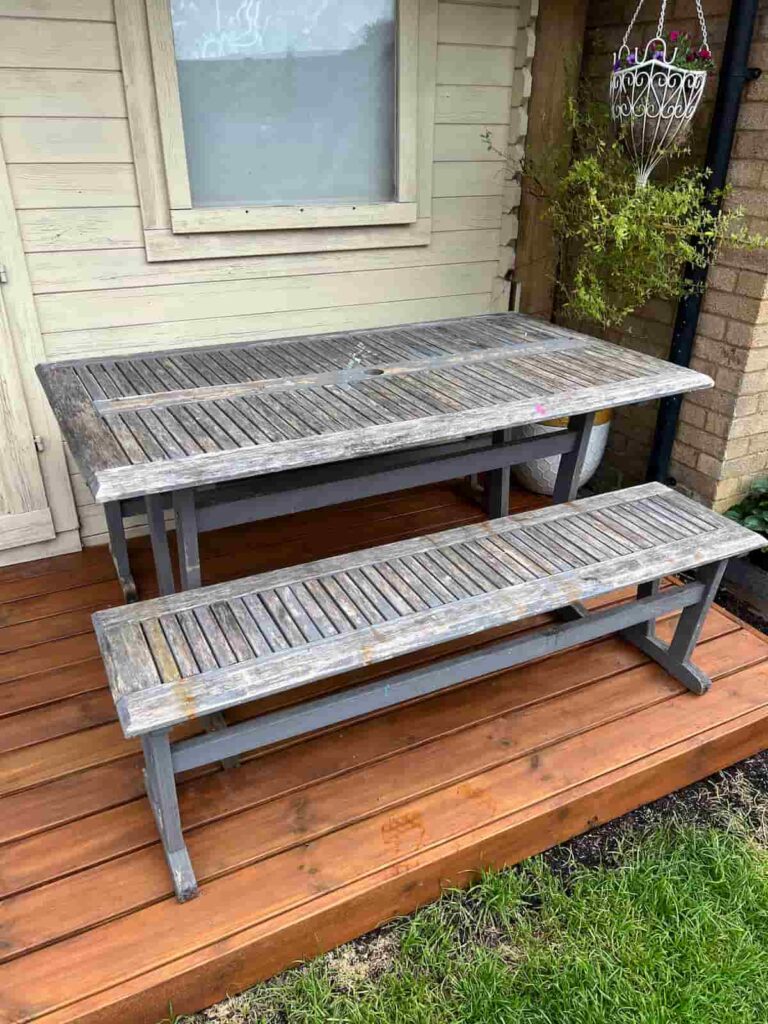
Is this table embarrassing to show you? Yes.
Did I think, “Maybe I’ll just buy a new one and then I won’t have to admit that this is the state my outdoor dining table has got to in the garden”? Also yes.
But if I don’t try and fix it, then who will? So, let’s see how much of a makeover I can give to this very shabby patio table and benches.
Why Give Your Patio Table a Makeover?
Outdoor furniture takes a beating from the elements. Sun, rain, and years of use can leave it looking faded, chipped, or just plain neglected. Instead of replacing your old table, a little DIY can bring it back to life.
This project is beginner-friendly, budget-friendly, and totally worth it!
If you’re looking for supplies, I’ve included affiliate links to the right tools, from Amazon. If you make a purchase, I may earn a small commission at no extra cost to you.
Garden Table Makeover Step-by-Step
Materials Needed
Step by Step Instructions
After sprucing up the garden with some plants, putting in new decking, and painting the fence, there was one massive eyesore left to deal with.
I’m going to call this the series of ‘Things I’m Embarrassed to Admit Exist in My Garden.’ Even with the weather warming up, the first thing to do was to move this outdoor table inside and let it dry out properly.
Step 1: Sanding the Table
When dealing with wood grain going in different directions, like on this table, you need to be careful around the edges to avoid sanding against the grain.
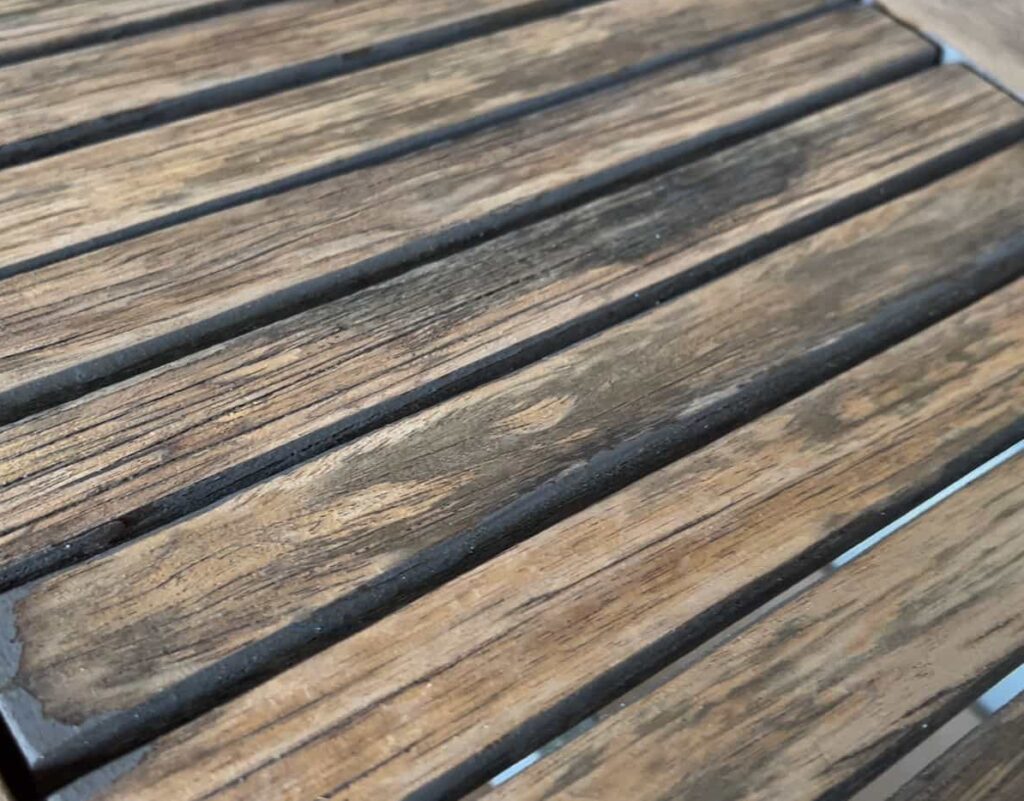
Between the table and two benches, this step took a while, but the 80-grit sandpaper quickly stripped away the old paint.
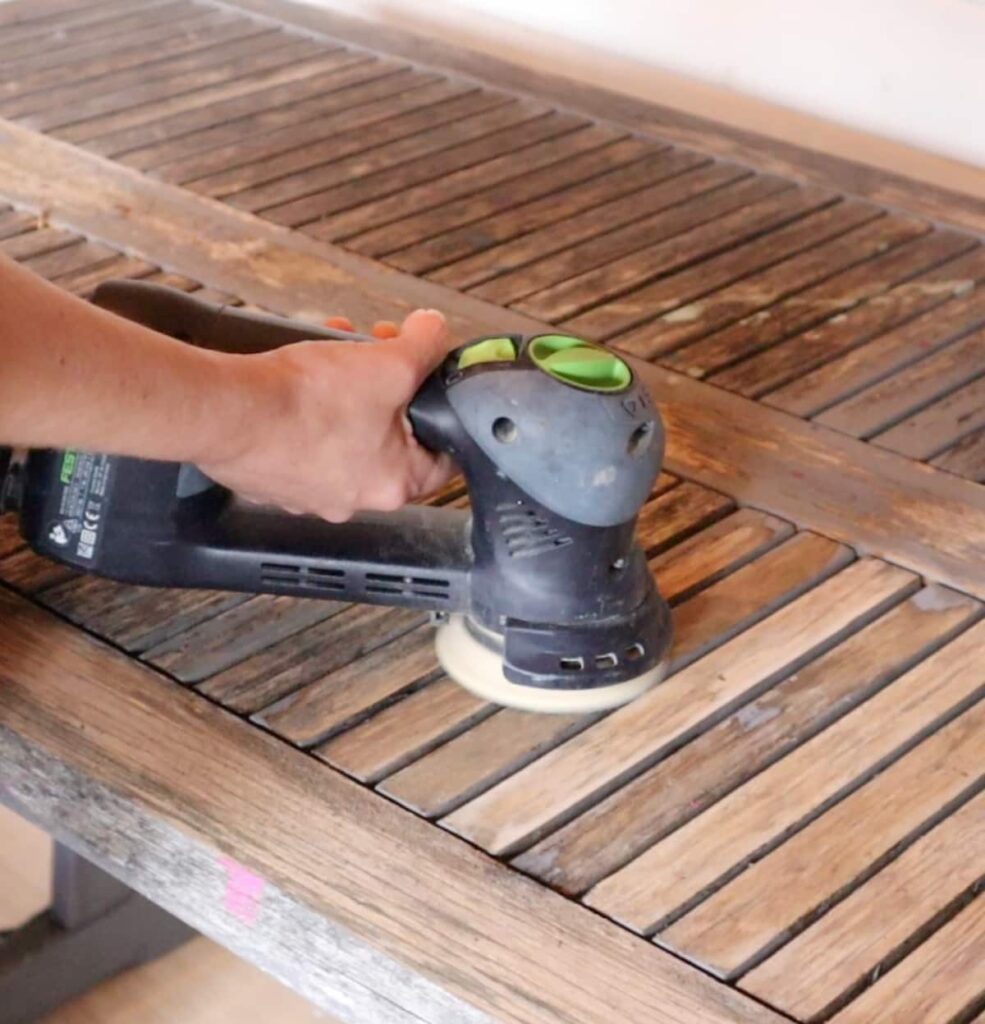
This table has seen all sorts of activities, from painting Halloween pumpkins to staining new decking. While you don’t need to strip everything back to raw wood, getting it as smooth as possible will help with the paint finish in the long run.
Sanding Tips:
- Use a belt sander for large areas and hand sand the edges.
- Wear a mask—sanding kicks up a surprising amount of dust.
- Sand outdoors or in a well-ventilated space, like the back patio.
- Listen to music, a podcast, or an audiobook to make the whole process more enjoyable!
Step 2: Cleaning the Surface
Some people clean before sanding; some clean after. The key is that you do clean the entire table. I used warm soapy water to remove any dust and debris from sanding.
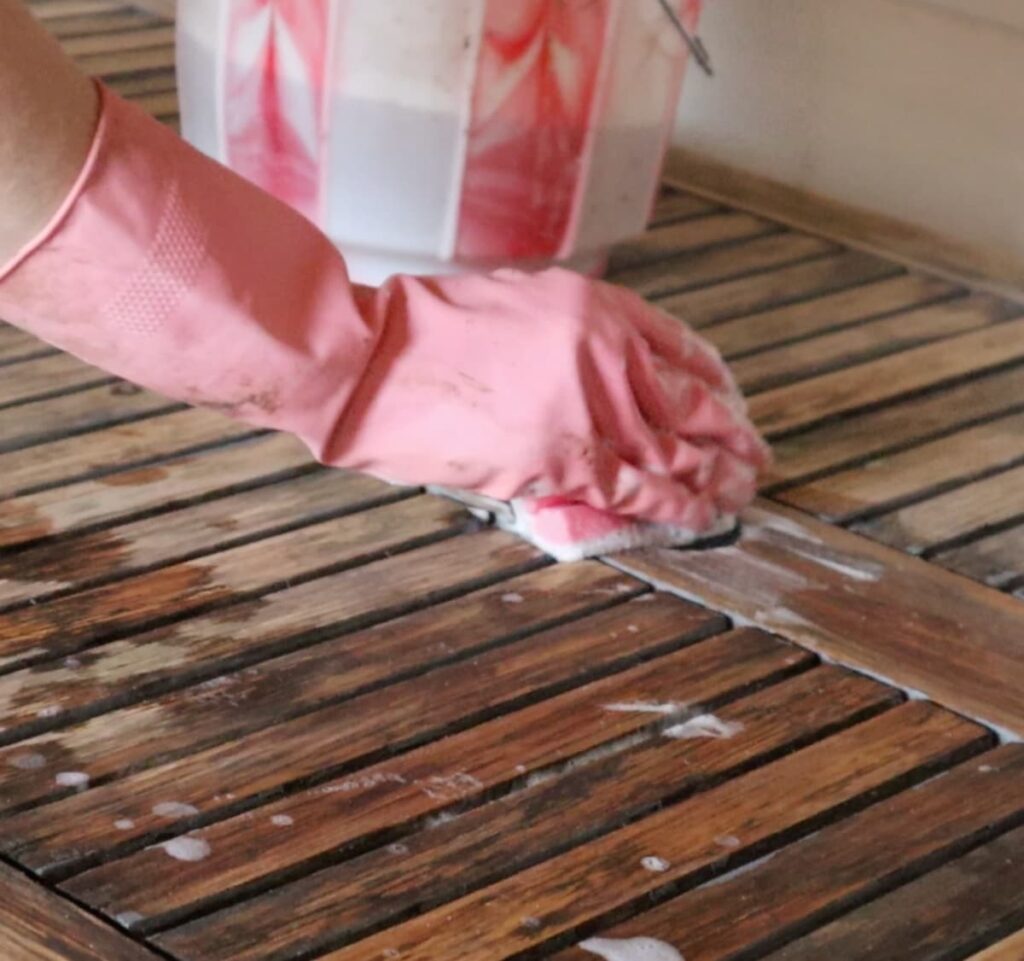
This was the final step of the day for me, giving it overnight to fully dry before moving on to painting.
Cleaning Tips:
- Use a mix of warm water and mild detergent.
- Ensure the table is completely dry before applying primer.
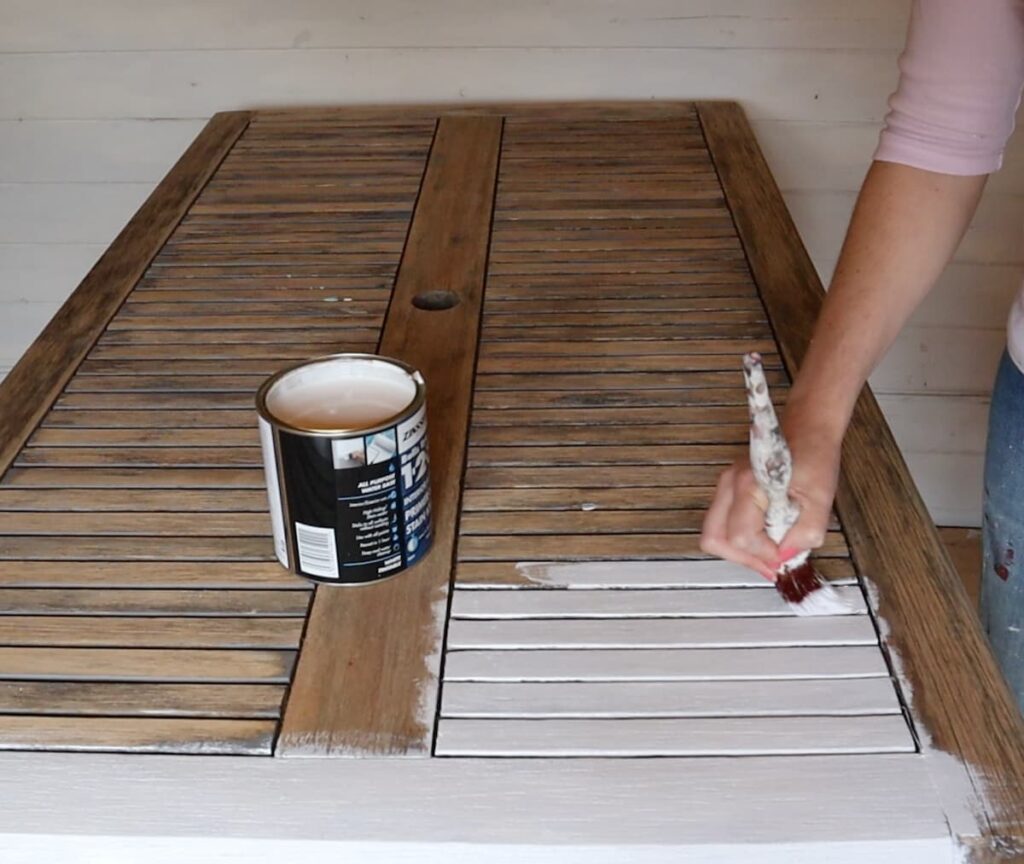
Step 3: Priming for a Long-Lasting Finish
For my primer, I chose Zinsser 1-2-3 because it’s water-based, making it compatible with the water-based paint I picked. I prefer water-based products in general because they’re easier to clean up and don’t have strong fumes.
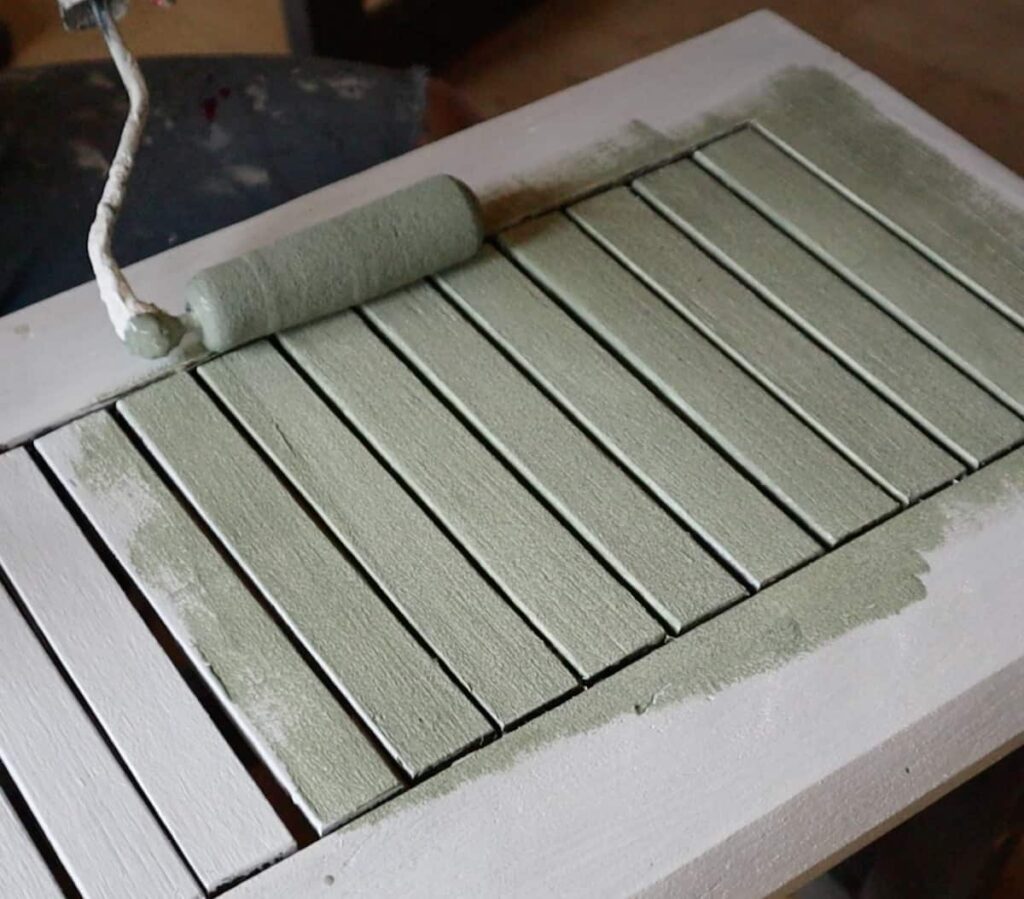
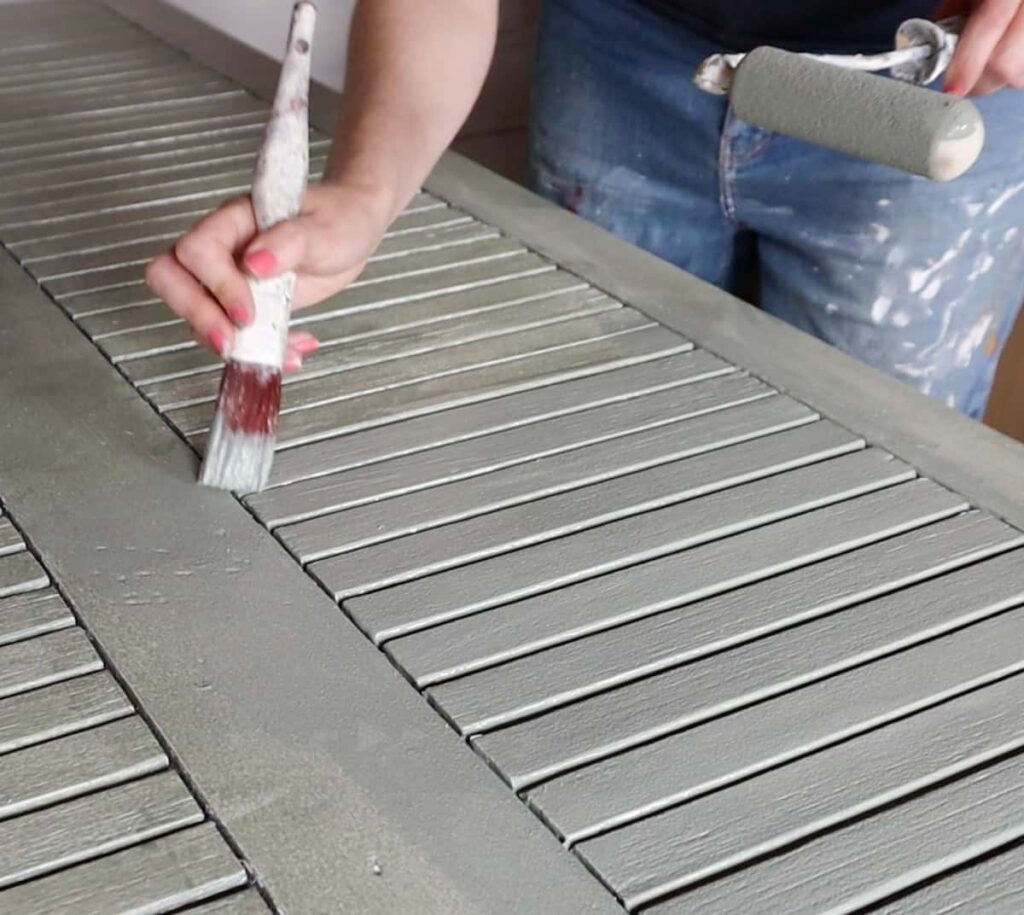
Since my outdoor table top has slats, I started with a brush to get the primer into all the gaps, then used a roller for a smooth finish.
Why Use Primer?
It helps the paint adhere better.
It increases durability, protecting against chips and wear.
Without primer, paint can peel or fade much faster.
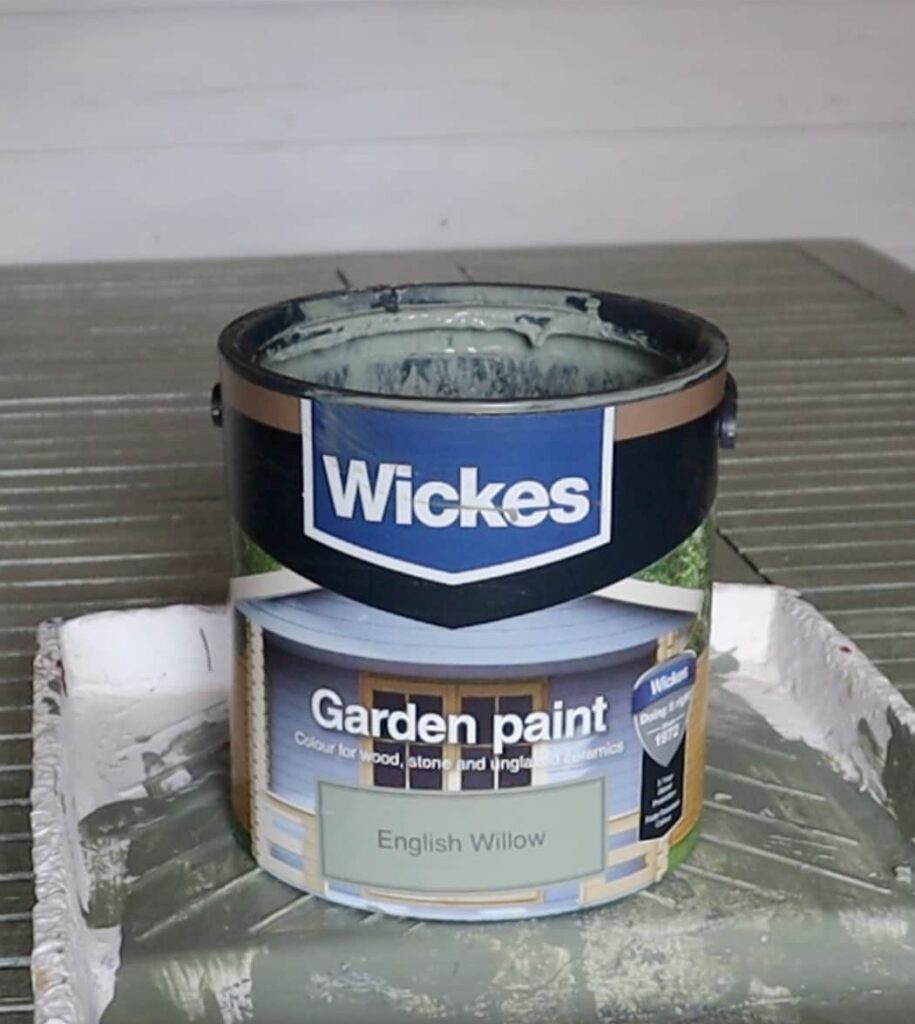
Step 4: Painting the Table
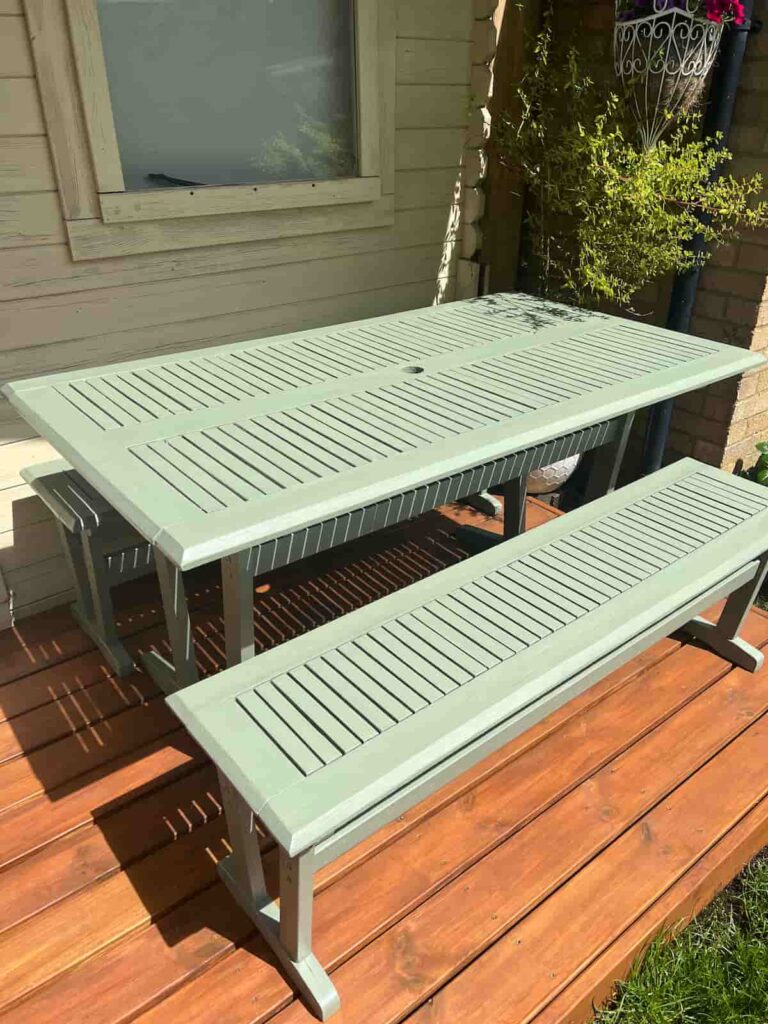
The colour I chose is English Willow, a lovely soft green. When I first opened the can, the paint looked a little swampy, but after a good stir, it was much better.
The first coat of paint is always a little disappointing—it never looks as good as you imagine.
With exterior paint, the coverage can be thinner than expected, so I ended up doing a second coat, and then a third for the best way to get full coverage.
If you want a completely fresh look, consider using wood filler to patch any larger cracks before painting. I’m giving this set another lease on life rather than trying to make it look like a brand new table.
Painting Tips:
- Let each coat dry fully before applying the next one.
- Stir your paint well before using it.
- Use a roller for large flat surfaces and a paint brush for detail work.
- Apply thin, even coats rather than one thick coat to prevent drips.
Many outdoor paints already have built-in protection, but if yours doesn’t, consider using a sealer. A clear sealant, polyurethane, or outdoor wax can add extra durability, especially for high-use furniture.
If sealing, apply thin coats and let it cure properly before using the table.
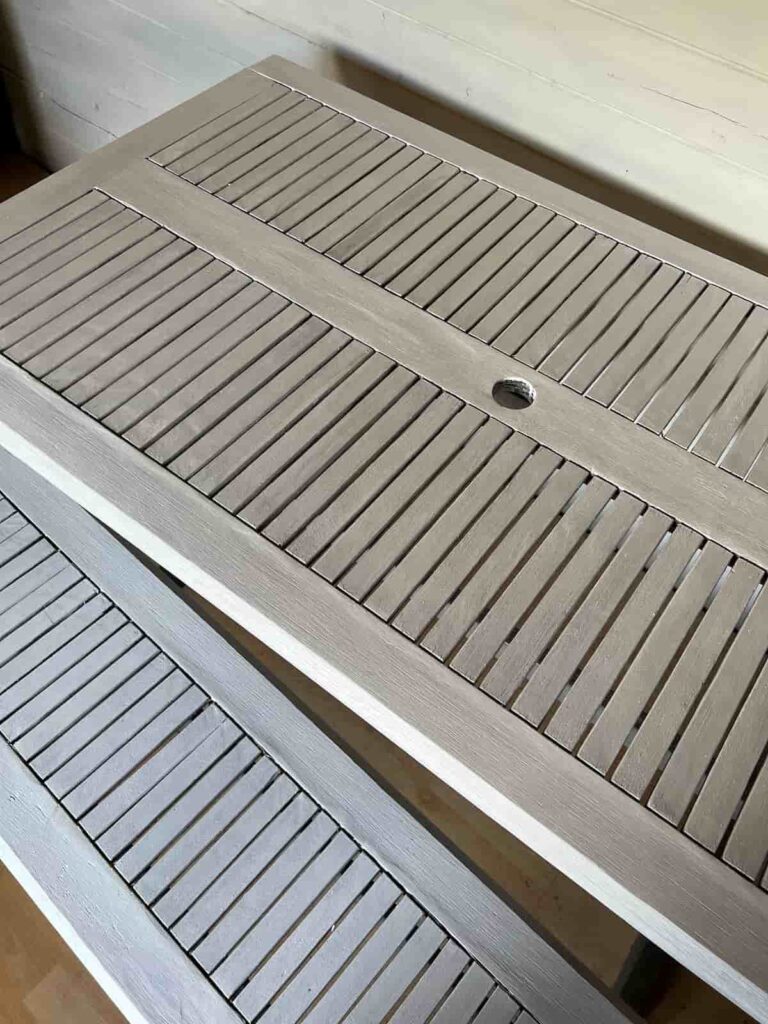
Garden Table Makeover
With a fresh coat of paint, my table looks completely transformed! I love how the soft green complements the red of the decking boards, giving the whole outdoor space a fresh and cosy feel.

This project was worth the effort. Instead of replacing an old table, I’ve given it a new life just in time for summer—and for just a fraction of the cost of buying new furniture!
Would you try this DIY makeover? Let me know in the comments, and if you do, I’d love to see your paint makeovers!
How to Paint Outdoor Furniture Instruction Video
You can find more video tutorials on our Youtube Channel
If you loved this project, you’ll love these projects too:
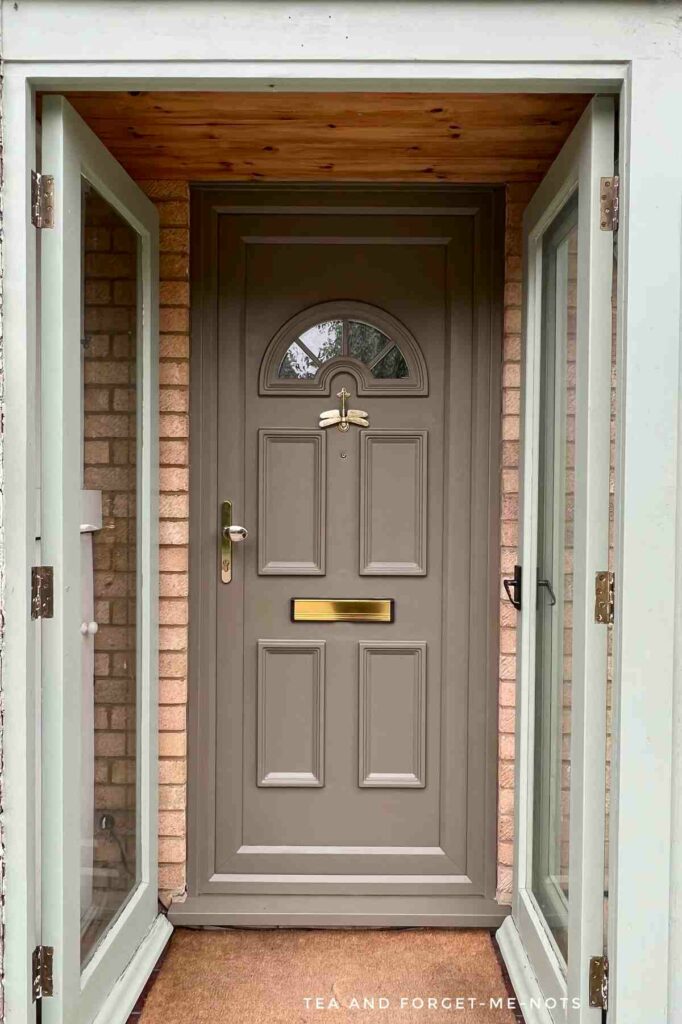
Paint a upvc front door
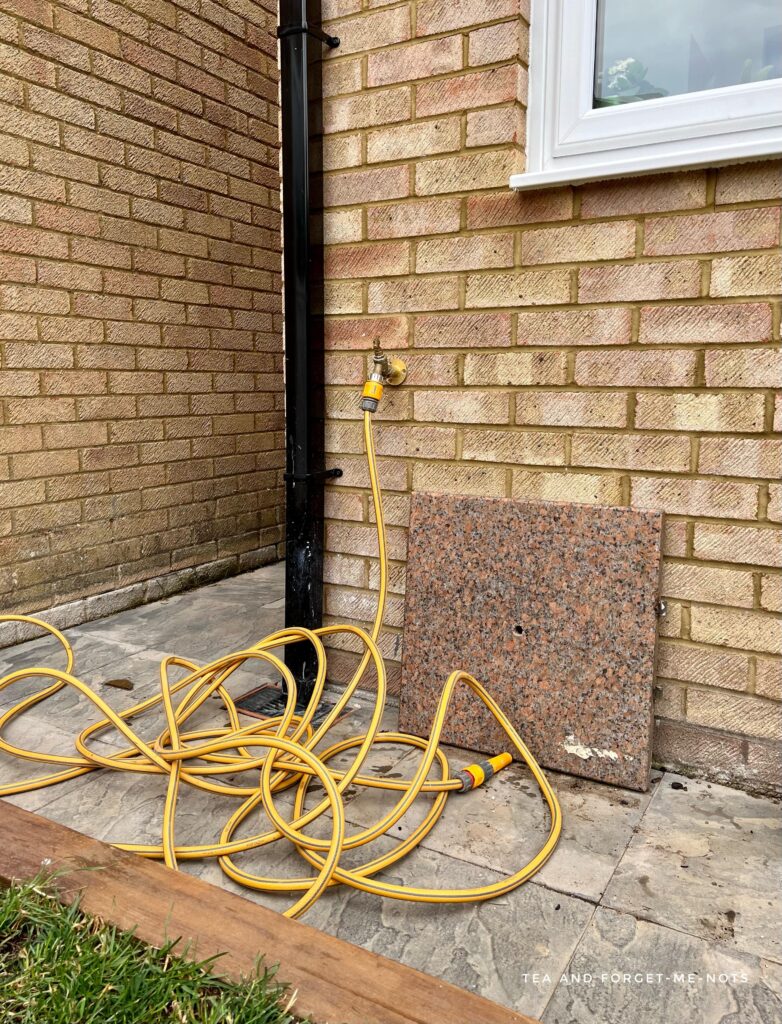
how to hide a garden hose
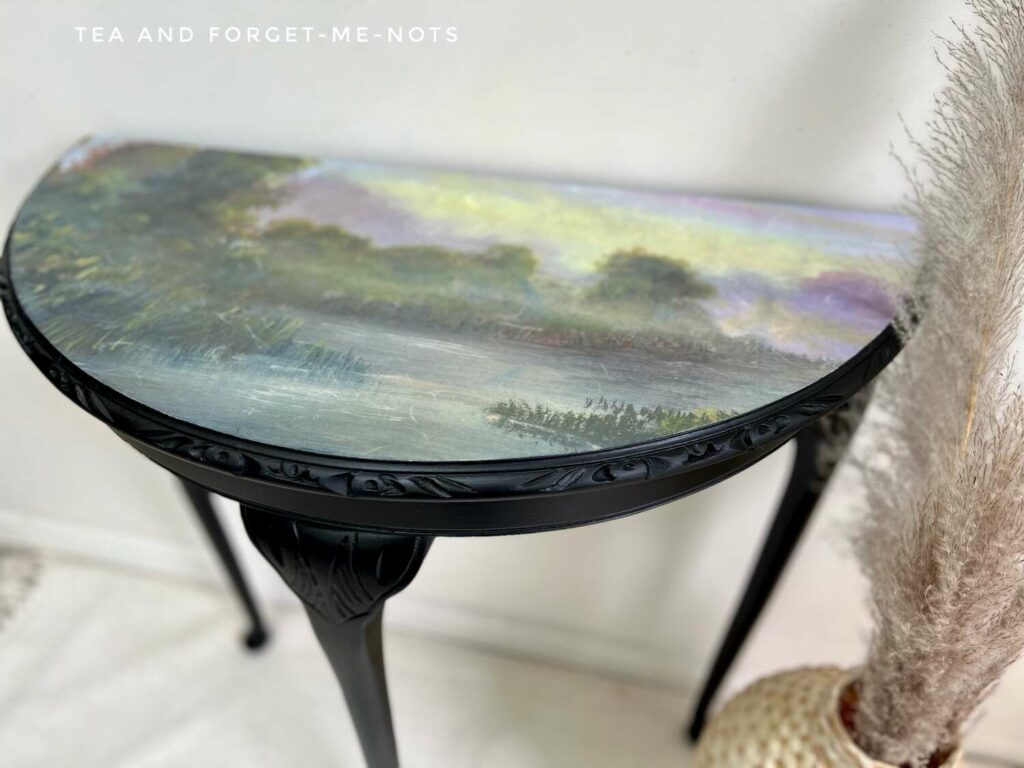
painted decoupage table
Pin it for later – garden Table Makeover

Hi there! I'm Rachel Bowyer, a passionate DIY enthusiast with a knack for transforming the old into something beautifully new. With a deep love for furniture painting, refinishing, and the art of crafting. I've been documenting my DIY projects and restoration journey since 2018. I specialise in techniques like decoupage, stencilling, and decor transfers. Join me as we explore the world of creativity and home improvement, one project at a time.