Create Custom Laser Cut Christmas Ornaments With Wood
Handmade decorations add a personal touch to your festive decor, and what better way to capture the spirit of the season than with custom laser cut Christmas ornaments?
In this post, I’ll show you how to design and create your own laser-cut baubles for your Christmas tree. From finding design files to customising shapes, this tutorial has everything you need to get started.
Whether you’re looking to create unique decorations for your own tree or the perfect gift, laser-cut ornaments are a great option. You can personalise each bauble with names, dates, or designs that hold special significance.
Handmade Christmas decorations always feel more special. If you love the idea of crafting something with a personal touch that’s both beautiful and meaningful, this project is for you!
This post includes gifted products and affiliate links so you can easily find the products I use myself and recommend to friends. If you purchase these products, I may earn a small commission at no extra cost to you.
With a laser cutter and a bit of imagination, you can transform simple pieces of wood into stunning decorations that will make your Christmas decor one-of-a-kind.
Would you rather opt for video tutorials instead of step-by-step instructions? We’ve got you covered with a comprehensive video tutorial that guides you through the process of laser-cutting ornaments.
How to Make Laser Cut Baubles Step-by-Step
Materials Needed
Step by Step Instructions
Step 1: Where to Find Laser Cutting Files
These designs are cut on the xTool M1 laser cutter. The images are files from either the xTool software or Creative Fabrica.
Creative Fabrica is a great website with designs for all kinds of crafty projects. One nice thing is that you typically have permission to sell the products you make from these designs. Unlike a lot of files you find elsewhere.

You’ll see below how you can adapt these shapes to customise designs. My YouTube video goes into more detail if that’s what you’re particularly interested in.
Step 2: Create Bauble Designs
To build your bauble shape simply create two circles. One about 2 cm or 1 inch bigger than the other. You want this to be thick enough to be stable and not likely to snap.
Secondly, for the ribbon holder, add a small circle at the top and use the Unite tool to combine it with the outer circle.
The top two designs are two different basic bauble shapes. The one on the left gives more stability and a base for objects such as a snowman to sit on. To create this base, use a circle and rectangle and the Subtract tool.
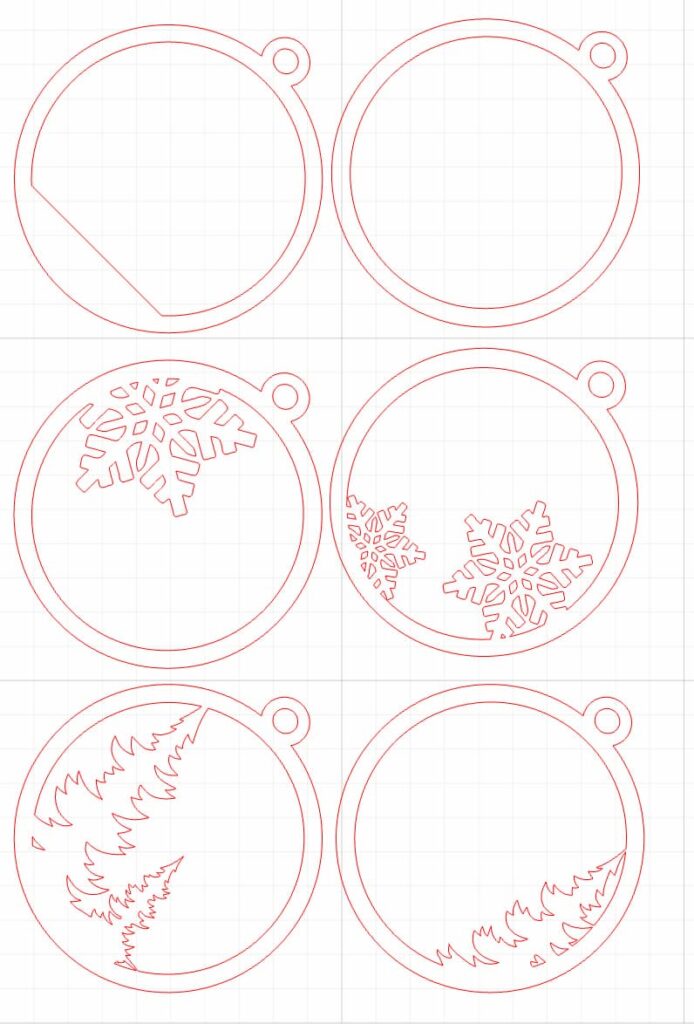
When making two-layer designs, it’s helpful to have both next to each other so that you can see how the designs will overlap.
To make the snowflake and tree designs: Place the design object, such as the tree, around the edge of the ring. You want a good amount of the tree to overlap with the ring for a secure attachment.
Once the design is in place, select both the inner ring and the tree, and use the Subtract tool to connect them. This embeds the object within the ring so it will cut out as one piece.
tip
Notice how the baubles are placed at 45-degree angles? That’s to save space when cutting them out and use less material.
Step 3: How to Edit Images for Custom Ornaments
Here’s how to customise a shape to exactly what you want. You’ll see on this tree shape that it attaches to one side of the bauble ring and not the other. Ideally, you want the design to connect with as many places of the outer ring as possible to make it stable.
To customise it, you edit the nodes.

The nodes are the different building blocks of the shape. You can add more nodes, you can take them away, and you can move them. This is what you’re going to do to change the tree shape slightly so that it connects to the ring.
This is a great way to add more originality to your design by customising it however you like.
Check out the YouTube video to see how to customise these shapes and add words to baubles in more detail.
Step 4: Laser Cut Ornament Designs
These designs were cut on 2mm Ceiba plywood. And while all machines and materials vary, I used Power 100 and Speed 6.
But you may see that the tree and present at the bottom did not cut out entirely.
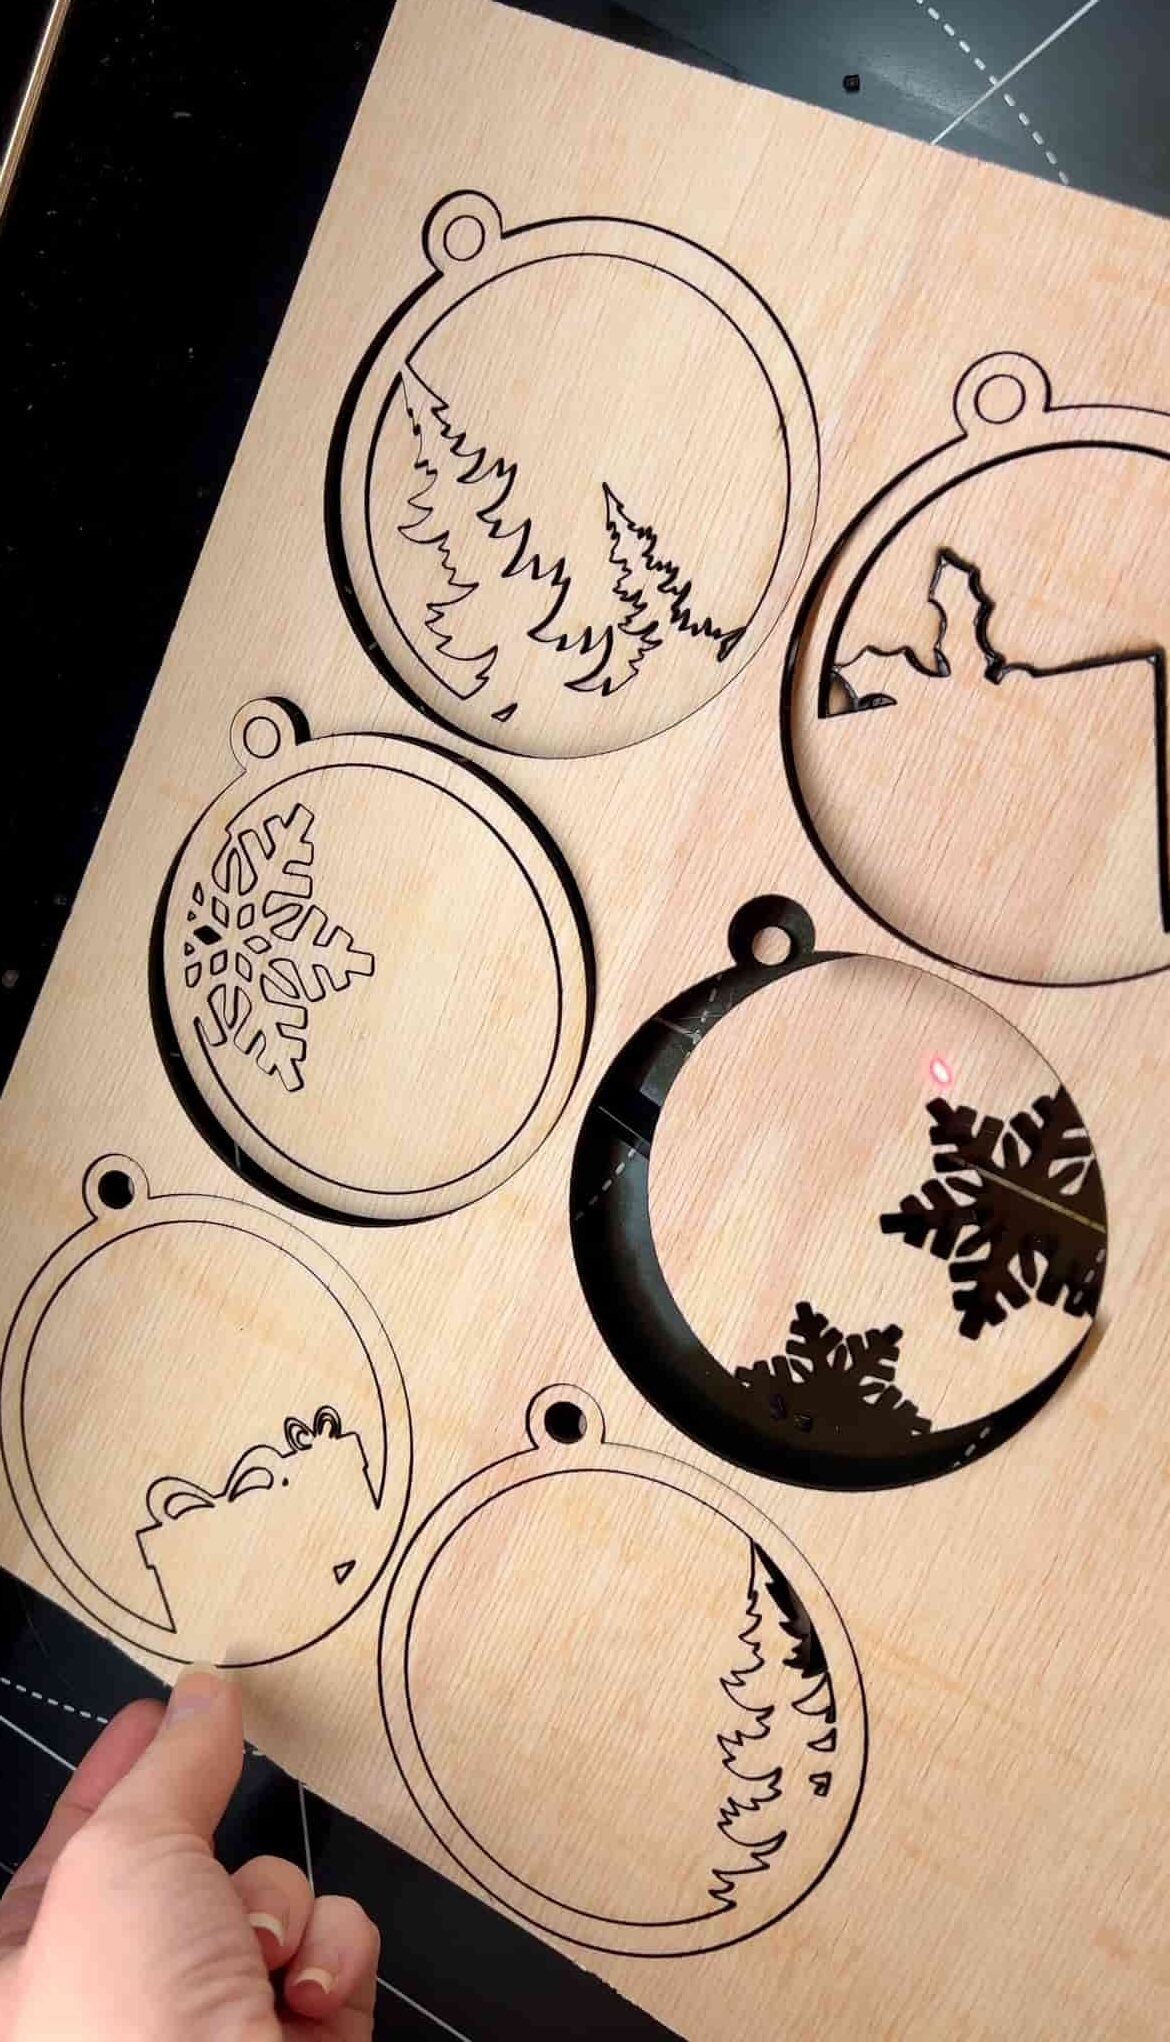
This happens sometimes. It doesn’t mean that your settings are wrong.
The fact that everything cut out in other places on the board but not these two on the same side suggests it’s a wood issue, not a settings problem. There’s a good chance that there was more glue in that side of plywood or possibly the wood was warped there.
This is normal and part of the process sometimes.
Step 5: Clean Laser Cut Ornaments
Once your laser-cut ornaments are cut out, they need cleaning. The outline of where the cuts were will have soot on it.
Fortunately, there’s an easy solution. The soot comes off easily with white vinegar and a cloth.
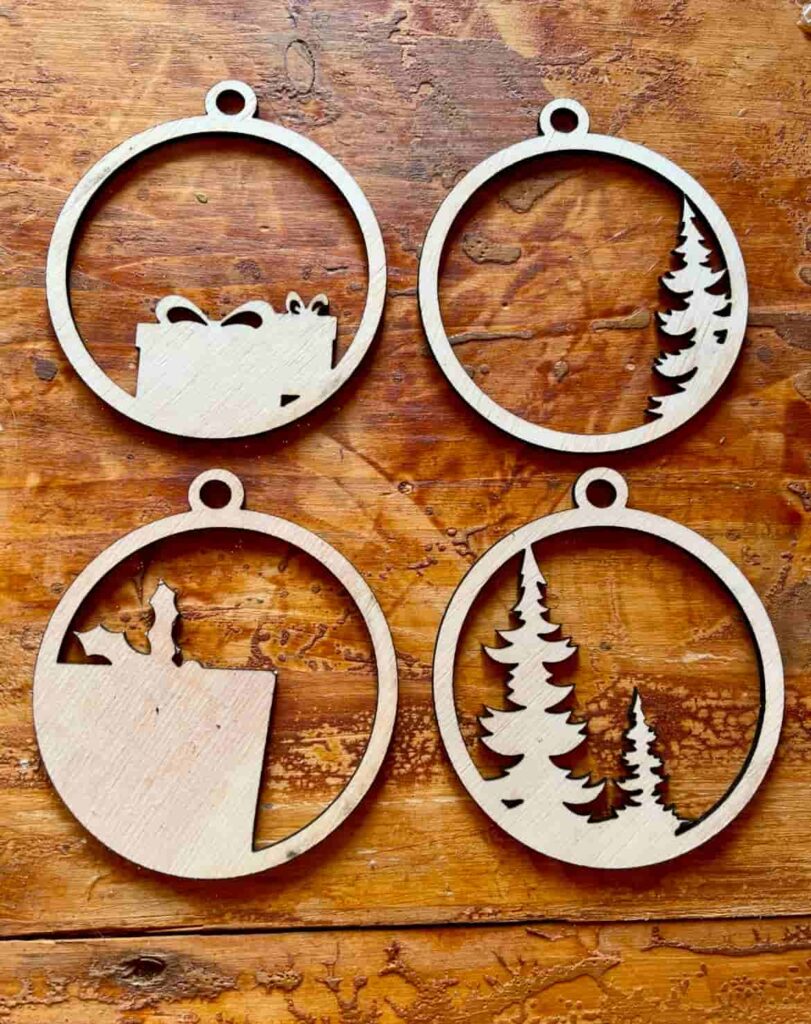
A bonus is that it also reduces the cutting smell. The smell does subside over time but this is a way to knock it back quicker. Sealing it with varnish also does the job.
Step 6: Decorate the Laser Cut Ornaments
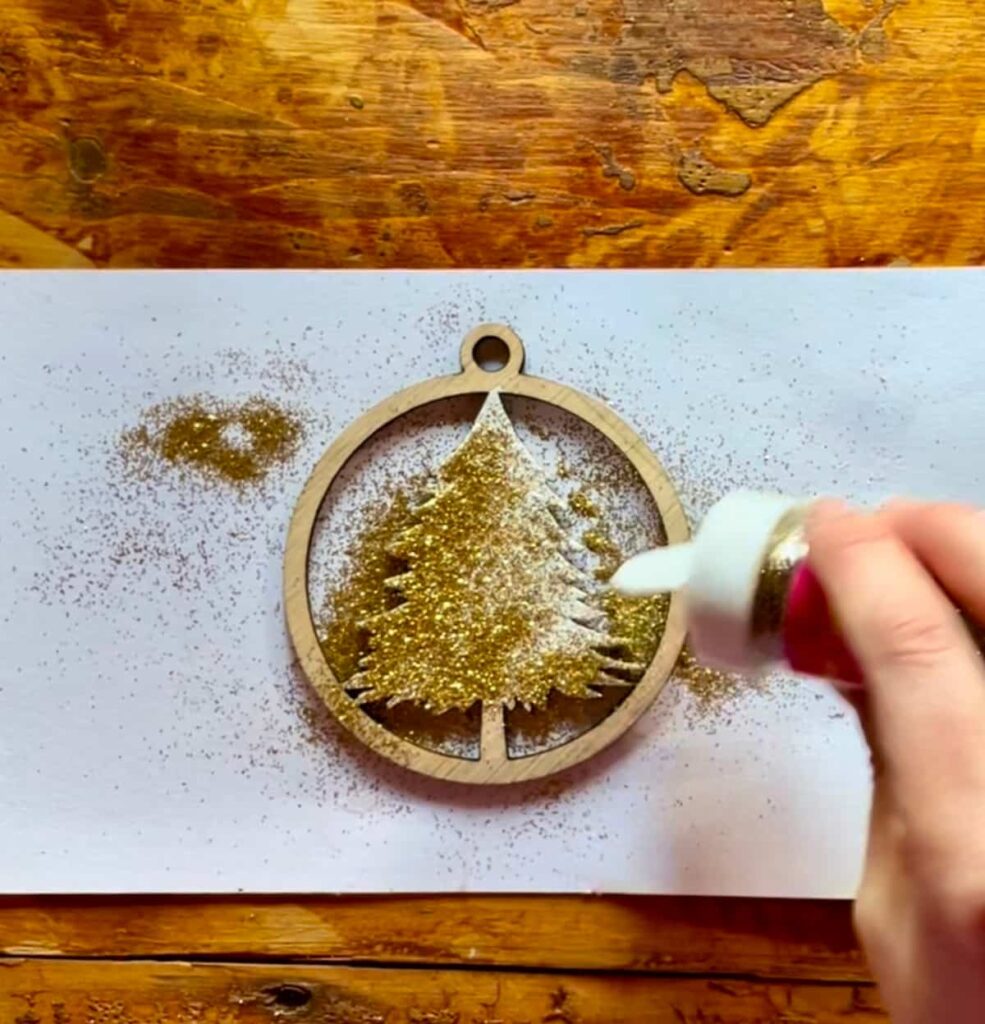
Add your unique touch with paint or glitter. You can highlight small details or cover the entire ornament with a layer of sparkle. For multi-layered designs, ensure the layers align perfectly to showcase the intended details.
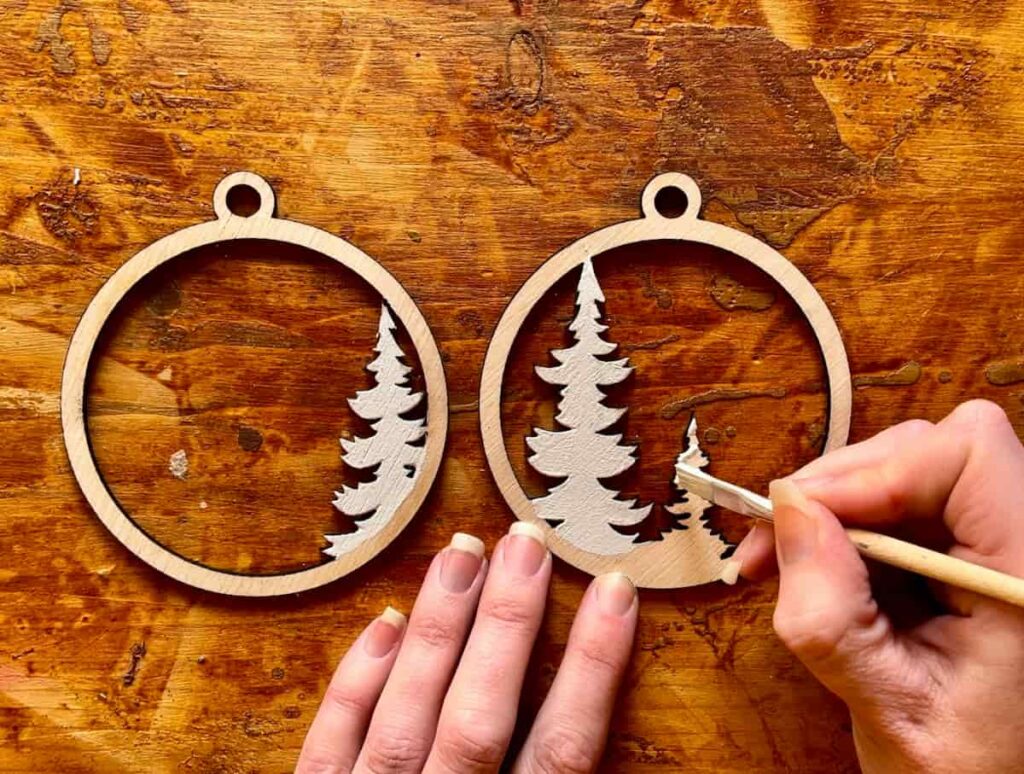
Just as with the painting, you can add glitter sparingly or go all out.
You have the freedom to glitter all of the shape or add little shiny accents. There’s so much flexibility in how you can decorate. But even the smallest amount of glitter adds a special sparkle to a tree ornament.
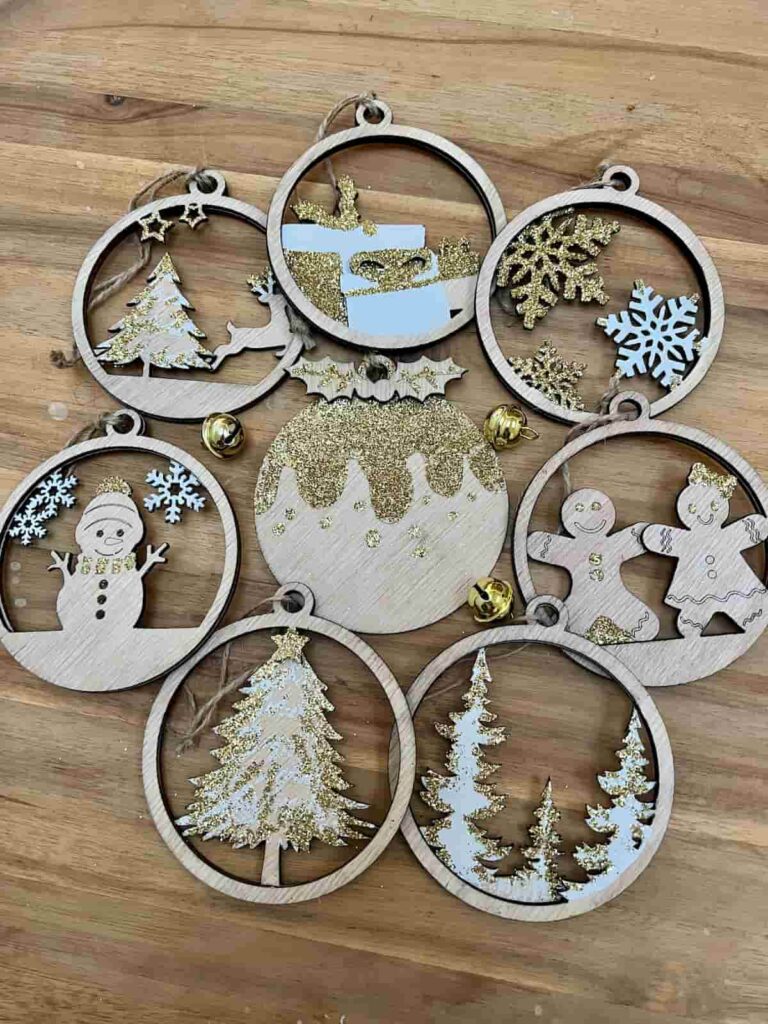
This Christmas pudding is a different style to the others but too adorable not to share. The two layers here are built up with the holly and berries at the top.
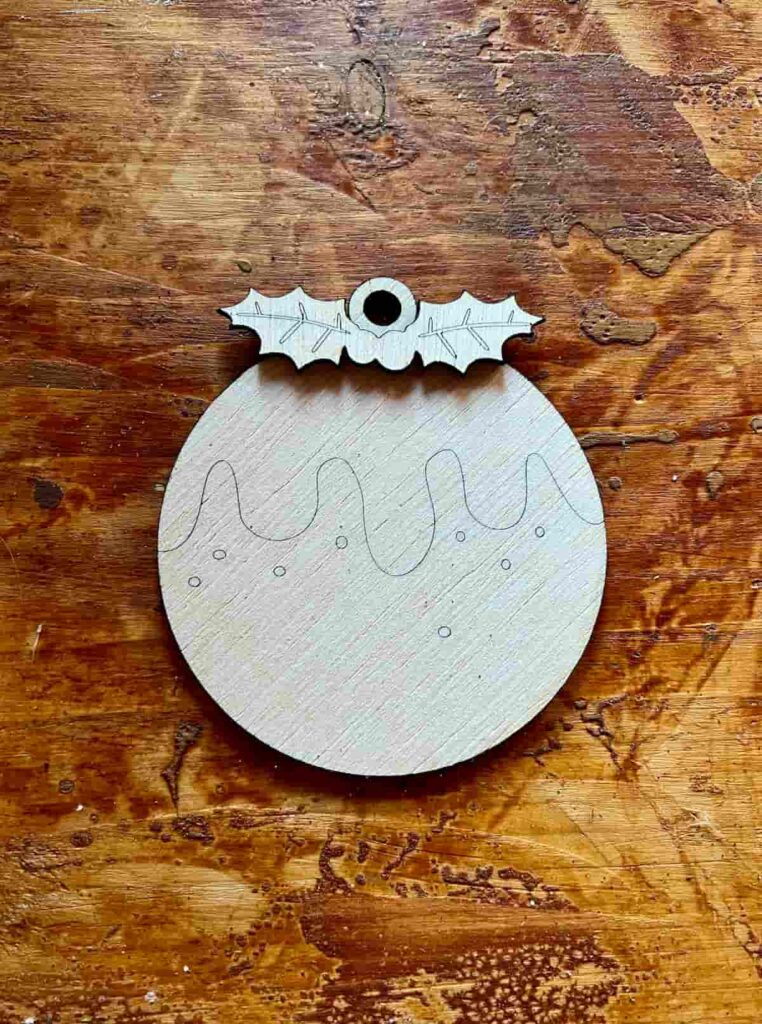
Most of this design is brought to life by the score lines on the image. Scoring, rather than engraving or cutting is great if you are not confident in your painting or drawing ability.
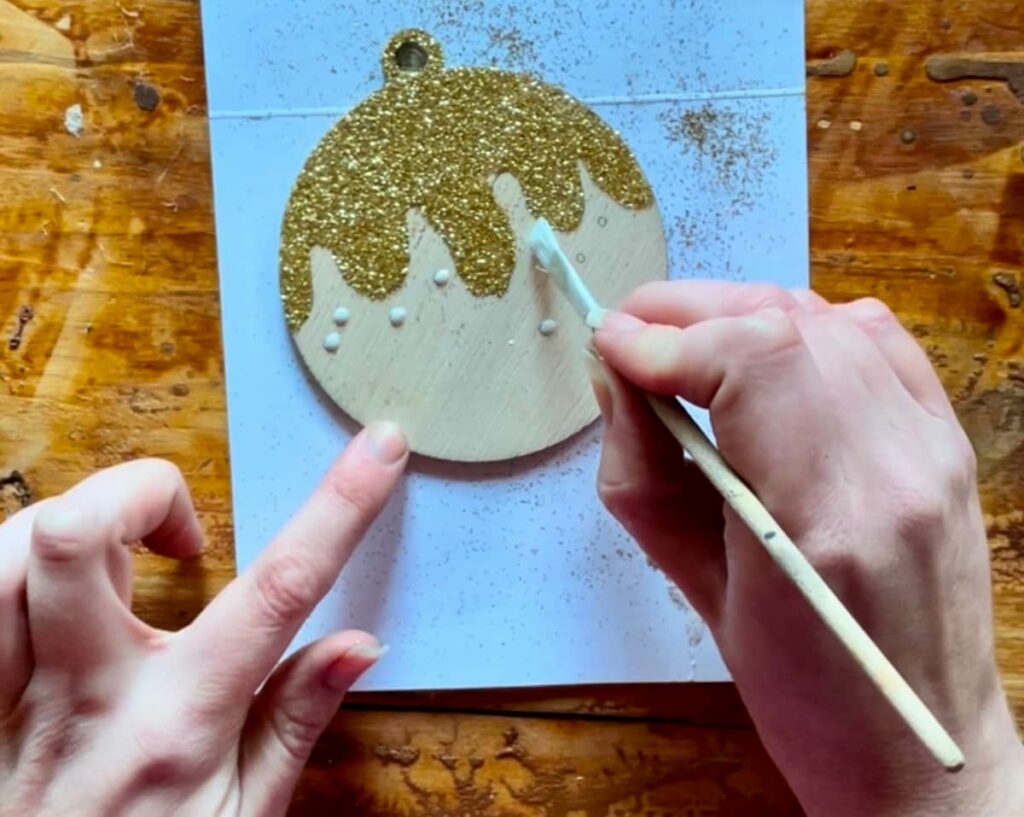
It gives you the placement of your embellishments for you. For this, you simply follow the lines for where to add your paint or glue.
The fun thing is that you can decorate these however you like, such as using different paints for realistic colouring. Or no paint and just glitter to build up layers of colour. Alternatively, you could add coloured card to the back of the entire bauble to give it a more solid look.
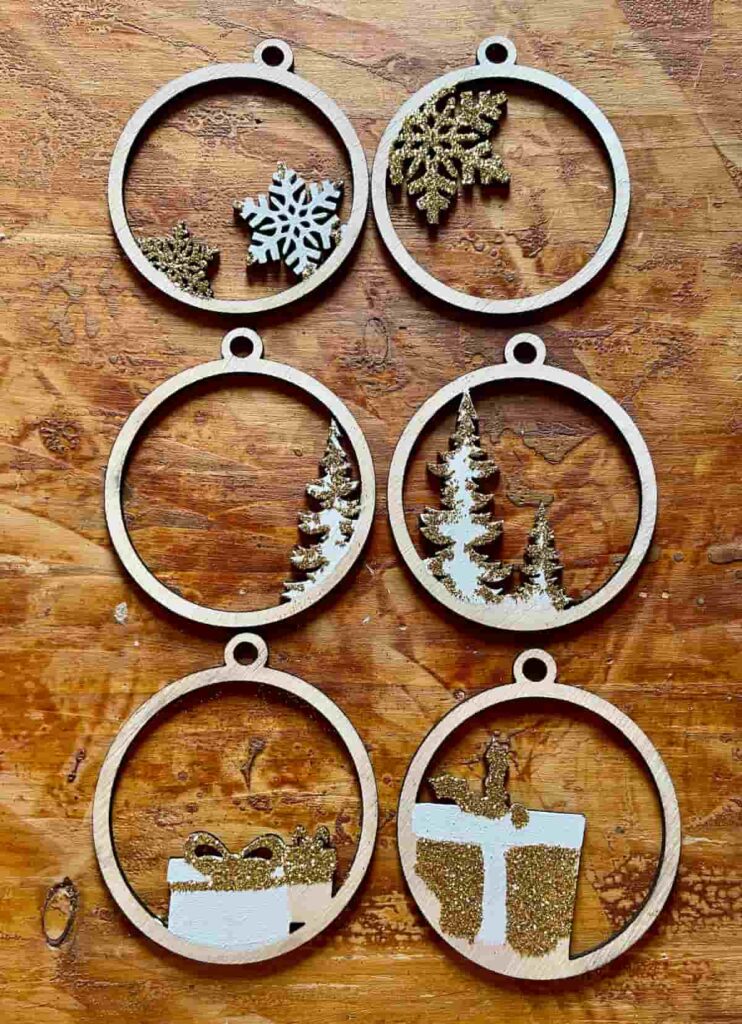
The important thing is to make sure that your two layered designs line up properly to show the areas you want.
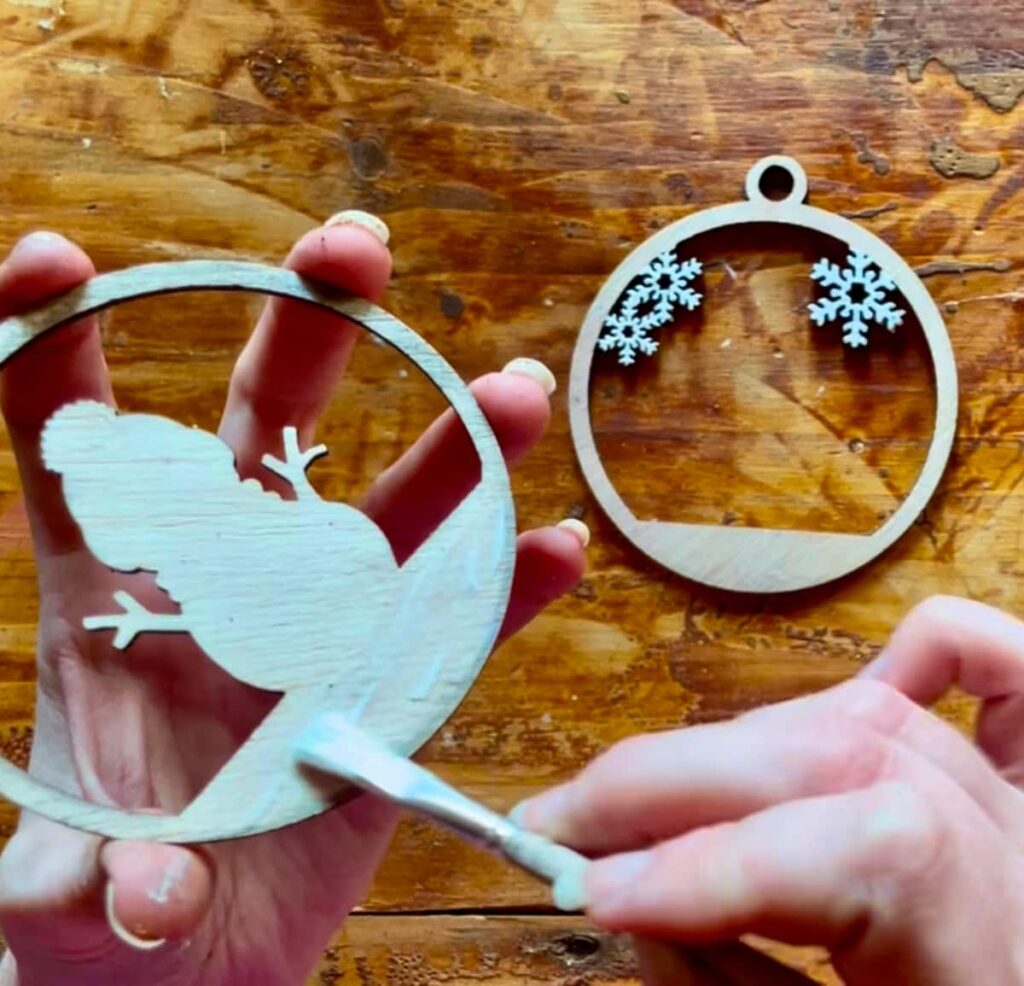
Step 7: Attach Two Layers With Glue
As the plywood is light and thin, you don’t need very strong glue to secure the two layers. White glue or hot glue will both work well.
Make sure to glue the back of the top layer only where it will connect with the bottom layer.
Laser Cut Christmas Ornaments
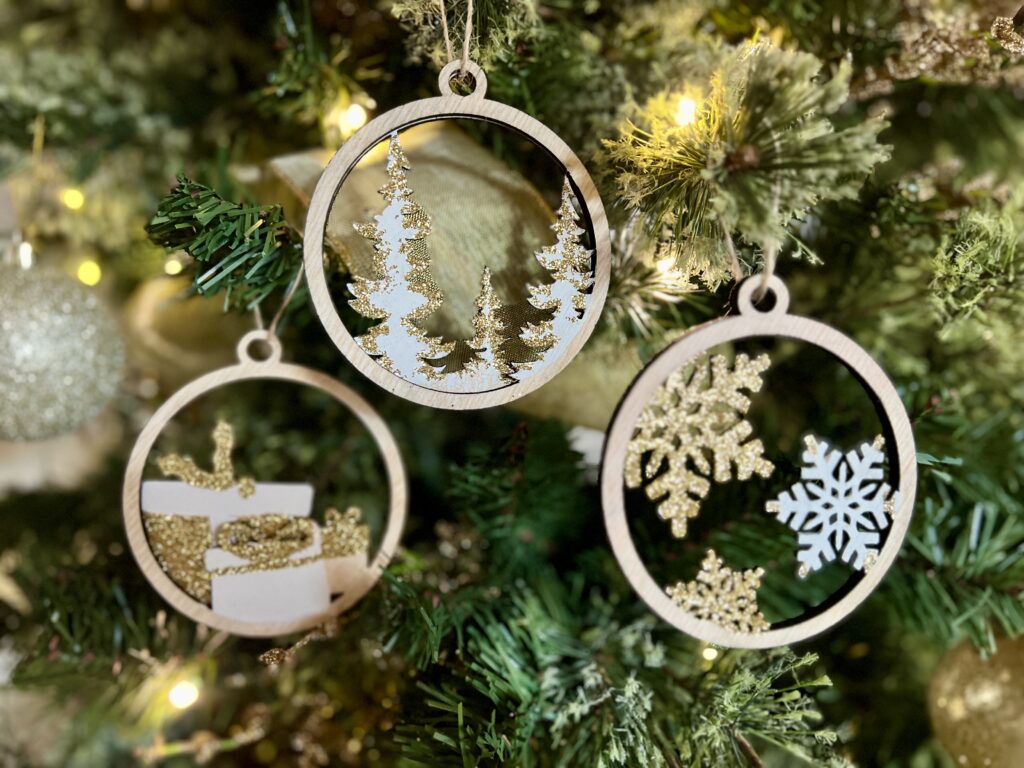
Whether you keep the designs simple or go all out with glitter and paint, these wooden ornaments bring a touch of handmade charm to your tree.
And a little touch of glitter here and there really catches the sparkling fairy lights on the tree.
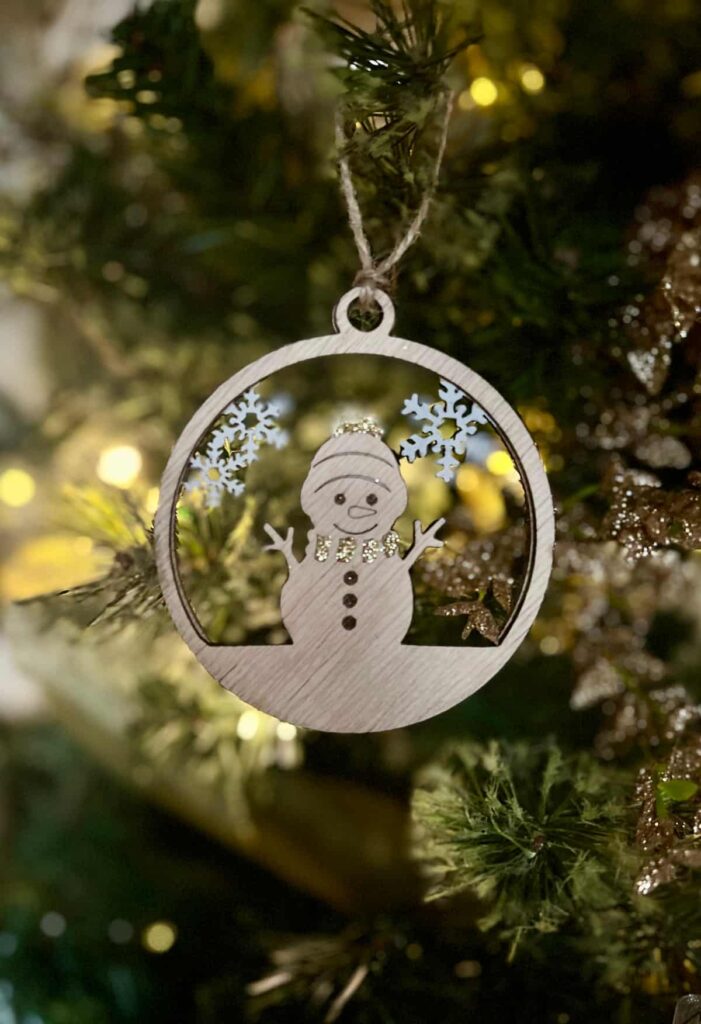
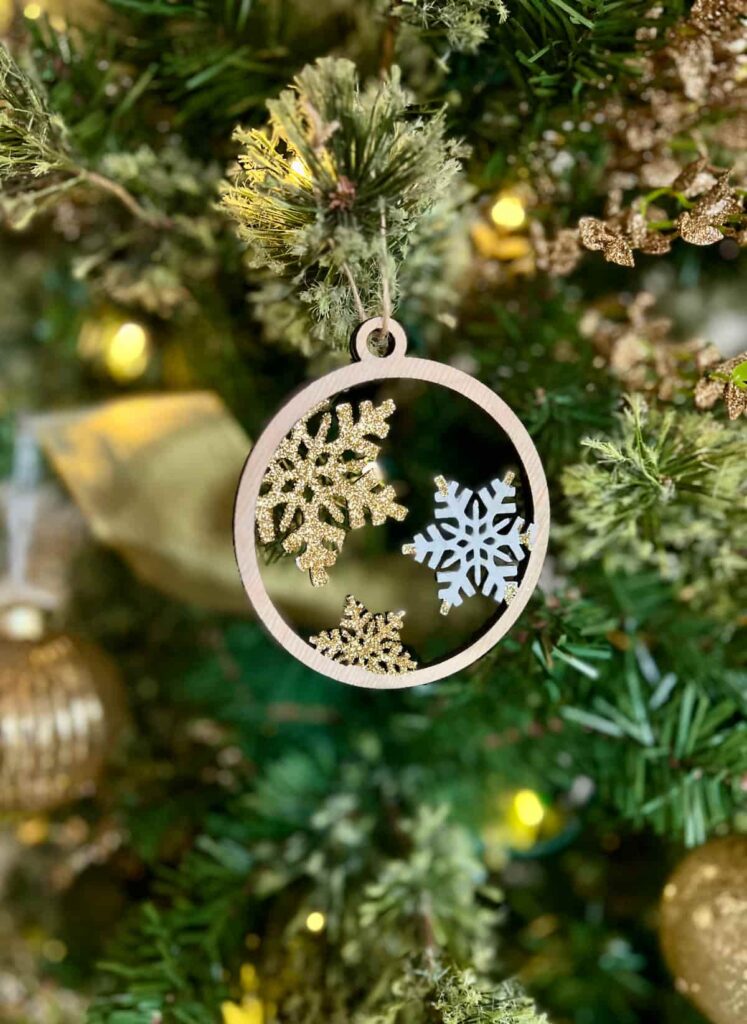
You can see the difference when just adding a touch of glitter to the end of the snowflake. It gives such a different feel. Something that’s fun to play around with to decide what your favourite look is.
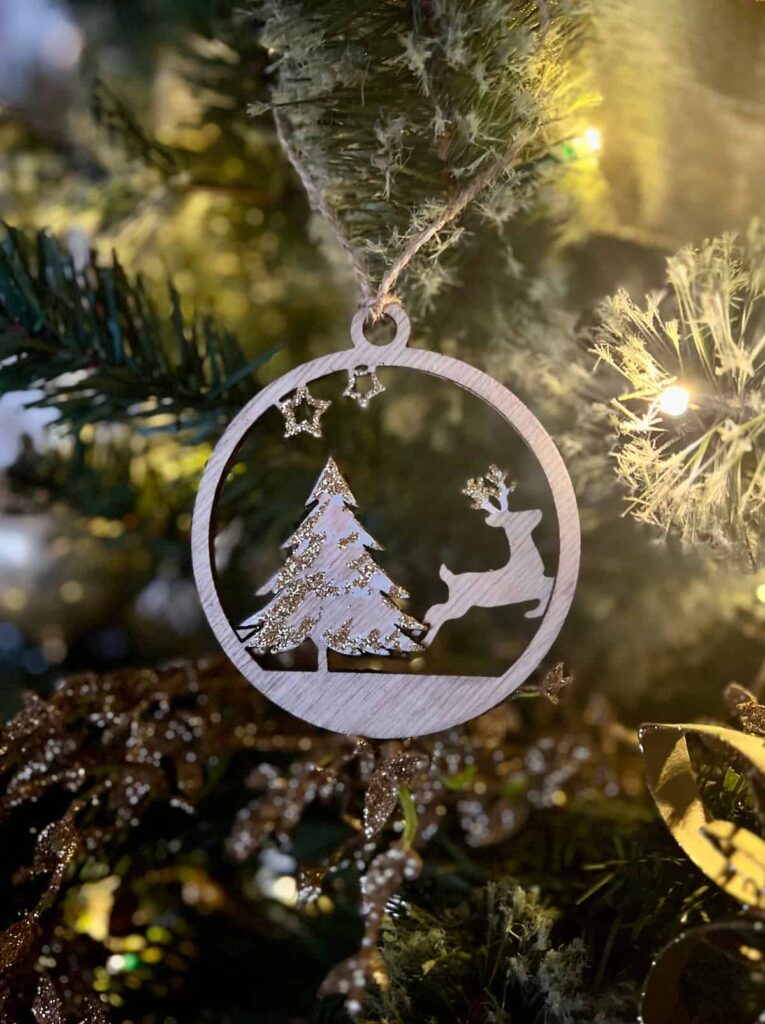
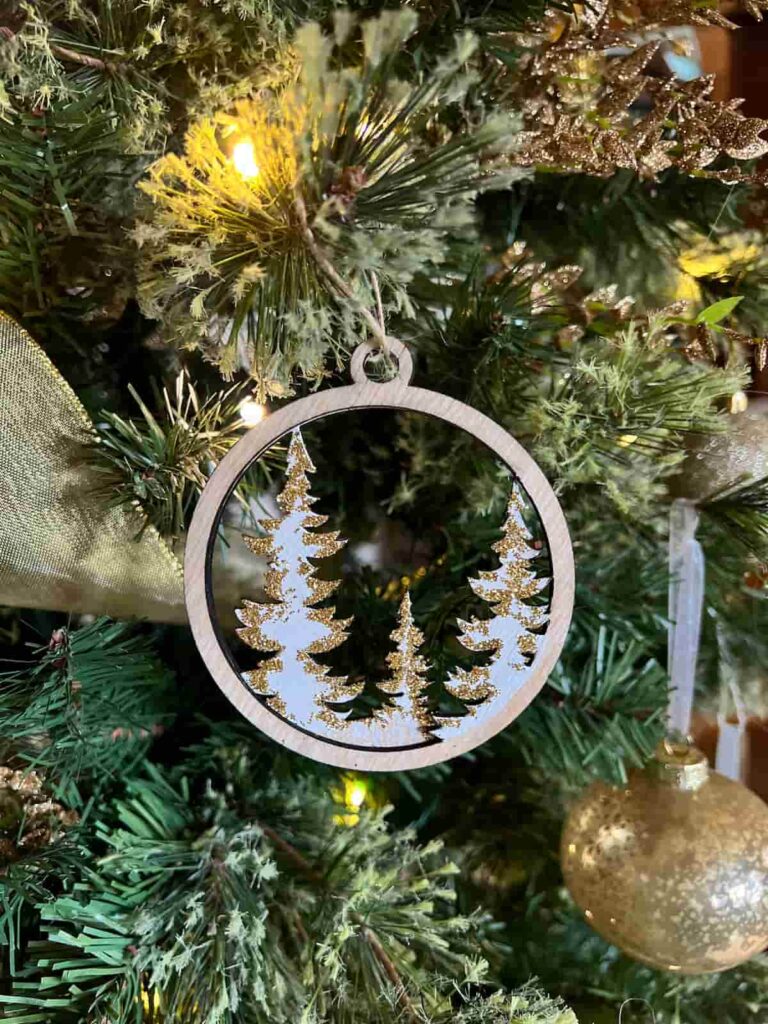
Wintery trees will always look beautiful in a festive setting. The touches of white paint for snow and glittery branches. It really is charming.
It’s a lot of fun to make so many different designs. The options really are endless.
Tips for Design and Decoration
Maximise the Material: Rotate your designs at 45° angles when laying them out to save material during cutting.
Scoring vs. Engraving: Use scoring lines for designs like for the Christmas puddings to guide your painting or embellishments. This technique is especially helpful if you’re not confident in freehand painting.
Layering: Add depth by backing your designs with coloured card for a multidimensional look.
Don’t forget to check out my YouTube video for more tips and detailed demonstrations. Happy crafting, and enjoy the festive season!
How to Make Laser Cut Christmas Ornaments Instruction Video
You can find more video tutorials on our Youtube Channel
Did you make this craft?
I love seeing what you do. Please mention @teaandforgetmenots and share your creations with me!
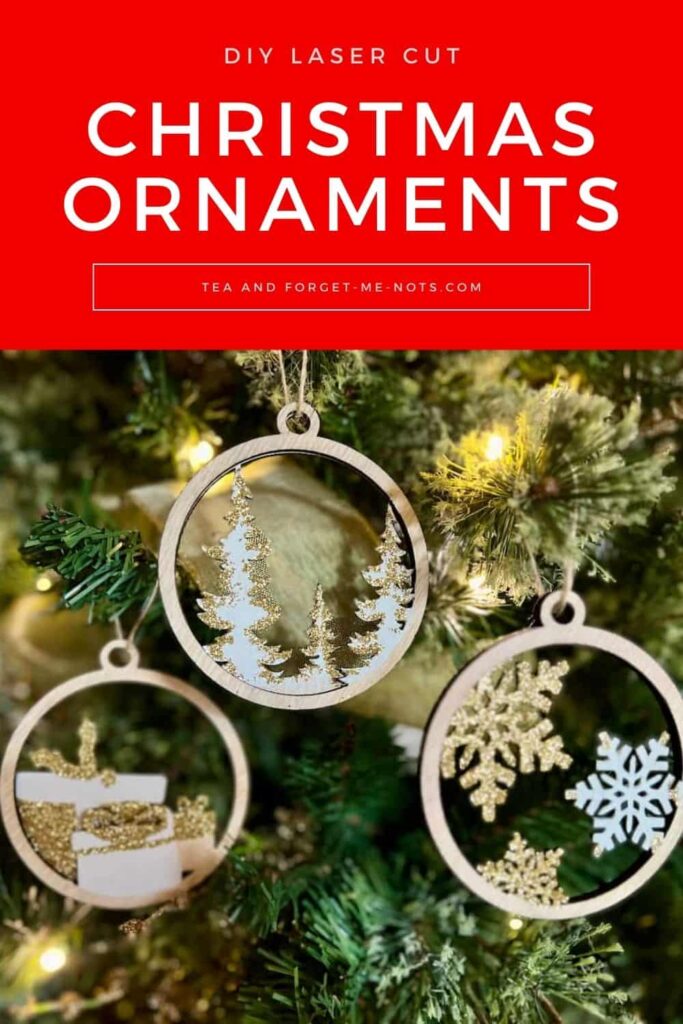
Pin it for Later – Laser Cut Christmas Ornaments
Hi there! I'm Rachel Bowyer, a passionate DIY enthusiast with a knack for transforming the old into something beautifully new. With a deep love for furniture painting, refinishing, and the art of crafting. I've been documenting my DIY projects and restoration journey since 2018. I specialise in techniques like decoupage, stencilling, and decor transfers. Join me as we explore the world of creativity and home improvement, one project at a time.


