DIY Yarn Heart Shaped Wreath For Valentine’s Decor
Looking to add some love and charm to your Valentine’s home decor? Look no further than a DIY heart-shaped wreath!
Whether you’re celebrating Valentine’s Day, or simply love romantic decor, a heart wreath is the perfect addition.
This guide takes you through the easy steps of creating your own heart-shaped wreath with yarn.
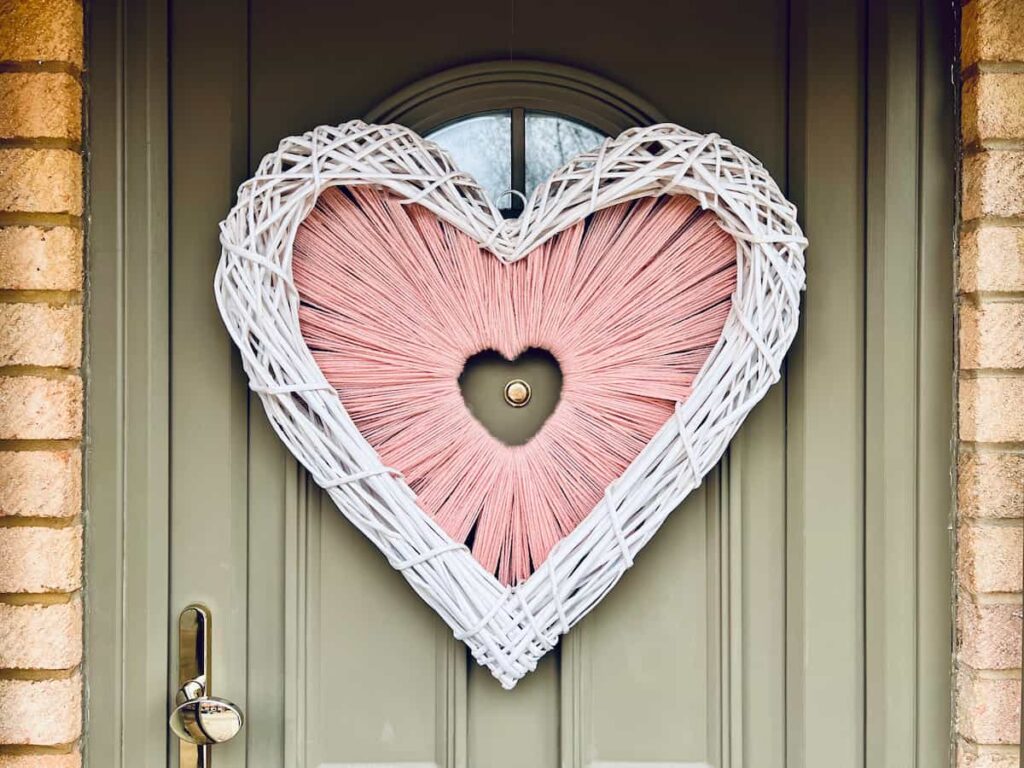
Learn How to Make Easy DIY Heart-Shaped Wreath
This is a simple DIY craft project that looks beautiful and is easily adapted. With a little time, it’s a great mindful craft to do sitting down and relaxing over an evening or two.
Why might you want to make a Valentine’s Day wreath with yarn?
- It looks impressive.
- It’s simple to do.
- It’s a relaxing, mindful craft.
And if you want to DIY the wreath frame too? Here are the step-by-step instructions for a heart-shaped grapevine wreath.
How to Make a Heart Wreath Step by Step
Materials you’ll need
Step by Step Instructions
Step 1: Supplies Needed for a Valentines Heart Wreath
You don’t need many supplies to create this yarn wreath. You only need the wreath, yarn, a needle and some wire.
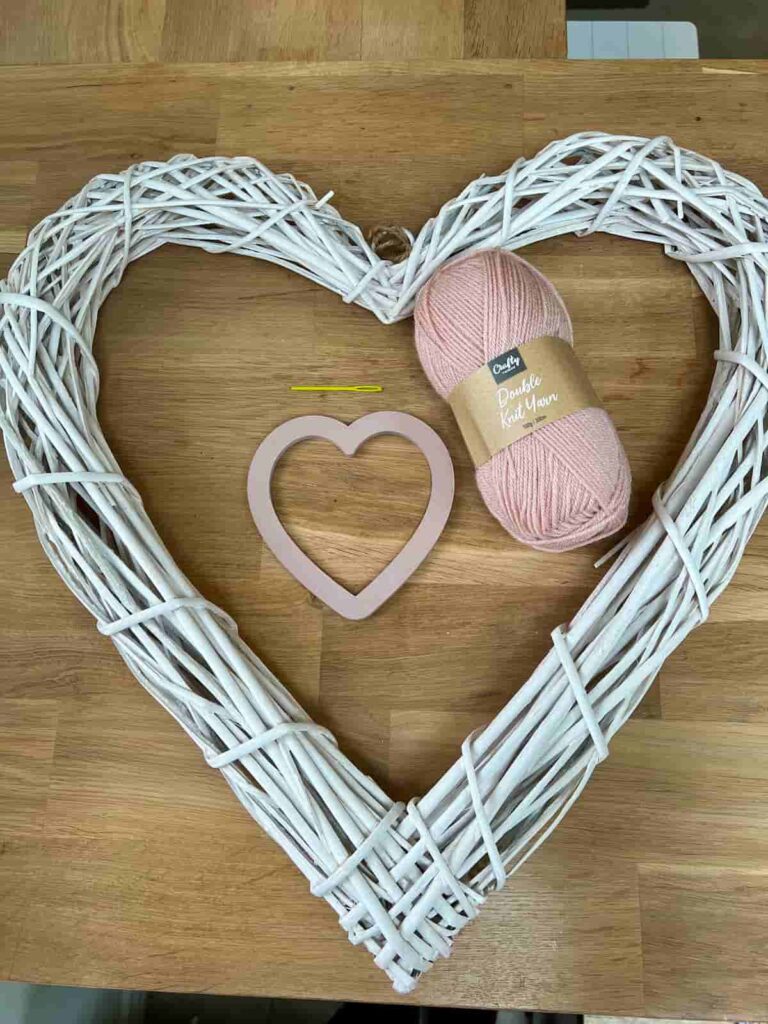
I chose the classic Valentine’s colour of a dusky pink. Other good choices would be red or white. And instead of yarn, another great idea would be to use fabric strips, red felt, ribbons or even nautical rope. It depends on the look you are going for.
Step 2: Laser Cut Heart Insert From MDF
You can use two different sizes of heart-shaped wreaths for this project. As my two wreaths didn’t match, I created the smaller heart from MDF instead.
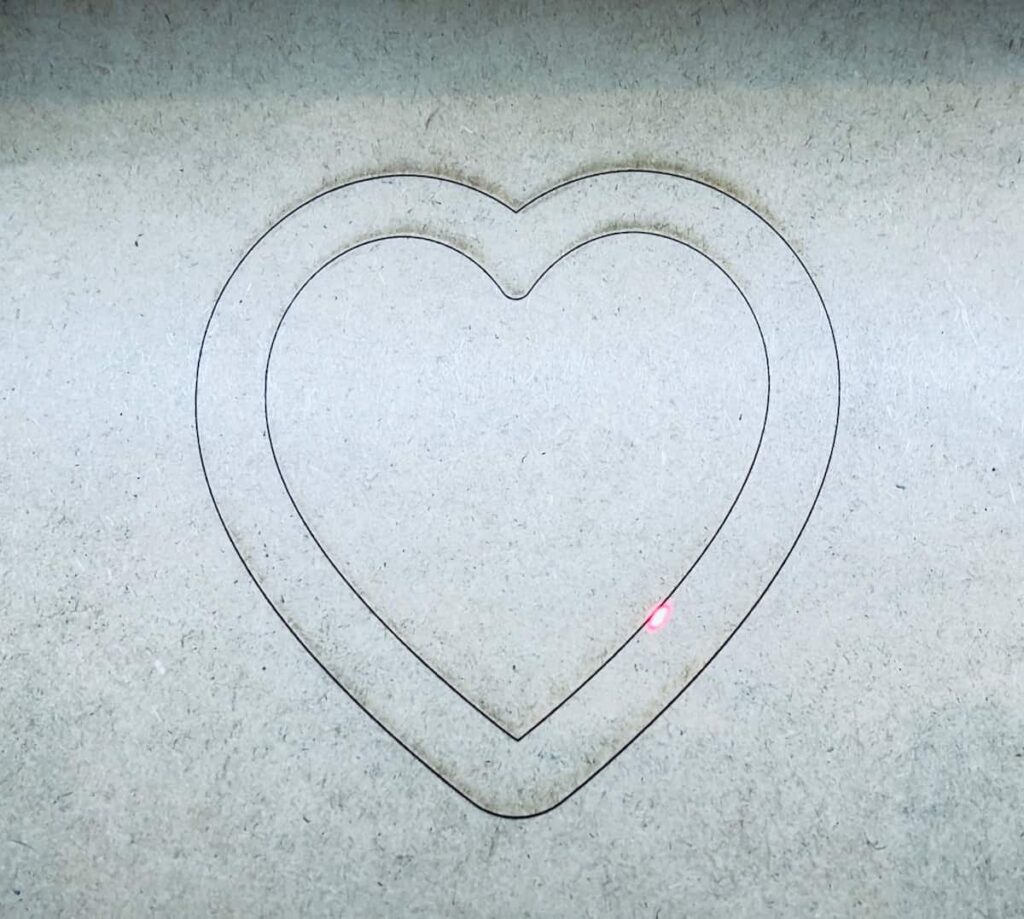
You can do this with a laser cutter or cut it out by hand. Using thick cardboard would also work for the second shape of a heart.
Step 3: Paint MDF Heart to Match Yarn
If you start with an MDF DIY heart wreath form like mine, it’s a good idea to paint it to match the colour of the yarn.
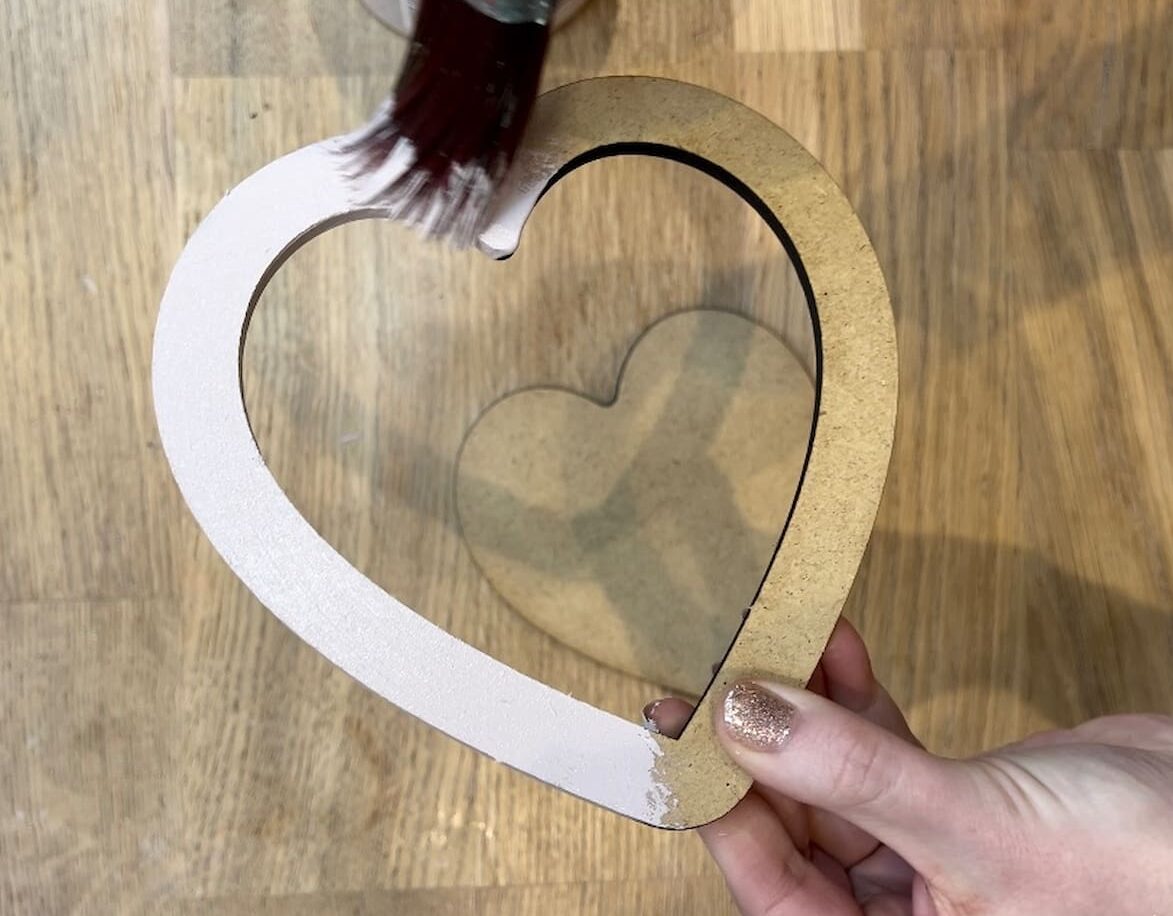
This is so if there are any gaps in the yarn, the brown MDF will not be visible underneath.
The best match for this dusky pink yarn was a pink paint called Conch.
Step 4: Attach Inner Heart With Wire for Stability
As yarn is not very strong, you can first connect the inner heart shape with wire. This will make sure that the heart stays lined up in the centre while you are attaching it.
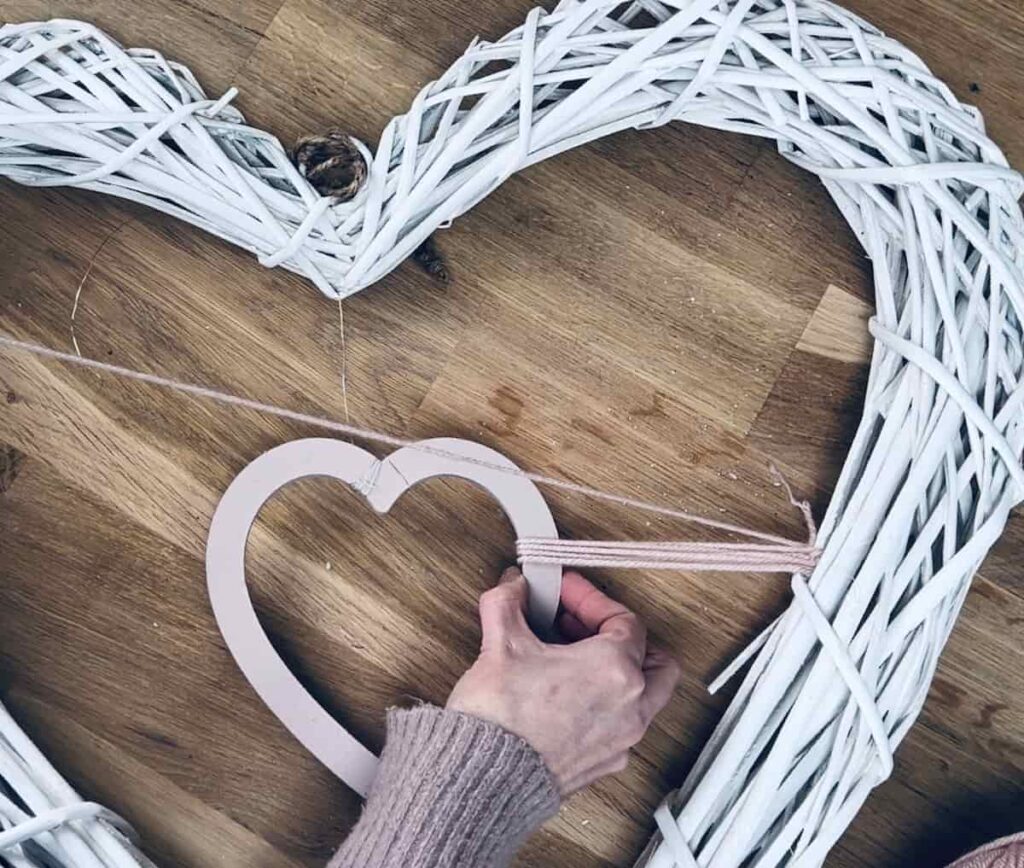
To begin, knot a little bit of the yarn around the back of the wicker heart-shaped wreath form. Then thread into the centre of the inner heart and back again.
You want to keep your yarn quite tight without overstretching it.
Step 5: Thread Yarn Between Heart Shapes
Ideally, use enough yarn to thread it back and forth about 4 times. You don’t want to use too much yarn at any time. The more times it gets threaded through the wicker heart, the weaker it will get.
When you reach the end of your yarn, simply knot a new piece of yarn to the end and continue. If the knot is visible, move it to the back so that it is hidden by other strands.
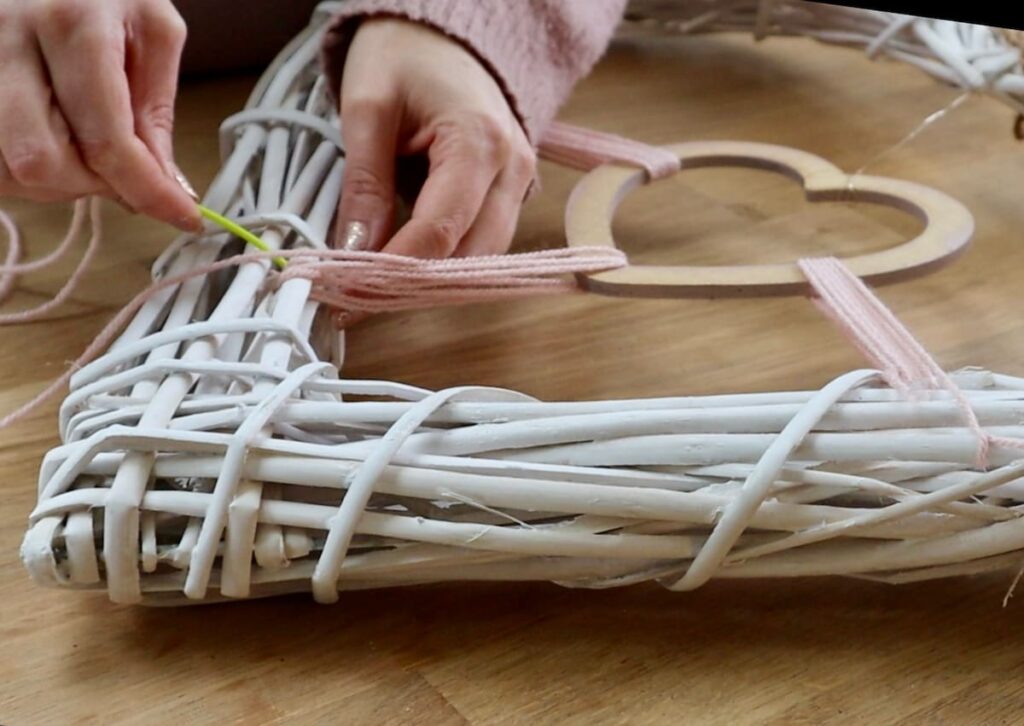
It’s helpful to work in sections on each side of the heart. Rather than working methodically around the shape. You are more likely to keep the heart central this way, by not pulling it too much to the side being completed.
Once enough yarn is attached you can remove the original wire that was keeping it in place.
Step 6: How Long Does it Take To String the Yarn?
These hearts took approximately six hours to string together. It’s hard to believe!
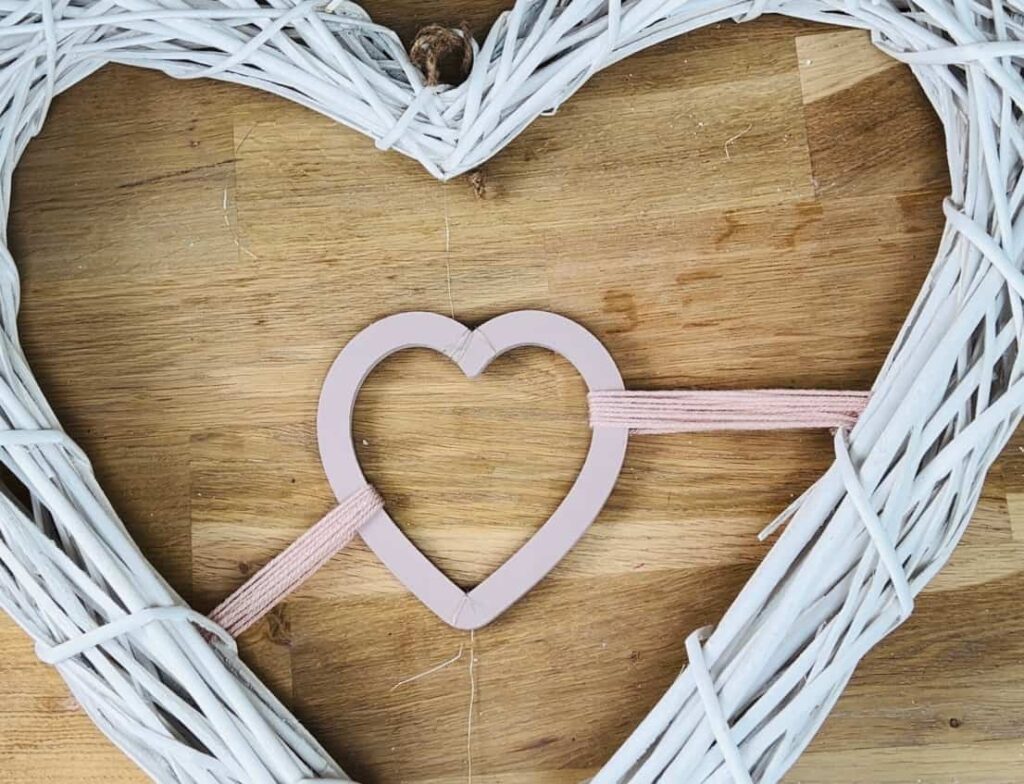
But it was a relaxing process and fun craft. So, if you have the time to enjoy it, don’t be put off by the time it takes.
Naturally, the more dense you want the yarn, the more yarn you will need and the longer it will take. These heart wreaths took less than one ball of yarn to complete.
One challenge was stopping the yarn from slipping off the inner point of the smaller heart. With enough yarn strands to the sides of the point, it was eventually held in place.
However, if you have a hard time with this, you can use a dab of hot glue to secure the yarn in that area.
Step 7: Straighten Yarn for Uniform Lines
The final step is to straighten out the strands of yarn. Simply use a finger to adjust where the yarn strands don’t lie in straight lines.
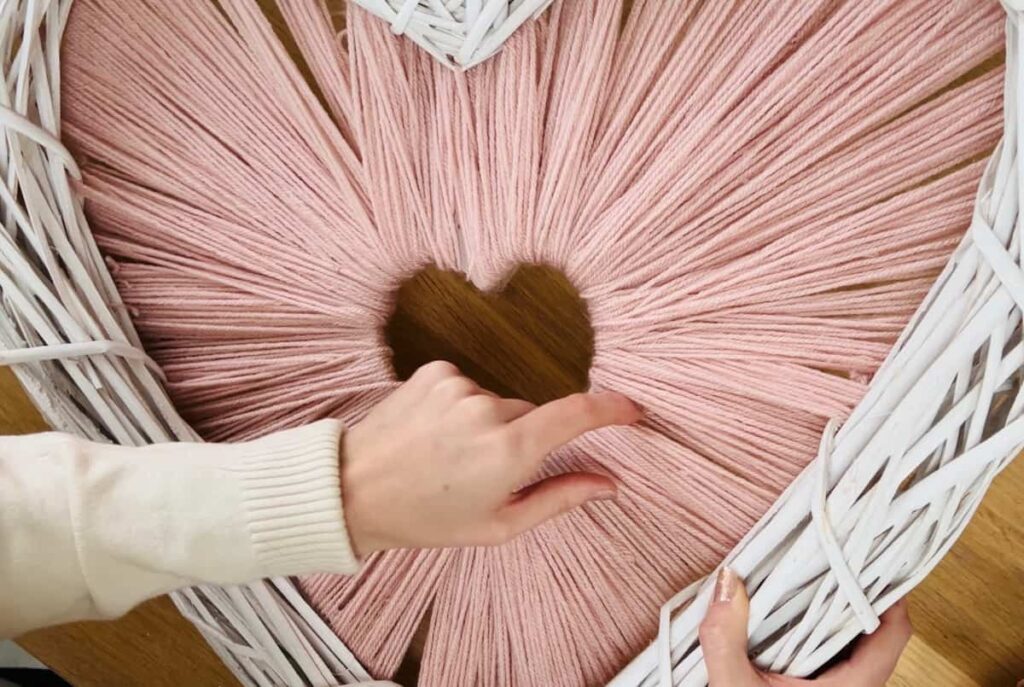
This may reveal gaps which you can fill in by readjusting strands or adding more yarn.
Step 8: Hang Your Valentines Heart Wreath
An easy way to attach this adorable wreath to a front door is with wire. You can use a floral wire, fishing wire or even a command hook and attach it to the top of the heart.
The wire goes up and over the door and attaches to the back of the door.
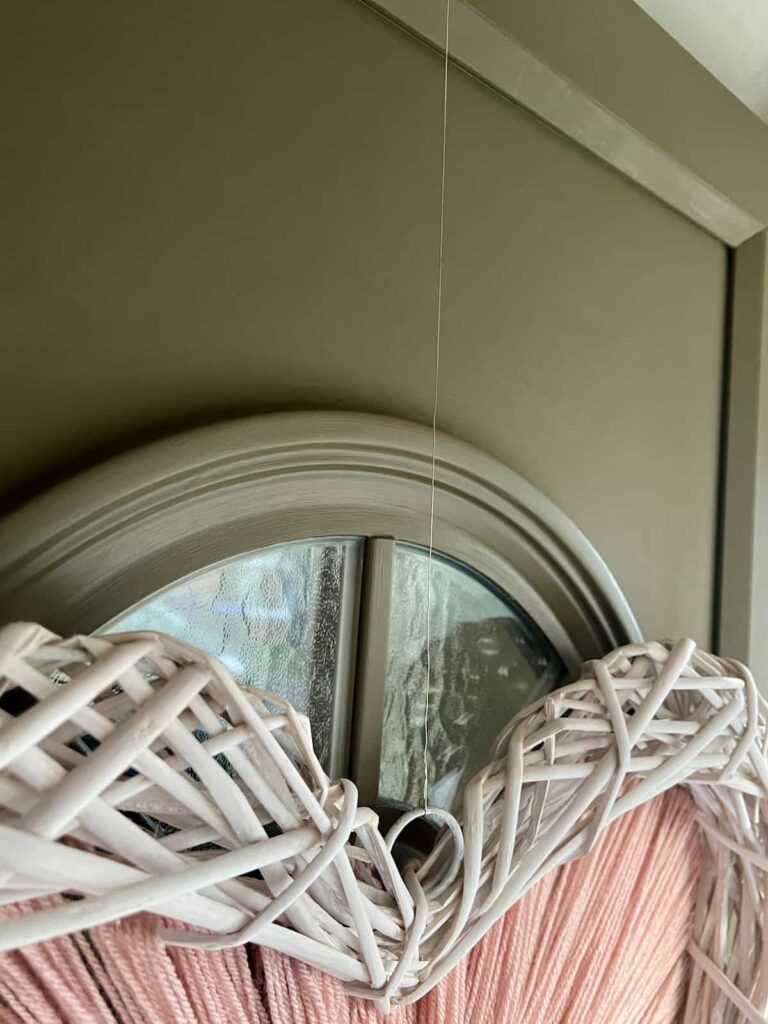
Depending on the weight of your original wreath, the addition of the yarn is very light. Therefore it probably won’t need a high load-bearing attachment.
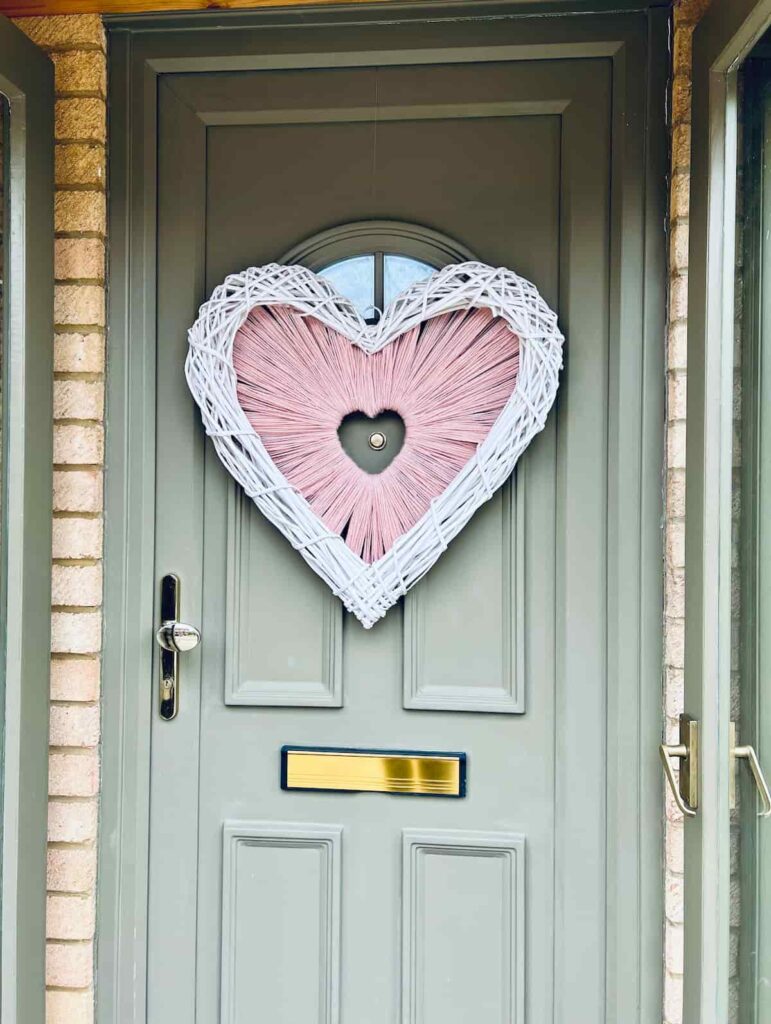
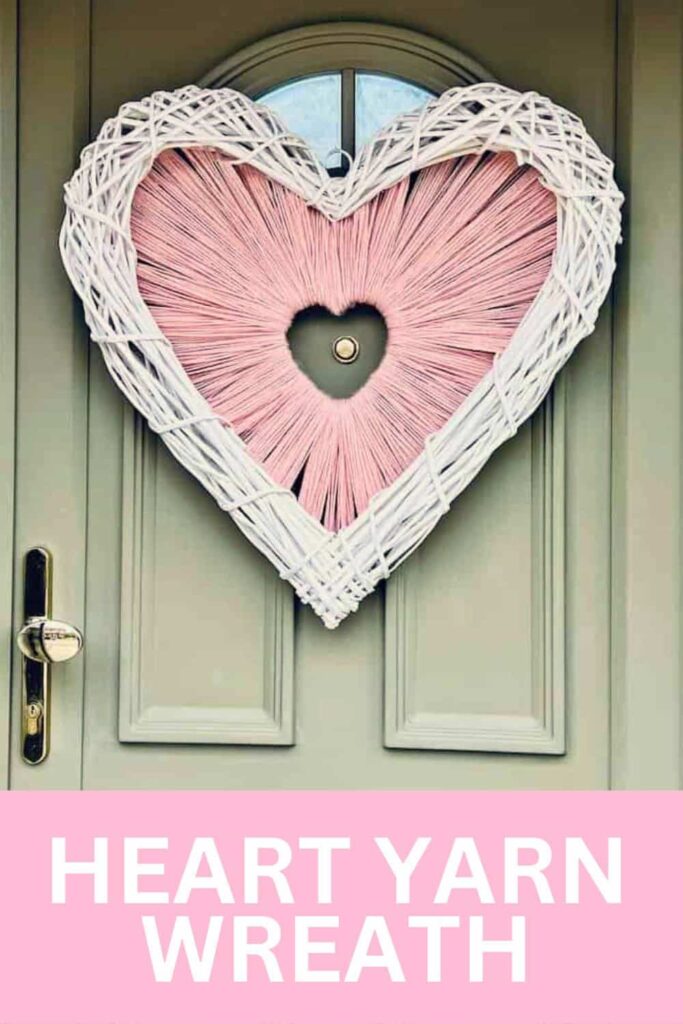
Heart Wreath with Pink Yarn
This is a simple and impressive way to create an interesting heart-shaped wreath.

You can vary the shape on the inside, change the colours of the yarn or even add multiple shapes. There are a lot of ways in which you can create an interesting Valentine’s wreath.
In addition, you can play with adding faux flowers to add to the overall design.
With white flowers such as baby’s breath or roses, it creates an alternative romantic feel.
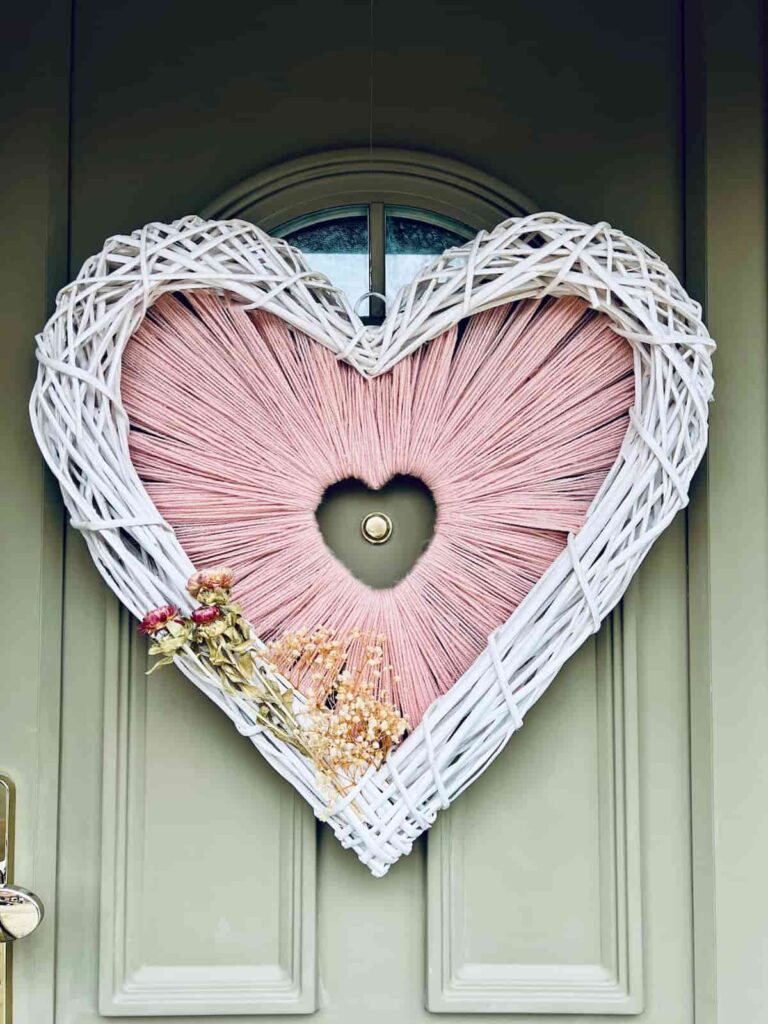
The great thing is you can play around with the design until you are happy.
This makes for beautiful and perfect Valentine’s Day craft. It’s budget-friendly, relaxing, and simple to do. What better way to celebrate the season of love than with homemade Valentine’s decor?
Happy Valentine’s Day!
See the Full Valentine’s Wreath Step by Step Video Tutorial
Answers to Your Questions About Making a Yarn Wreath
Q: How do you make a heart-shaped flower wreath?
A: Floral wreaths can be made in the same way as above. Embellish the yarn or heart form with faux florals to add a touch of romance.
Q: How to make a heart shaped Christmas wreath?
A: After making your easy DIY heart shaped wreath, giving it a Christmas look is simple. Use green, red or white, bottle brush trees or candy canes.
If you loved this project, you’ll love these projects too:
Did you make this craft?
I love seeing what you do. Please mention @teaandforgetmenots and share your creations with me!
Hi there! I'm Rachel Bowyer, a passionate DIY enthusiast with a knack for transforming the old into something beautifully new. With a deep love for furniture painting, refinishing, and the art of crafting. I've been documenting my DIY projects and restoration journey since 2018. I specialise in techniques like decoupage, stencilling, and decor transfers. Join me as we explore the world of creativity and home improvement, one project at a time.



A charming heart for your door or wall. Thanks for sharing the directions!
Thank you so much, Linda.