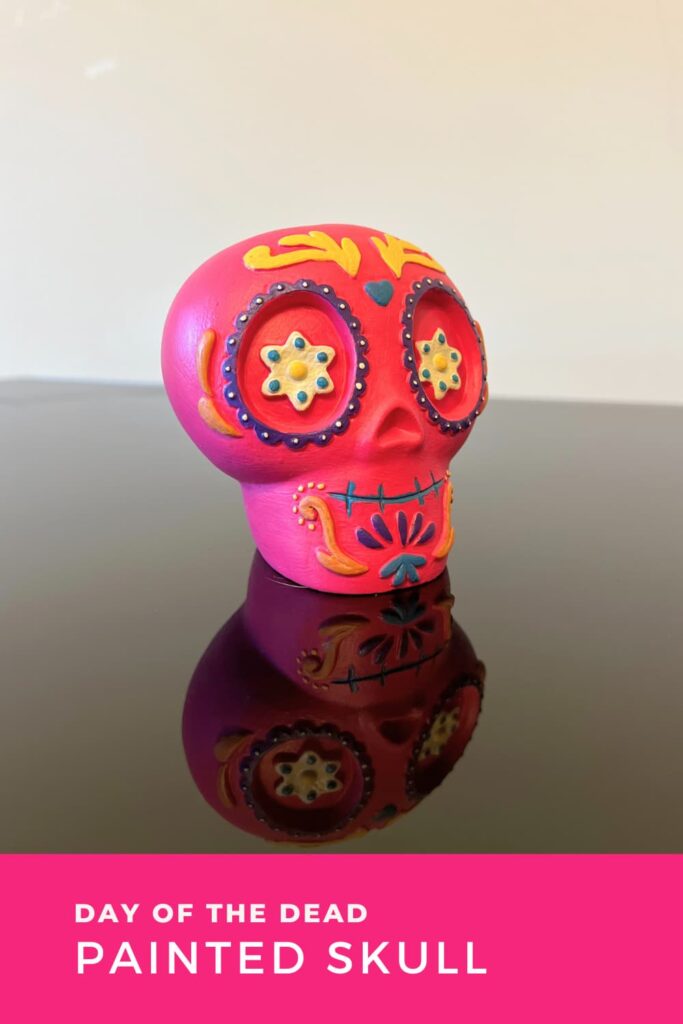
Easy Day of the Dead Decorations DIY Painted Skull
An iconic part of the Day of the Dead is the colourful skulls. Here’s how to make a vibrant Day of the Dead decorations DIY painted skull.
The Day of the Dead, or “Día de Muertos,” is a colourful Mexican celebration that takes place typically on November 1st or November 2nd.
Day of the Dead is a celebration of life. A way to remember and honour loved ones who have passed away. It is not a Mexican version of Halloween but an important and meaningful tradition.
Whether you’re planning a Día de Muertos party, or simply want to add some awesome Day of the Dead crafts and decor to your home, this guides you through the creative process.
One of the great things about painting your own skulls is that it allows you to add your personal touch to your decorations.
You can customise them with your favourite colours and designs. Or tailor them in different ways to someone special with the colours they love.
How to Paint a Day of the Dead Skull Step by Step
Materials Needed
Step by Step Instructions
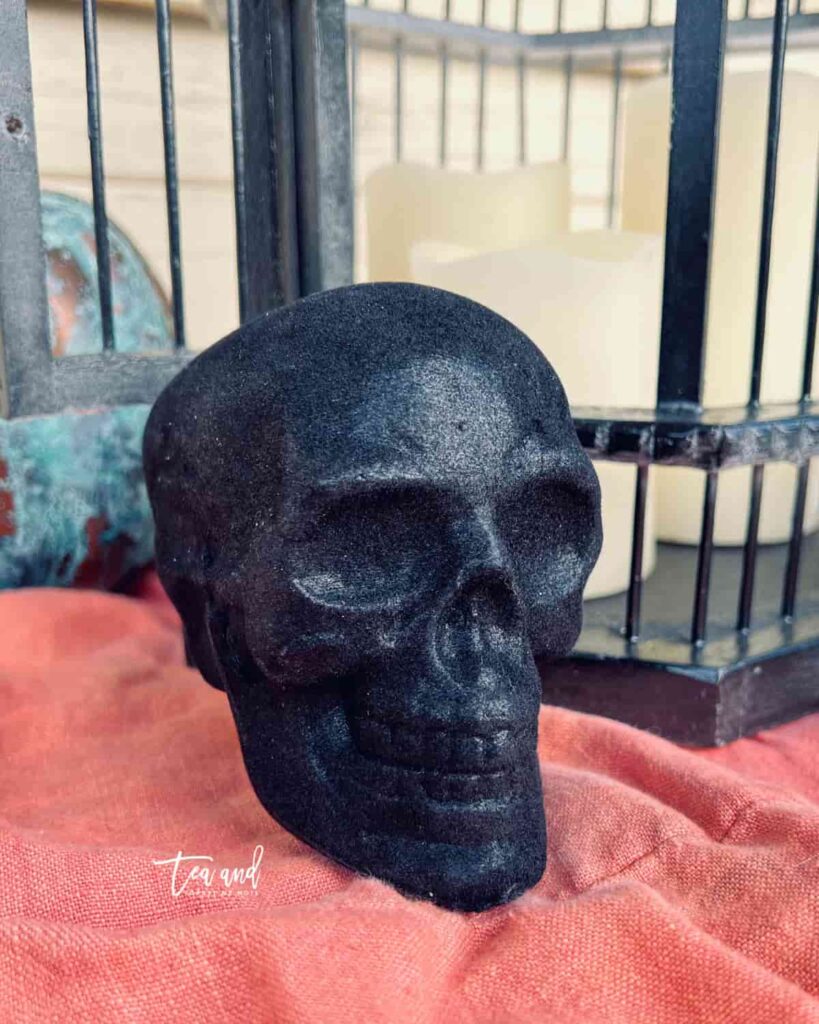
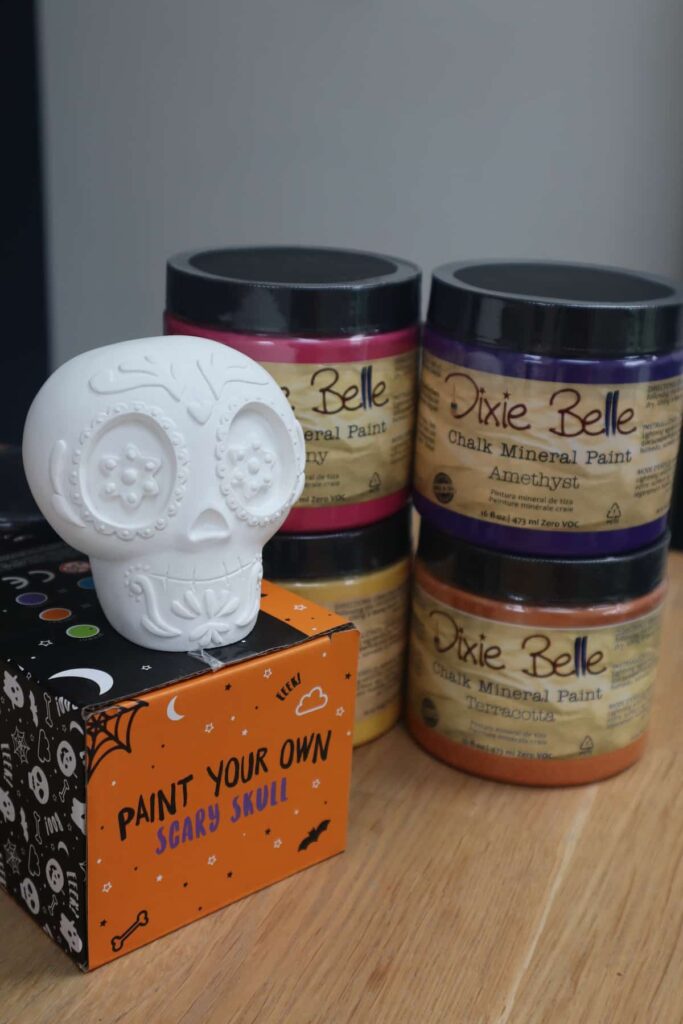
To give this skull a Day of the Dead celebration makeover, you only need paint.
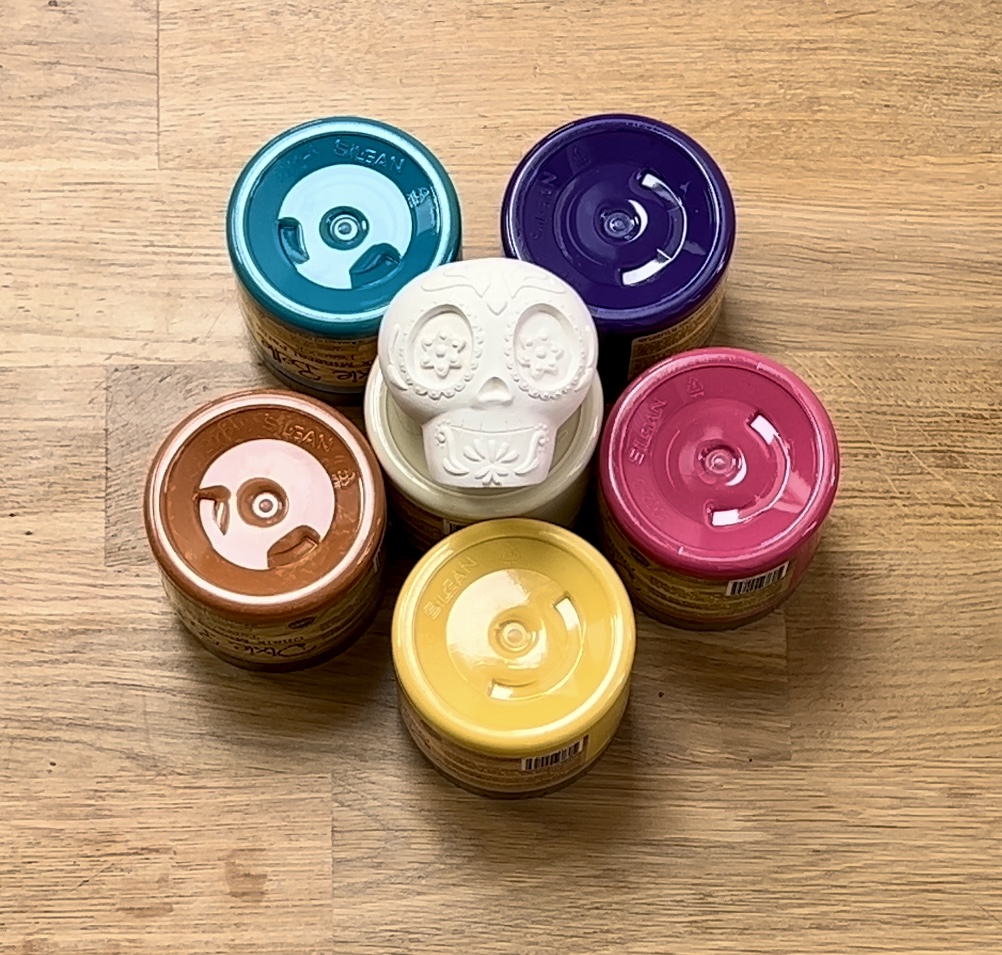
This paintable skull had ready-made details to paint. If you start with a plain skull, you could do all sorts of mixed-media crafts. With fine-tip markers, cards, tissue paper or silk flowers.
Or you can use a glue gun, air-dry clay or paper mache to embellish the skull first before painting. Or even velvet, like for this black skull.
Step 1: Paint the Base of the Day of the Dead Skull
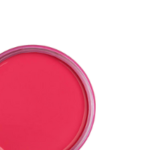
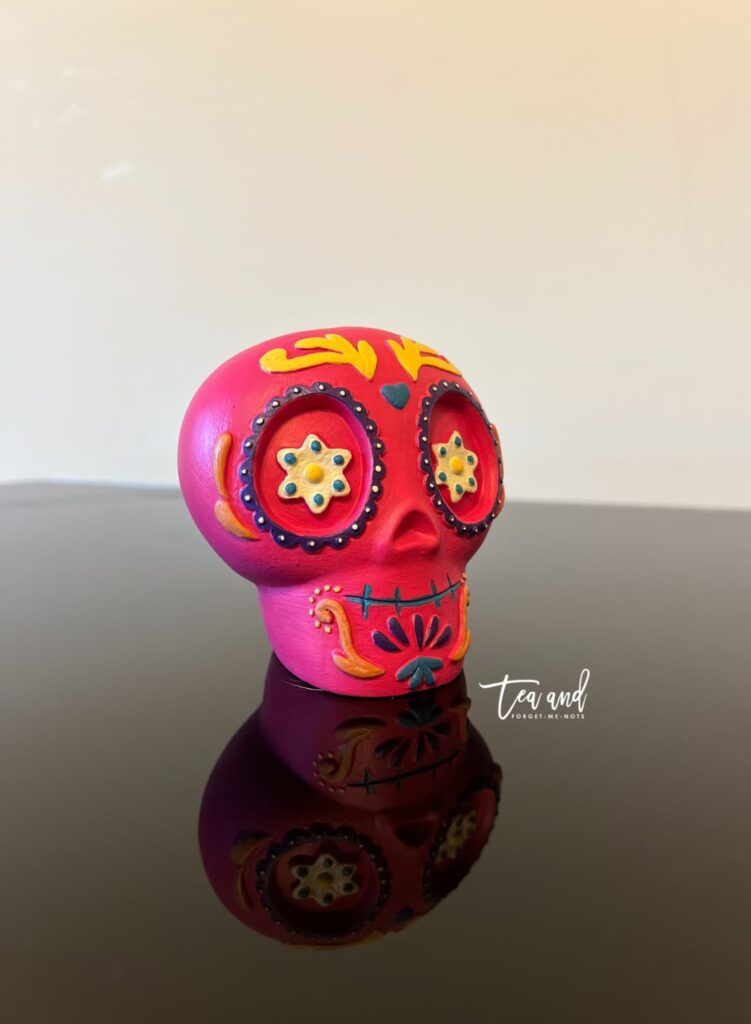
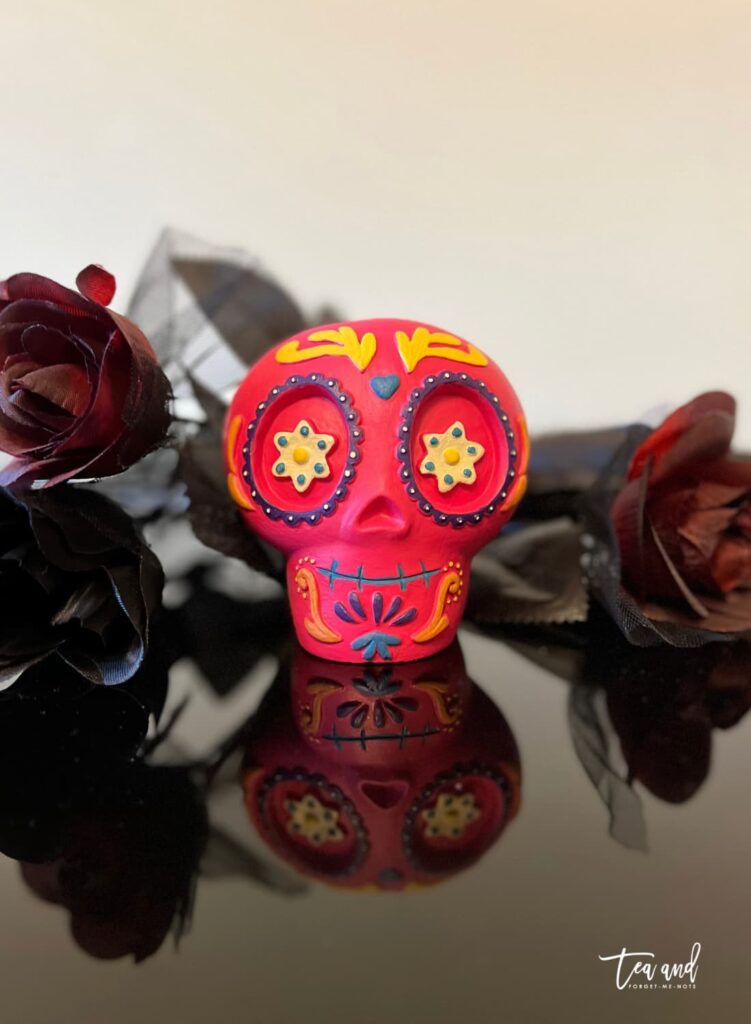
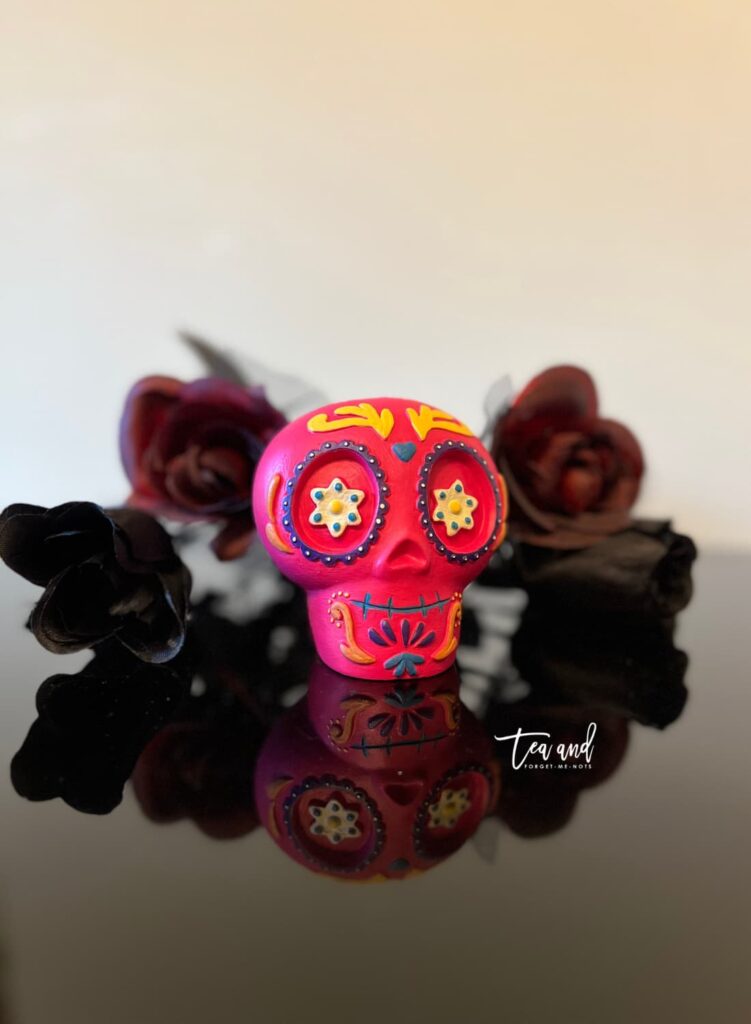
Bold colours are encouraged when it comes to painting Day of the Dead skulls. This base was painted with two coats of Peony chalk paint. A great hot pink which creates an instant pop of colour.
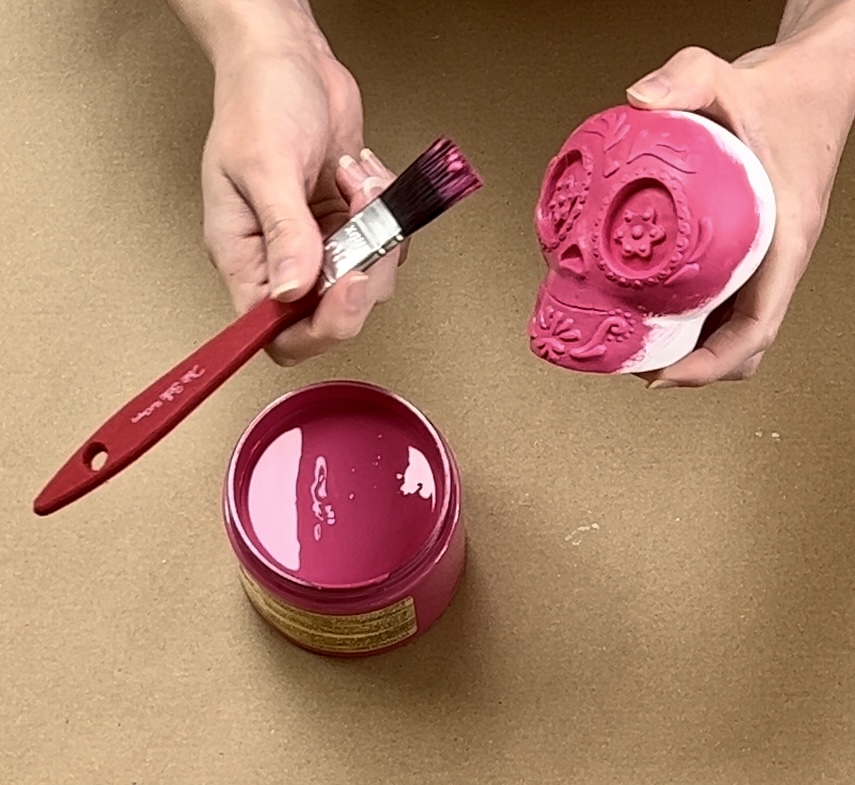
All of the colours have a particular meaning when it comes to the Day of the Dead. Pink represents the joy you feel whenever you think of your loved one’s life and how much they mean to you.
Pink to find the positives of celebrating someone’s life. The perfect colour to have as the main colour of the skull. Rather than the central focus being sadness.
Step 2: Paint in the Decorative Details of the Skull
Once the base is dry, you can paint in the details. If painting your own designs, you can use traditional Mexican patterns, flowers, or geometric shapes. Be creative and have as much fun as you want with it.
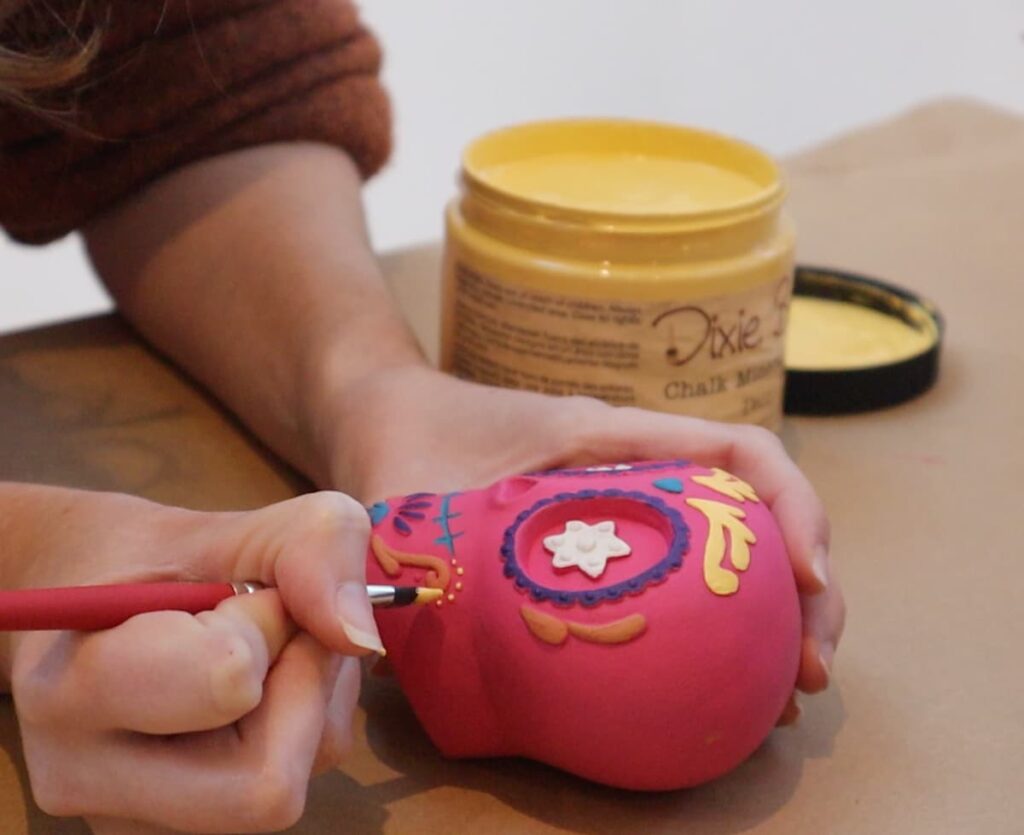
The details were painted with Cucumber Ice on the eyes and Amethyst around the eyes. Then the bright blue, Peacock for the mouth and sunny Daisy for the eyebrow area.
This Spanish Mama site explains the meanings behind all of the colours.
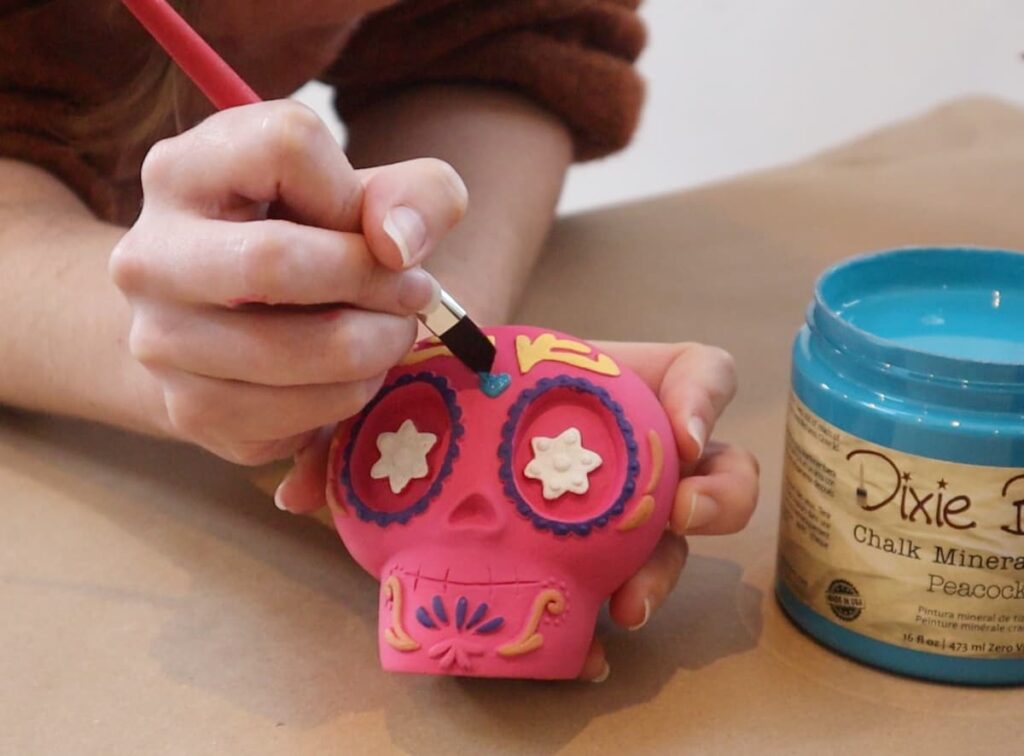
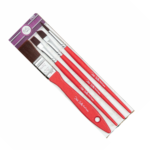
Fine detail brushes are a great thing for painting in small details like the dots. Between the straight edge brush or one with a tapered point, it makes a huge difference to getting a clean painted edge.
For extra craft ideas, you can add colourful paper flowers from crepe paper or construction paper to create vibrant flowers that represent the Mexican marigold. Which a traditional flower used in Dia de los Muertos celebrations.
Step 3: Seal the Painted Skull
The last step for these Dia de los Muertos crafts is to seal the paint. This ensures that they won’t get scratched or chipped. And will stay in good condition for next year’s traditional Mexican holiday.
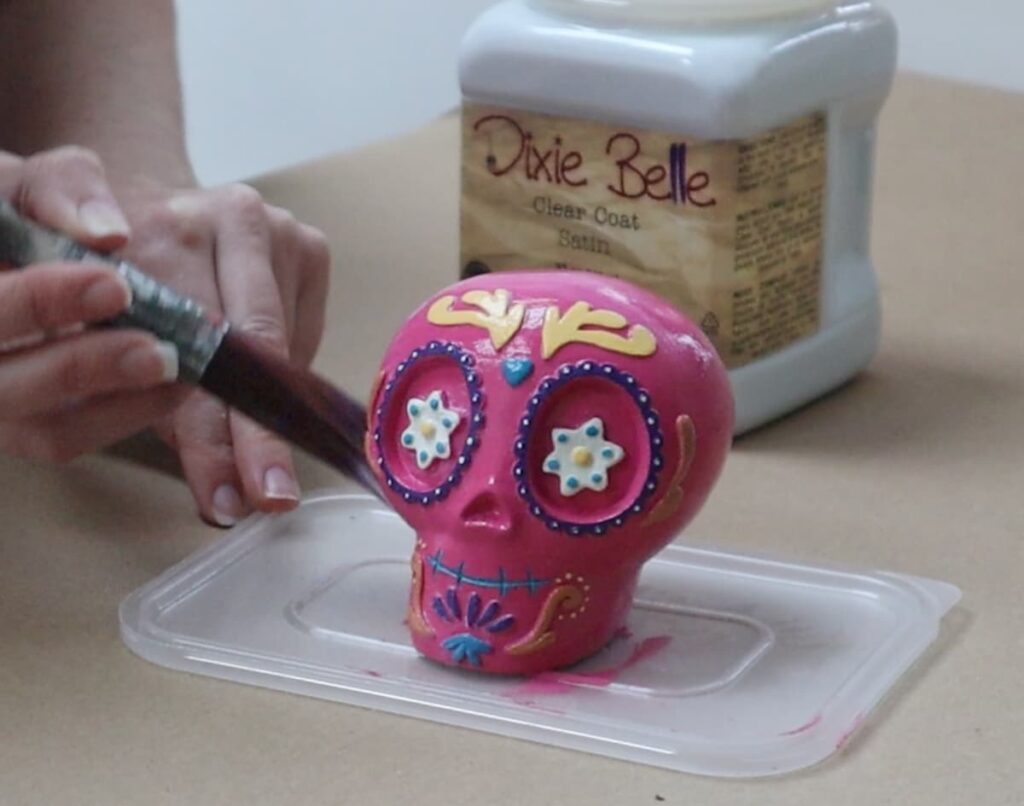
You can seal this painted skull with two coats of Satin Clear Coat. The finish of the skull can be matte or glossy, depending on your preference. For a medium sheen, a Satin finish is the perfect sealant.
The Joy of Creating Day of the Dead Decorations
Crafting your own sugar skull is not just an arts and crafts project; it’s a way to honour the Mexican culture and traditions that are held dear to the heart of different celebrations.
Additionally, crafting a fun Day of the Dead decoration is a great way to introduce younger kids to the traditions and values of this holiday. Encourage them to design cute sugar skulls. It’s a fun, activity but one that can also be educational.
Crafting colourful sugar skulls for Day of the Dead celebrations is a lovely way to immerse yourself in the traditions of Mexican culture.
Whether you’re planning a Día de Muertos party, or simply adding some festive Day of the Dead decor to your home. The act of creating your own perfect decorations is a meaningful and creative process.
Remember, the Day of the Dead is not just about remembering those who have passed away; it’s about celebrating the joyful cycle of life. And creating vibrant decorations can be a special time for the whole family.
Answers to your questions about making painting Mexican skulls
Can you paint over ceramic skulls?
Yes, but you should add a layer of Slick Stick first. This mattifies the shiny surface for chalk paint to stick to. Here’s how to paint over ceramic.
How can I display the skulls?
You might display the skulls with items like favourite foods, photos of deceased family members, and other personal mementoes. Or use your painted skulls as table centrepieces or create a Day of the Dead wreath to hang on your front door.
How can I preserve my artwork?
Shadow boxes can be a beautiful way to do so. Your sugar skull becomes a precious keepsake, much like the colourful sugar skulls you’d find at Mexican celebrations.
My Favourite Supplies
Here are some of the supplies that I used when making this project!
If you loved this project, you’ll love these projects too:
Did you paint a day of the dead skull?
I love seeing what you do. Please mention @teaandforgetmenots and share your creations with me!
Pin it for later – Day of the Dead Decorations DIY
Hi there! I'm Rachel Bowyer, a passionate DIY enthusiast with a knack for transforming the old into something beautifully new. With a deep love for furniture painting, refinishing, and the art of crafting. I've been documenting my DIY projects and restoration journey since 2018. I specialise in techniques like decoupage, stencilling, and decor transfers. Join me as we explore the world of creativity and home improvement, one project at a time.

