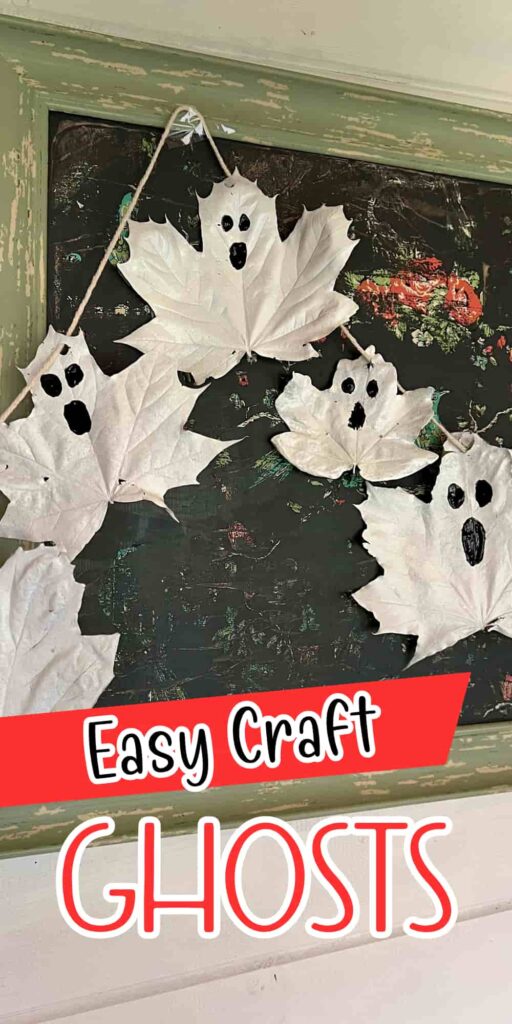
Easy Halloween Ghost Crafts For Kids To Make
Looking for fun Halloween ghost crafts for kids? Create this Halloween garland using spray-painted leaves that look like friendly ghosts!
Halloween is just around the corner, and what better way to get into the Halloween spirit than by crafting an easy ghost garland? One that is so much fun and easy, that children could make it!
This project is not only a great way to decorate but also a fun craft that kids of all ages can enjoy.
So grab your supplies and let’s get started!
Welcome to our Creative Craft Hop hosted by Sara from Birdz of a Feather and Donna from Modern on Monticello. I’m are so glad you’re here! If you’re coming over from The Painted Apron, welcome! Weren’t their autumn wine glasses pretty?
Check out the rest of the projects at the end.
Would you rather opt for video tutorials instead of step-by-step instructions? We’ve got you covered with a comprehensive video tutorial that guides you through the process of creating this easy Halloween garland.
How to Make Halloween Ghost Garland Step by Step
Materials Needed
Step by Step Instructions
Step 1: Gather the Leaves
It’s always a good start to a craft when you get to go on an autumn walk to gather your supplies.
This is a fun way to enjoy the outdoors and find the perfect shapes for your ghosts. Use a bag to keep them safe on the way home. You may end up gathering more than you’ll need!
That’s just more for another project…
Sycamore leaves or leaves that give a natural head and arms shape are a great place to start.

If you don’t have leaves that are a good shape for ghosts, then find the largest ones and cut them into a ghostly shape.
Don’t worry if the leaves have little holes in them. It just adds to the character of the ghost.
But avoid leaves that are too curled up. As they may tear if you try to pull them out straight.
If your leaves are damp, dry them out before starting. To do this, sandwich them between paper towels and leave them to dry fully.
Step 2: Prepare the Leaves for Painting
Once your leaves are dry, they’re ready to paint.
It may be easier for children to hand paint the leaves with white paint. But for older children or adults, spray painting is the fastest way to make good progress.
For spray paint cans to work properly, you should spray horizontally to the object. Not with the leaves lying on the floor. That causes the spray can to drip and not work properly.
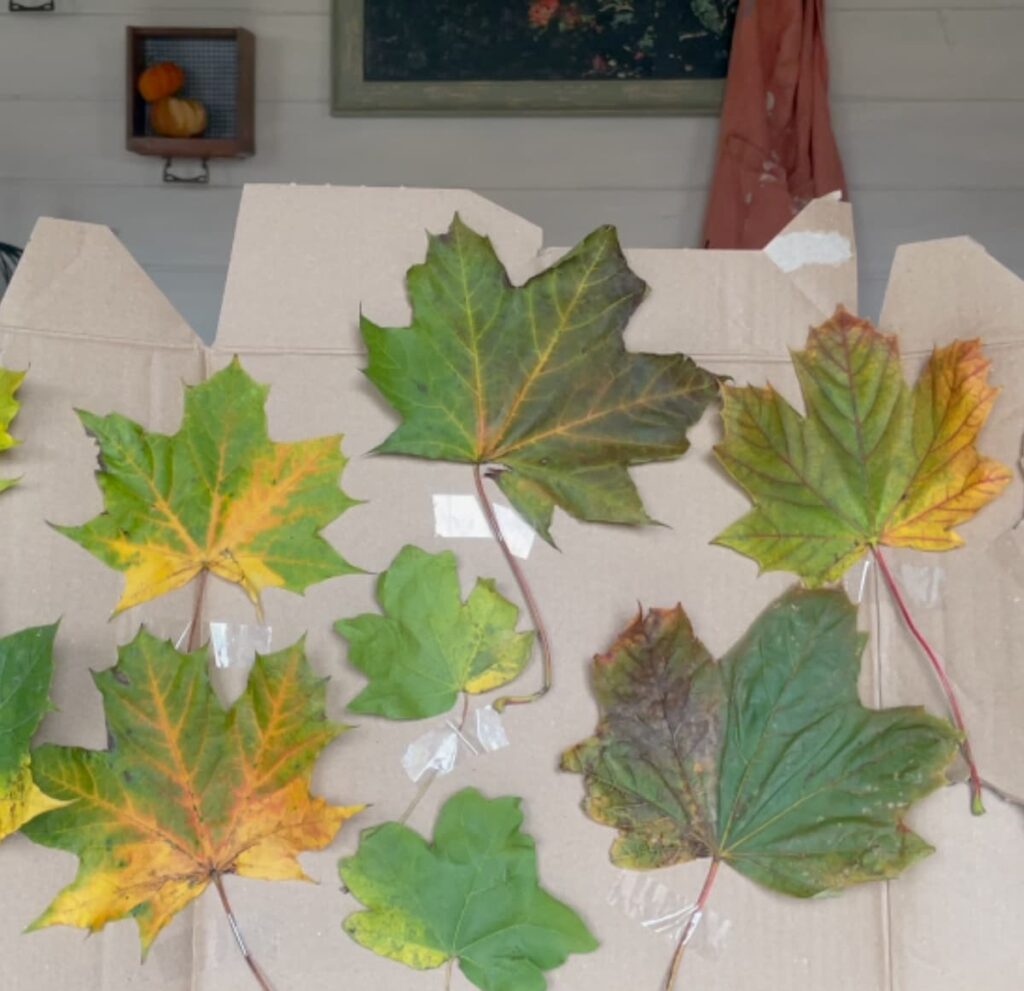
So, you need to create a background to attach the leaves to, for them to stay upright.
Scrap cardboard works perfectly for this. Use tape to secure the petiole (the handle bit of the leaf) to the cardboard.
You can also use double-sided tape (or a loop of normal tape) to secure the blade to the cardboard. This is so that it doesn’t flop over or move around against the force of the spray.
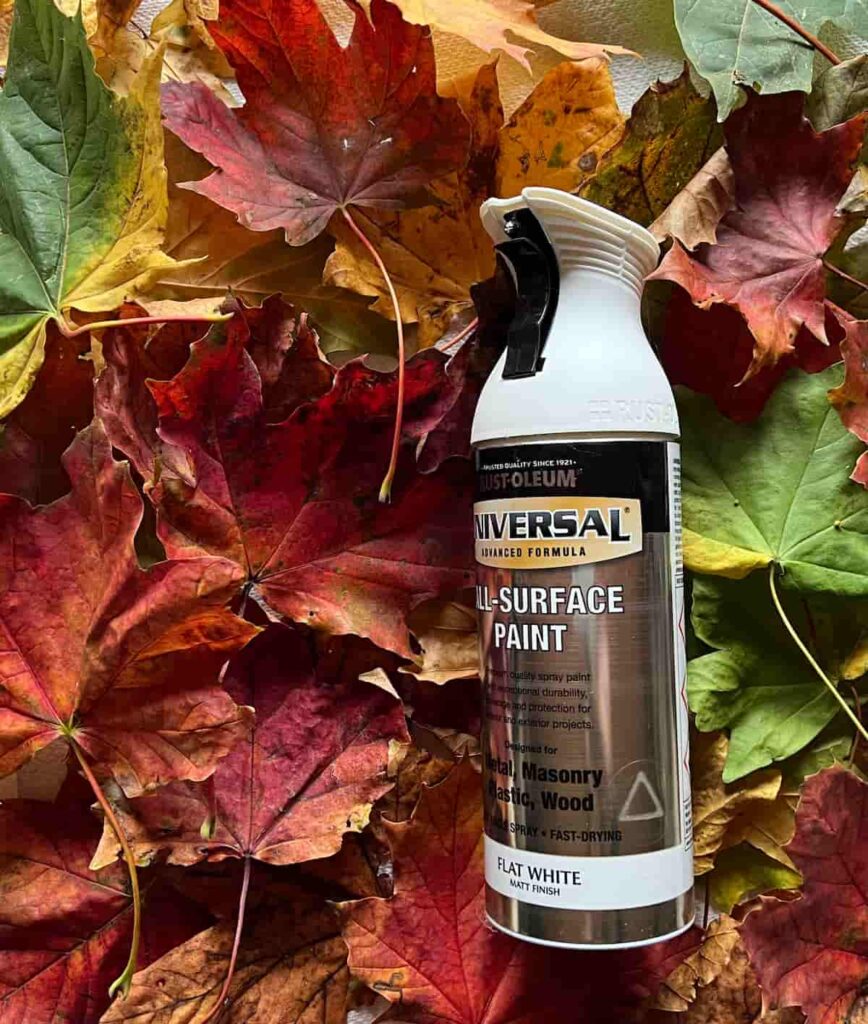
Step 3: Spray Paint the Leaves
Spray paint works best doing several light coats.
It can be tempting to go all out and cover them in one go. Resist the temptation! That just causes drips and thick paint.
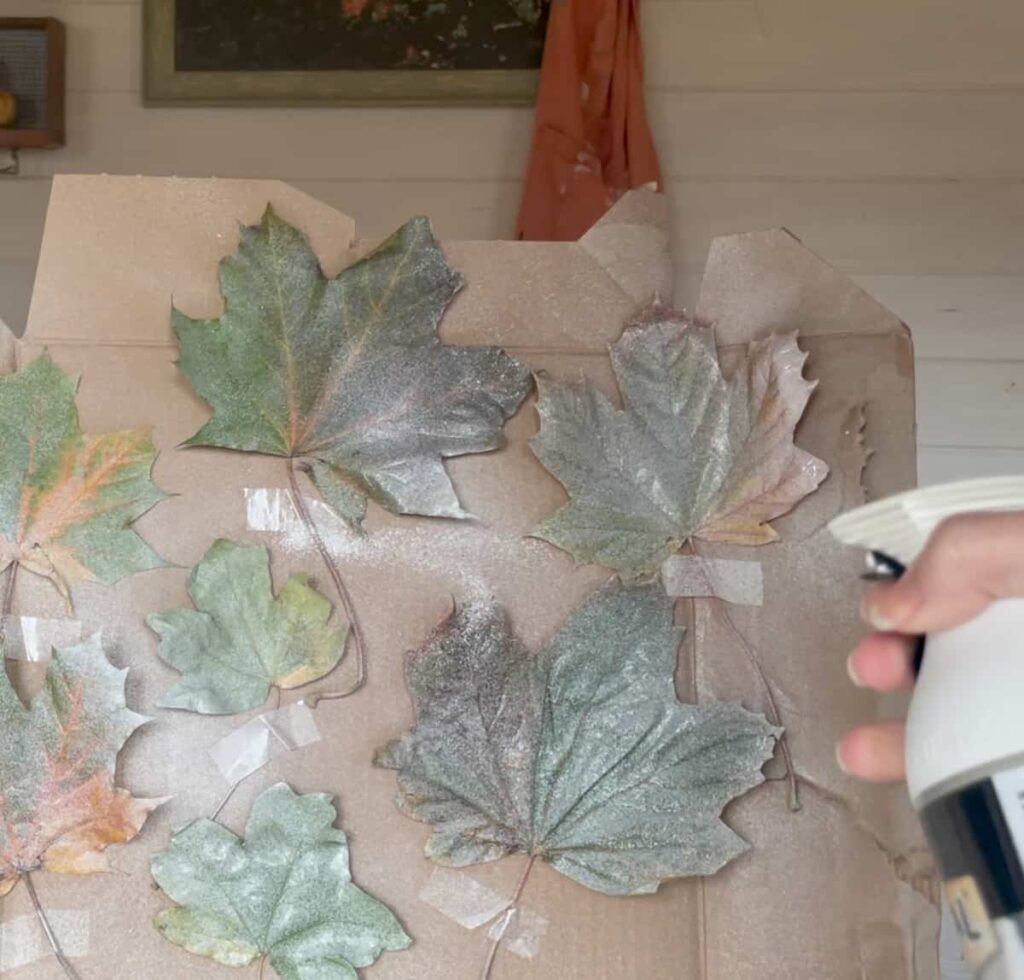
Spraying a light coat keeps more of the veins visible which adds to the interesting shape of the ghost leaf.
You can respray the leaf within a few minutes. With this paint, it was touch dry within 30 minutes.
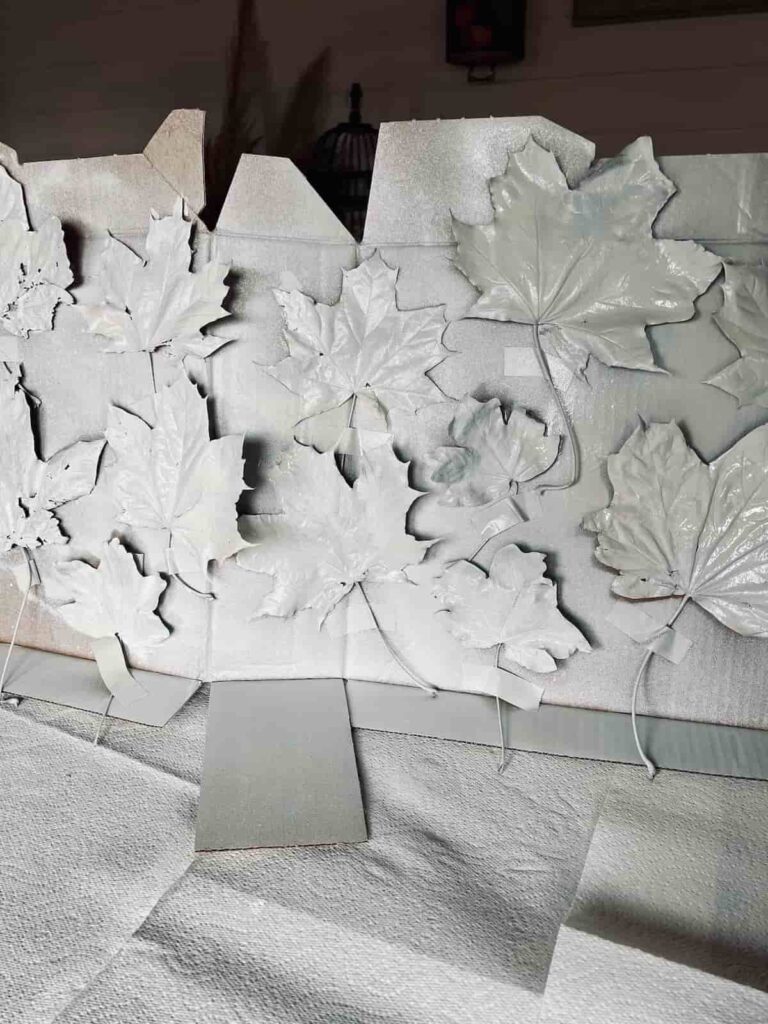
Perfect to prepare another little batch of ghosts or have a short break.
But we just got started? And yep, we’re not far off finishing either! I told you this was a fast and fun Halloween craft.
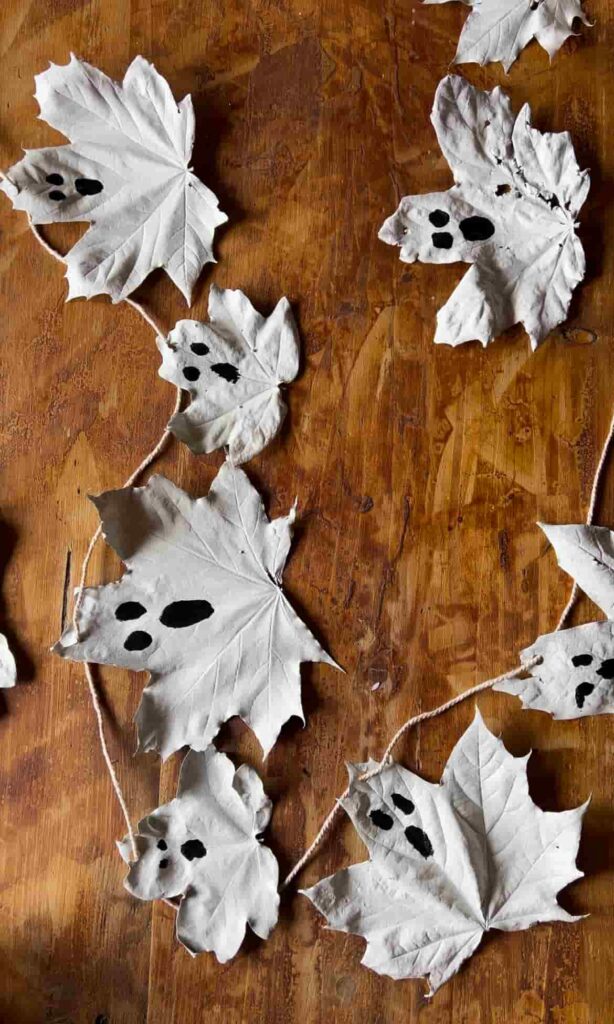
Step 4: Paint or Draw Faces
Once the leaves are dry, it’s time to bring them to life! Use a black marker or paint to draw friendly or spooky faces on your white ghosts.
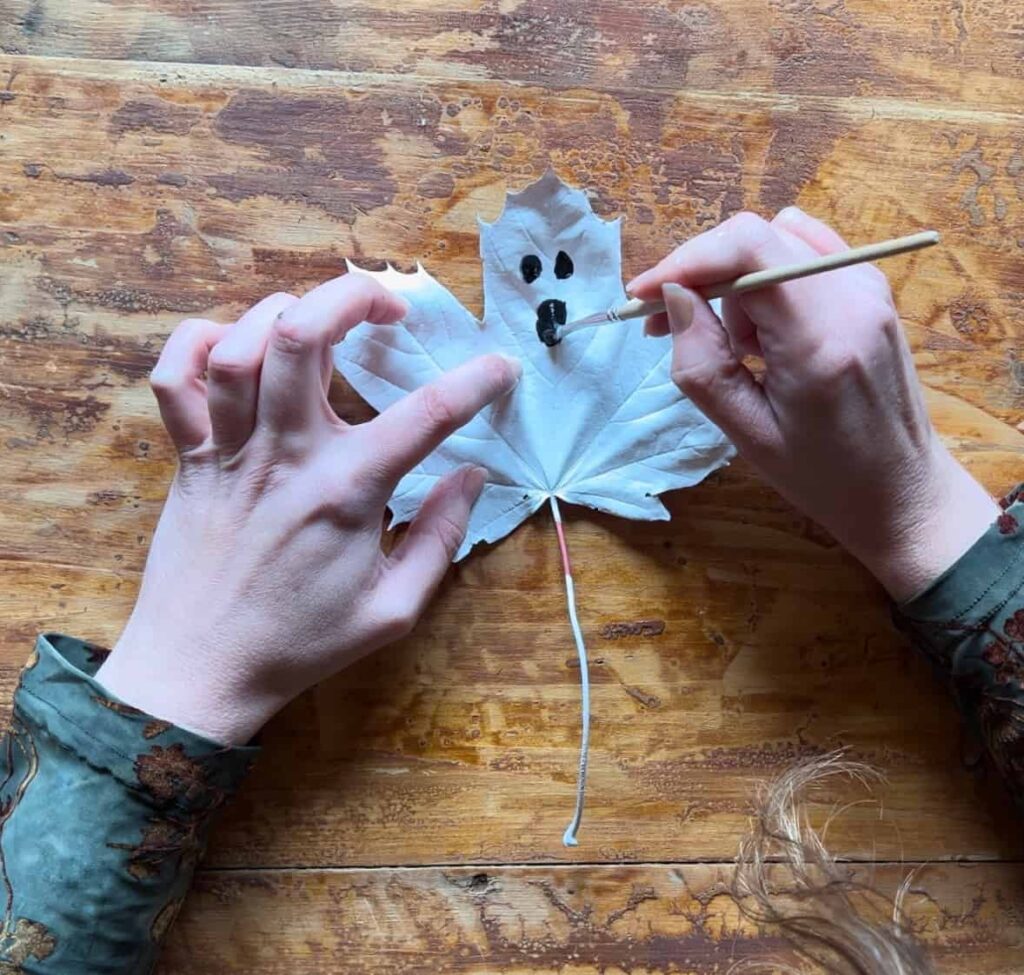
Painting in a smooth line tends to give the ghosts a friendlier look. Creating more jagged lines, makes them feel a bit spookier.
I even played around with a smiling ghost, see that one at the end!
For younger children, you could use googly eyes for a cute touch. But make sure they’re small ones as the leaves are very light.
Step 5: Punch Holes for the String
A hole punch is a good way to create a clean hole in the top of each ghost.
You could also use scissors to cut a small gap. But the leaf is delicate so make sure not to tear it.
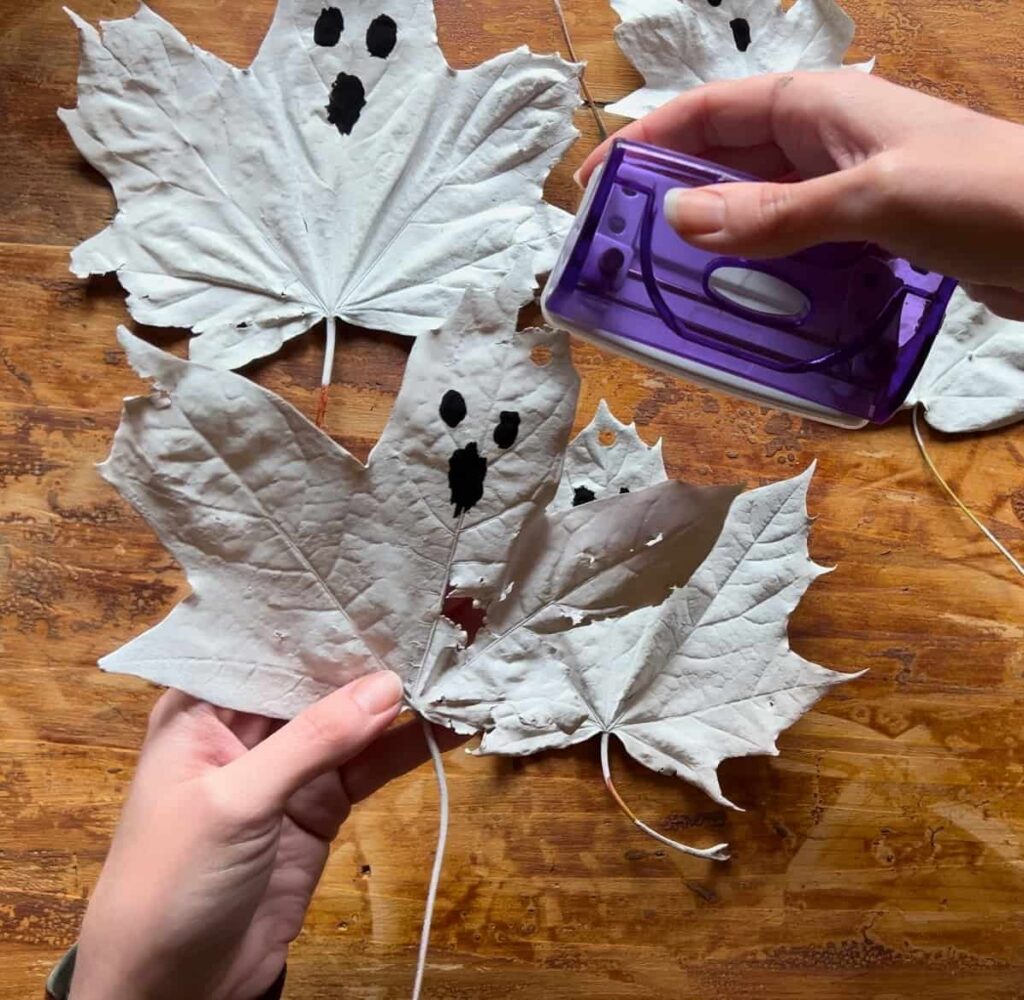
Having holes in the head allows the ghosts to hang nicely when attached to the garland.
Alternatively, you could put the holes through the arms which would line the ghosts all up evenly. However, there’s the risk of the ghosts flipping upside down over the string.
Step 6: Attach Ghosts to String
The final step is to simply add the ghosts to the string and gently thread them along.
Alternating between the larger and smaller ones is a nice way to add variety to the layout.
White string is a good choice as it blends in well with the ghosts. Twine would also work well for a more rustic feel.
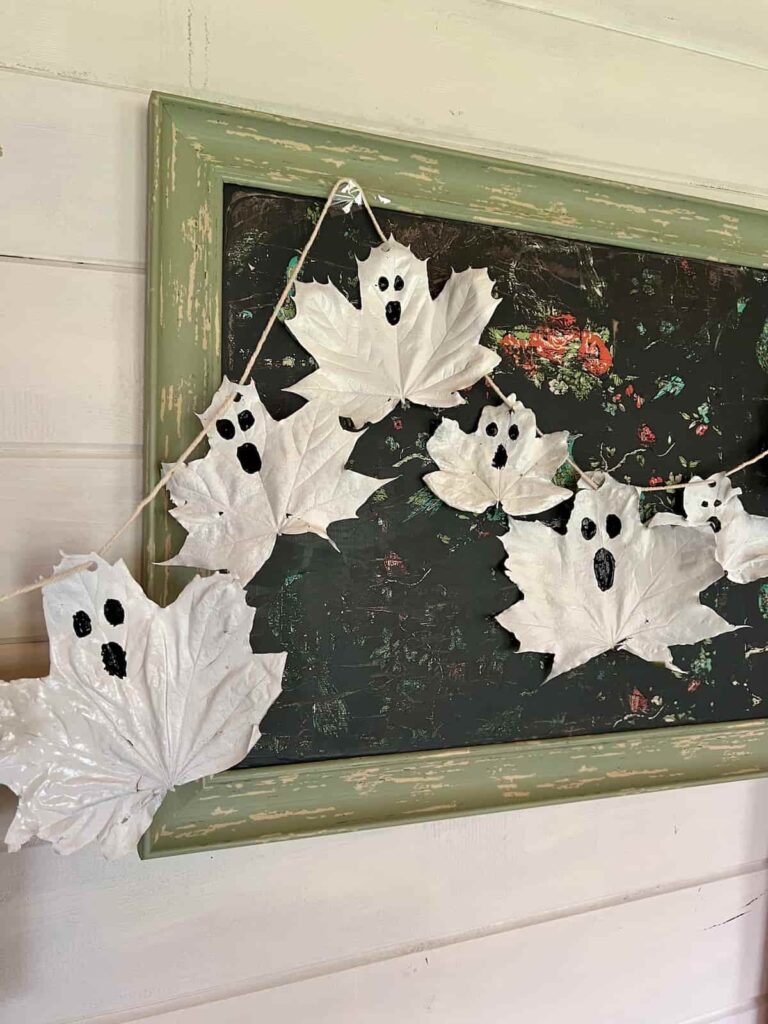
Adorable Halloween Craft Ghost Garland
Once you’ve attached all your little ghost friends, find a spot to hang your spooky garland.
It’s such a cute addition to your Halloween decor. You could hang it over a mantel, along a wall, or even at a Halloween party.
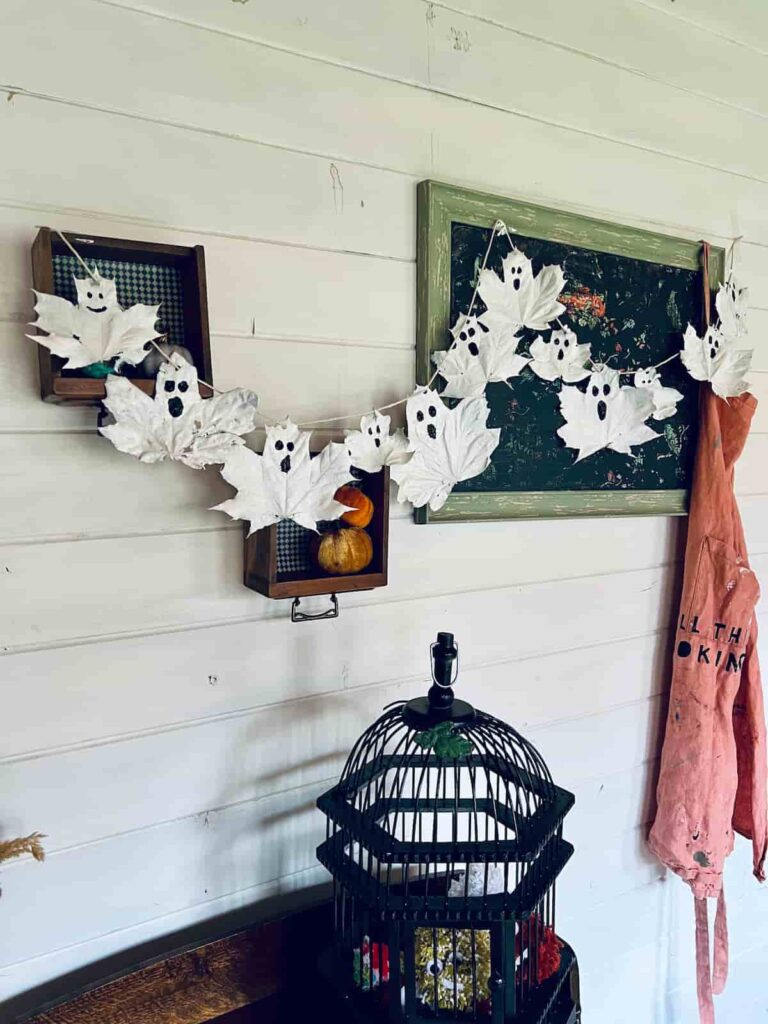
This ghostly garland is a fun way to get into the Halloween spirit while enjoying some crafty quality time with your family.
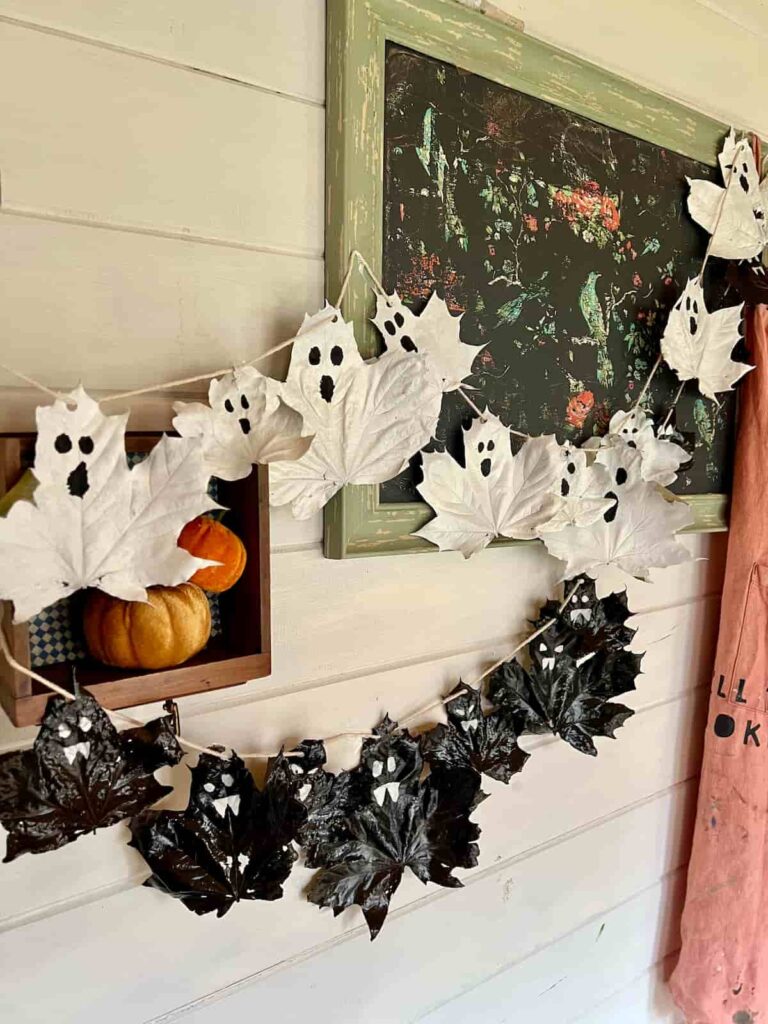
And repeat the process with black spray paint for a bat garland too. Check out the video for more instructions on that cute garland.
Happy Halloween, and may your decorations be as spooky as they are fun!
Feel free to explore other creative projects like pom pom monsters or faux patina pumpkins!
How to Make a Ghost Garland for Halloween Instruction Video
You can find more video tutorials on our Youtube Channel
If you loved this project, you’ll love these projects too:
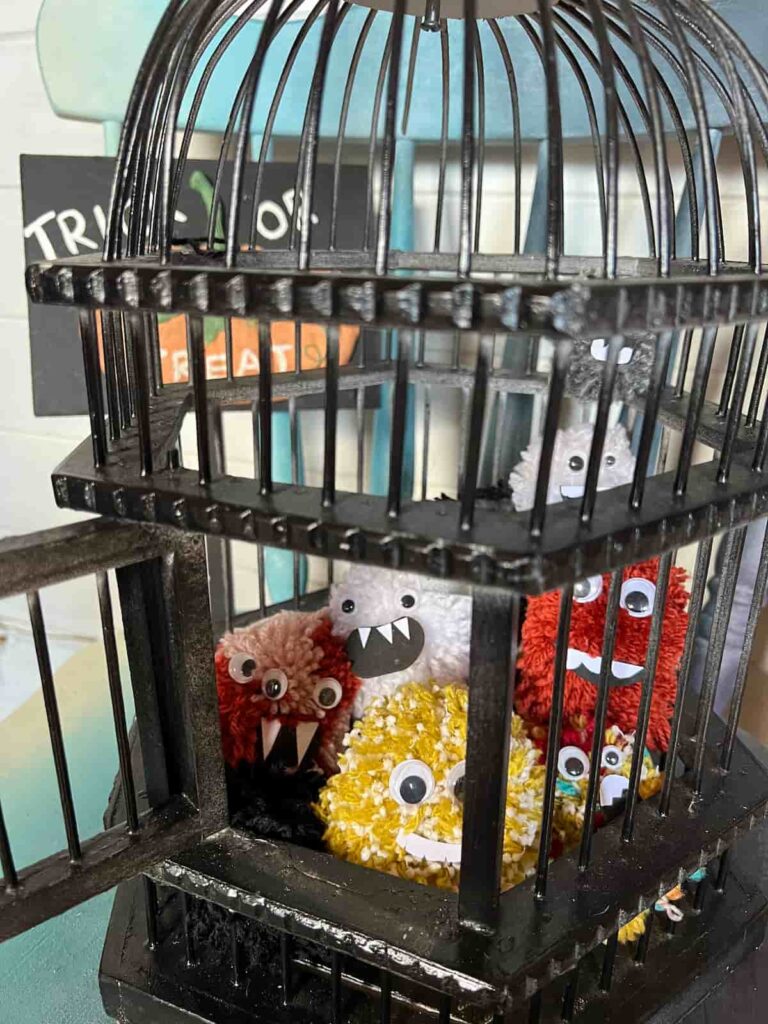
cute pom pom monsters
spooky halloween sign
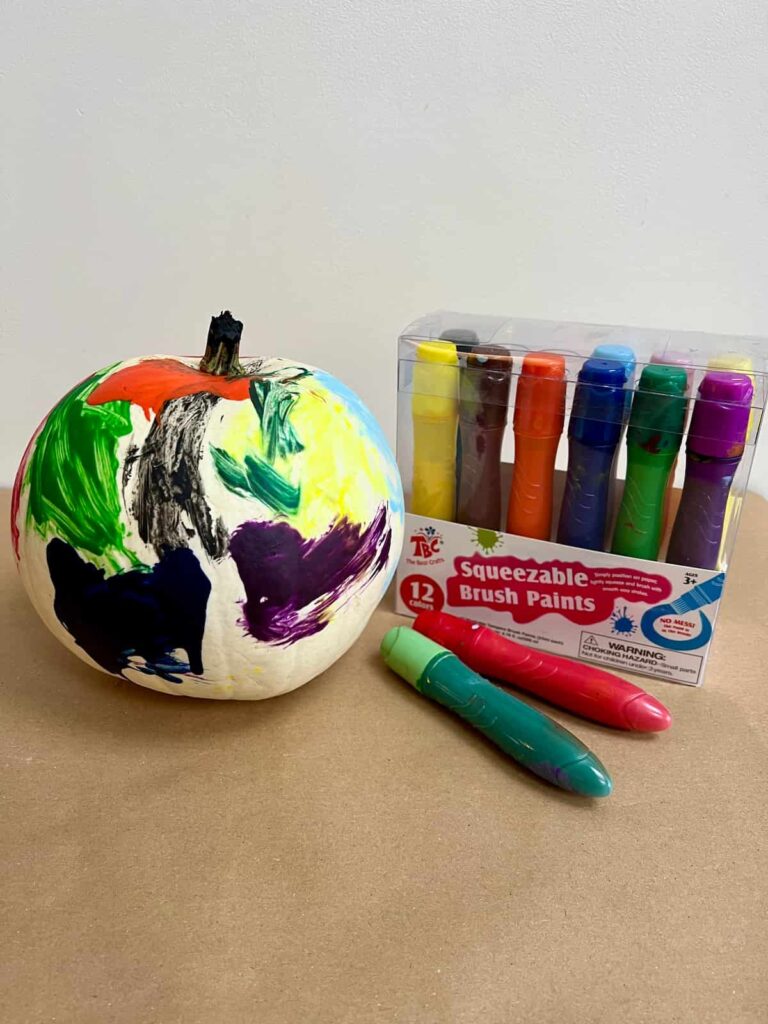
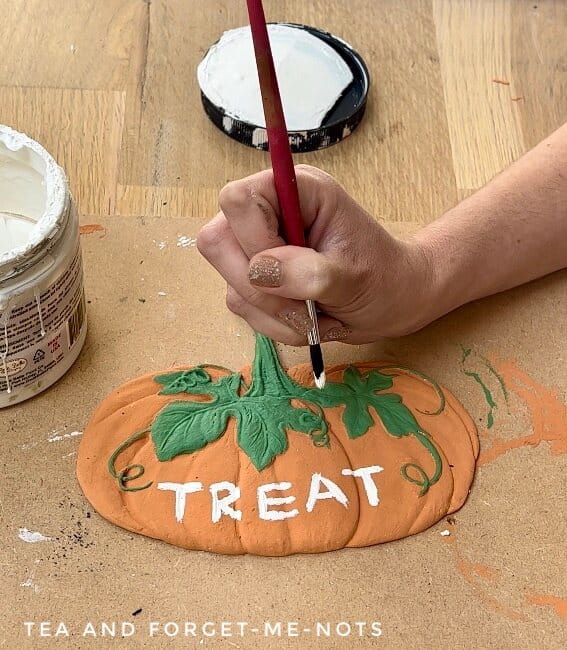
Toddler Paint review for pumpkins
Did you make this craft?
I love seeing what you do. Please mention @teaandforgetmenots and share your creations with me!
Pin it for later – Easy Kid Craft for Halloween
Creative Craft Hop
Now it’s time to check out this amazing Jute Trinket Box from Purple Hues and Me. When you’re done, please remember to visit these other amazing talents below:
Easy Fall Door Hanger Instead Of A Wreath
DIY Halloween Sign Craft Idea with BOO ghosts
How to Make Turkey-Themed Thanksgiving Place Cards

Hi there! I'm Rachel Bowyer, a passionate DIY enthusiast with a knack for transforming the old into something beautifully new. With a deep love for furniture painting, refinishing, and the art of crafting. I've been documenting my DIY projects and restoration journey since 2018. I specialise in techniques like decoupage, stencilling, and decor transfers. Join me as we explore the world of creativity and home improvement, one project at a time.
Rachel, your garland is just darling! Pinned! Have a lovely October, Cecilia @ My Thrift Store Addiction
Thanks so much, Cecilia.
I’m loving all your nature inspired posts! This one is so adorable Rachel; so glad you stuck with it! Great idea to use the hole punch to hang them.
Thanks Sara. Autumn and nature go hand in hand.
This is just adorable Rachel! I love it, and how thrifty to use leaves~ so cute!!
Thanks Jenna – yes the most affordable craft Ive done in a while.
These are so cute and adorable! What a fun project for both kids and adults!
Thanks Gail. I enjoyed making them for sure.
What an adorable nature craft that kids can make for Halloween. I’m sure they’ll love making it. Great idea!
Thanks, Allyson. Sometimes the simplest are the best.
Rachel, what an original idea. And doesn’t cost a thing. Very cute. Thanks for sharing.
Thanks Carol, it certainly is budget-friendly!
What a great craft, this will be fun to do with my 4 year old granddaughter. She always wants to paint and do a craft with me. Thanks for the inspiration.
It would be perfect for that age!
So clever to use leaves as ghosts! I love it. Such a fun project for the holiday. BTW – I also love your profile picture. Thanks for joining the craft hop this month.
Thanks, Donna. The hop was great, so much talent.