Easy Metal Hoop Wreath DIY for Pretty Christmas Door
Isn’t a pretty front door the perfect way to welcome guests to your festive home? This guide walks you through the simple steps of making a beautiful wreath using a metal hoop wreath form.
Creating your own Christmas wreath is an easy DIY project that adds a personal touch to your holiday season decor.
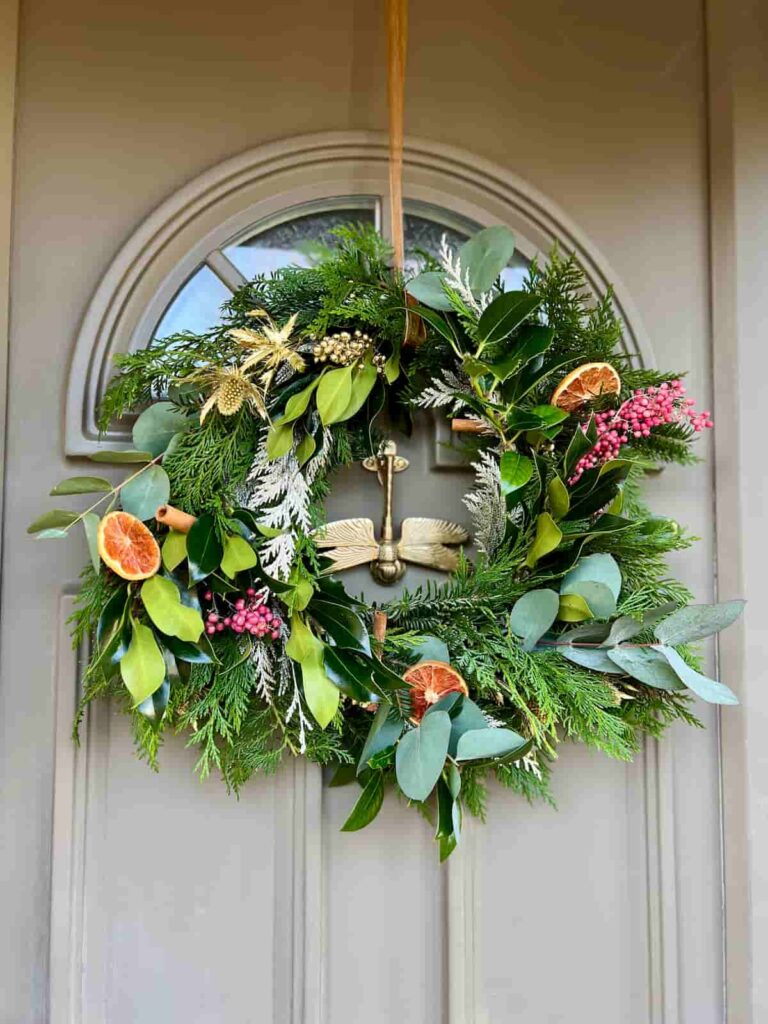
Natural wreaths smell lovely too.
While you can’t decorate with them too far in advance of Christmas, they make a big impression for the several weeks that they look beautiful for.
How to Make a Stunning Metal Hoop Christmas Wreath DIY for Your Front Door
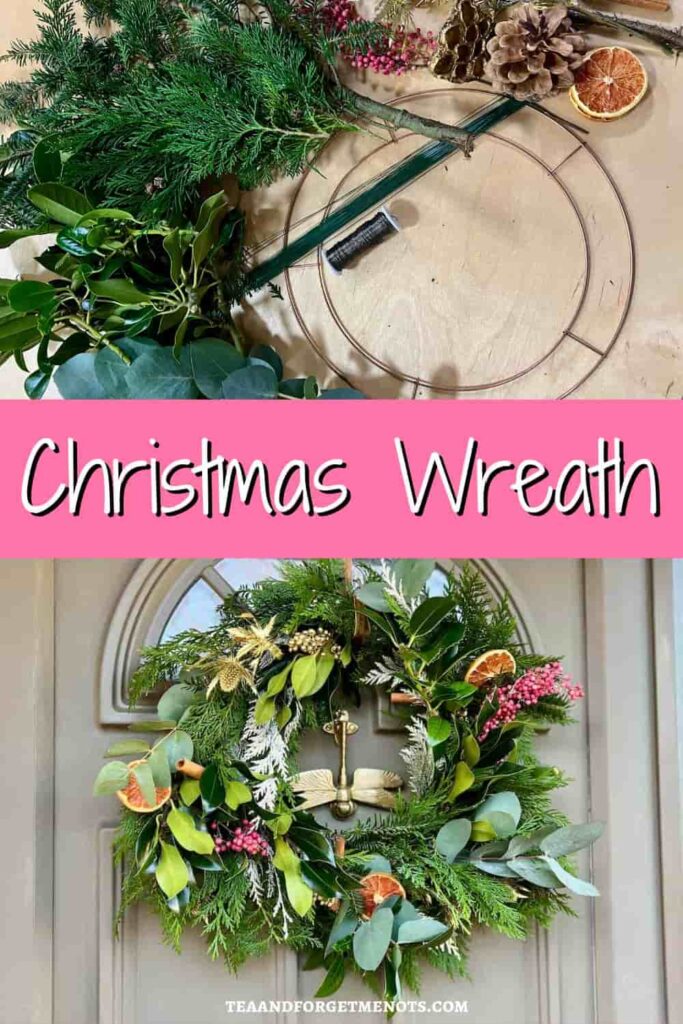
Materials Needed
Step-by-Step Guide to Making a DIY Floral Hoop Wreath
Step 1: Choose and Arrange Your Foliage
One of the nicest things about real greenery is the lovely smell. Foraged foliage is always extra special as you can make your wreath for almost free.
The greenery that suits a festive wreath base are pine, fir, holly and eucalyptus. A selection of different greenery works well to have a varied and layered look.
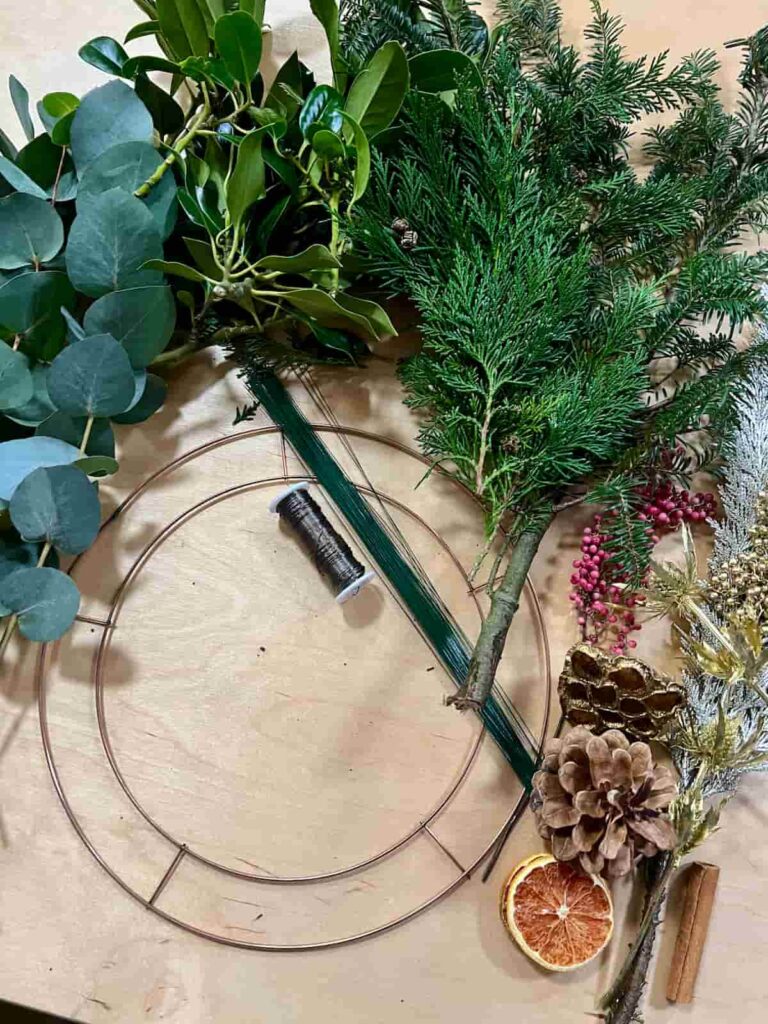
But if you don’t have access to a lot of real greenery, then mixing some faux greenery with natural foliage helps to make it look more realistic.
And if you like the natural look but also want some festive sparkle? You can spray paint some of the foliage silver or gold. This maintains the shape of the natural greenery with added bling.
Step 2: Prepare Metal Hoop
Start with your metal wreath form, embroidery hoop, or even a hula hoop for a larger design.
A metal hoop wreath with an inner and outer ring works well to secure the foliage tight against the hoop. A single hoop such as an embroidery hoop is more likely to slip and move.
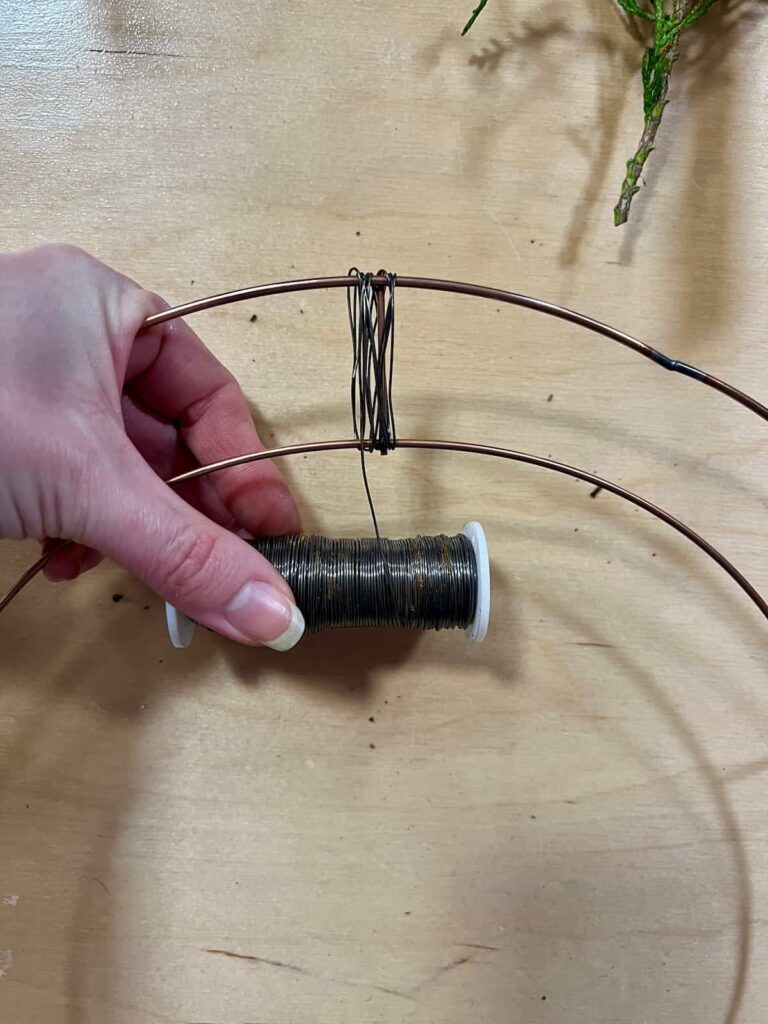
To prepare the hoop for the first bundle, use a thicker floral wire and wrap it about 10 times around the hoop. This is the wire that every bundle will be attached to. So, it’s not cut until the wreath is finished.
Depending on how full you make your design, you might not see the hoop underneath. However, if you’re going for a minimal or modern hoop wreath design, you might want to spray paint first.
This is only something you need to do if the hoop you have will clash with the colour scheme you’re going with.
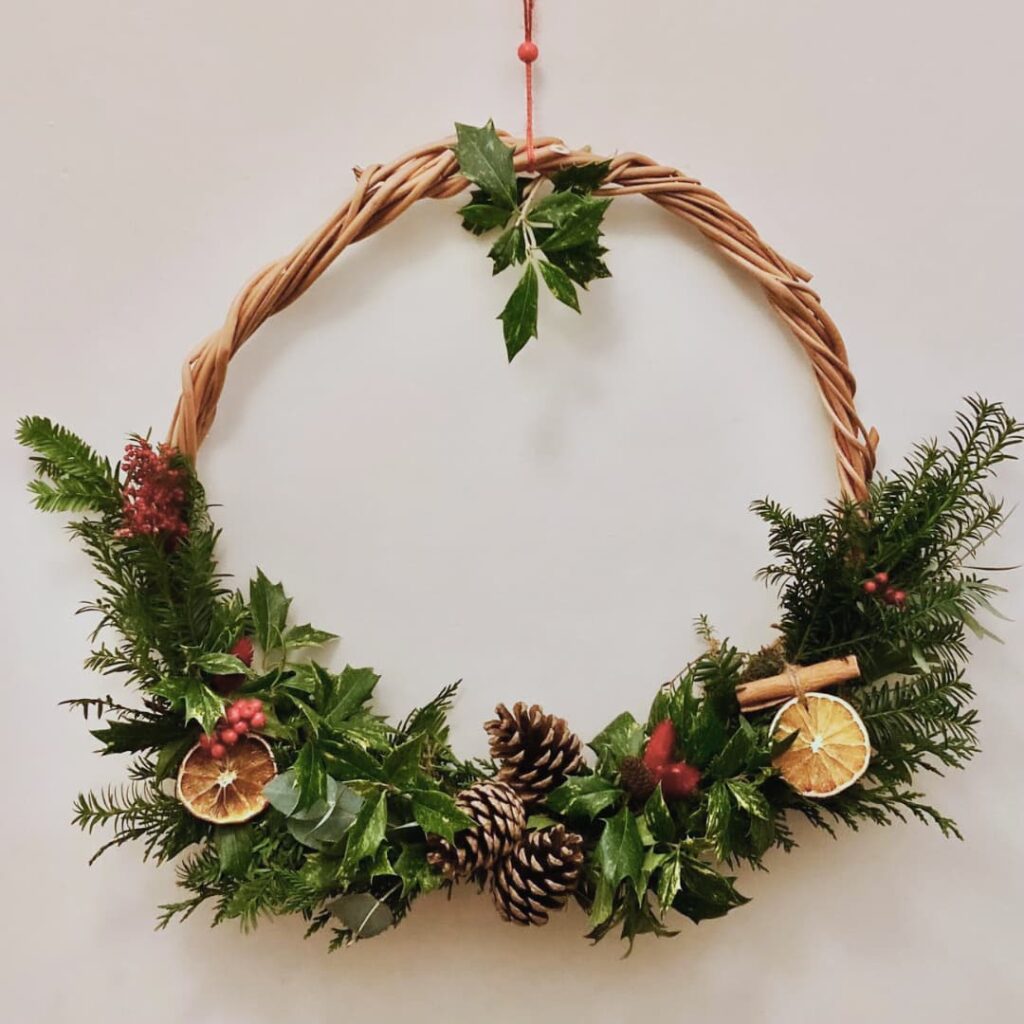
Alternatively, if you use a natural wicker wreath, it can be a pretty feature to leave it partially uncovered.
Step 3: Create Bundles of Foliage
Creating bundles of foliage is a key step in making a wreath. These bundles form the building blocks for a full, lush look.
Firstly, select a mix of textures and sizes, such as evergreen branches for the base. Then add accents like holly, berries, or small flowers.
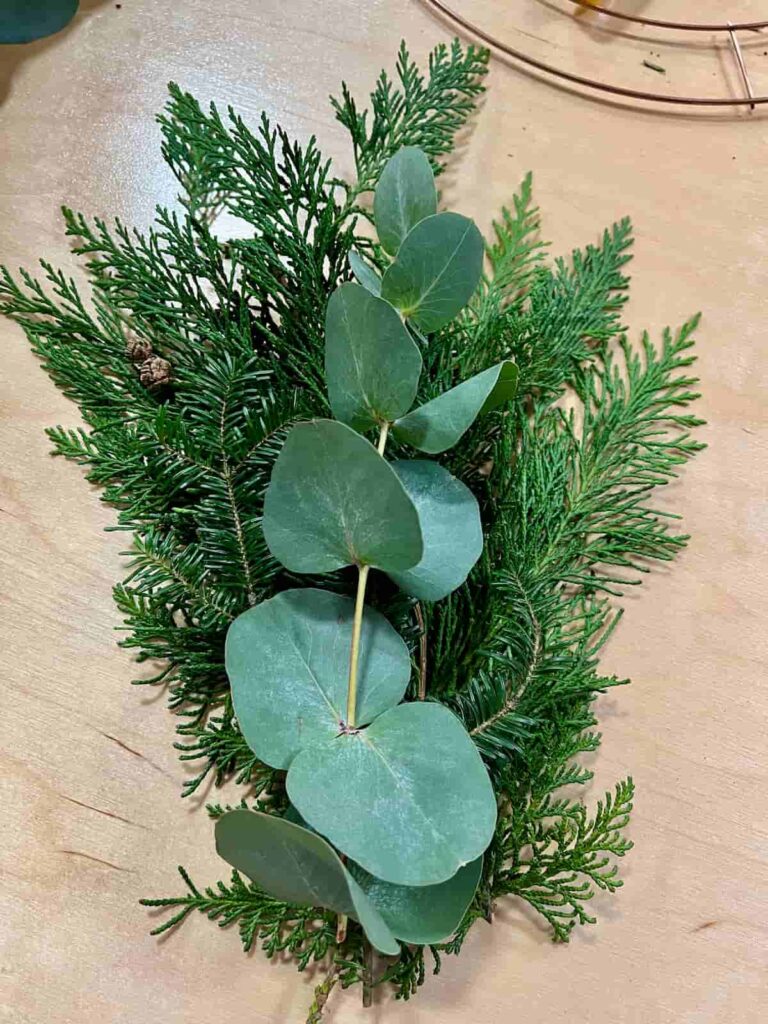
Trim the stems to roughly the same length (about 6–8 inches) so they are easier to hold together.
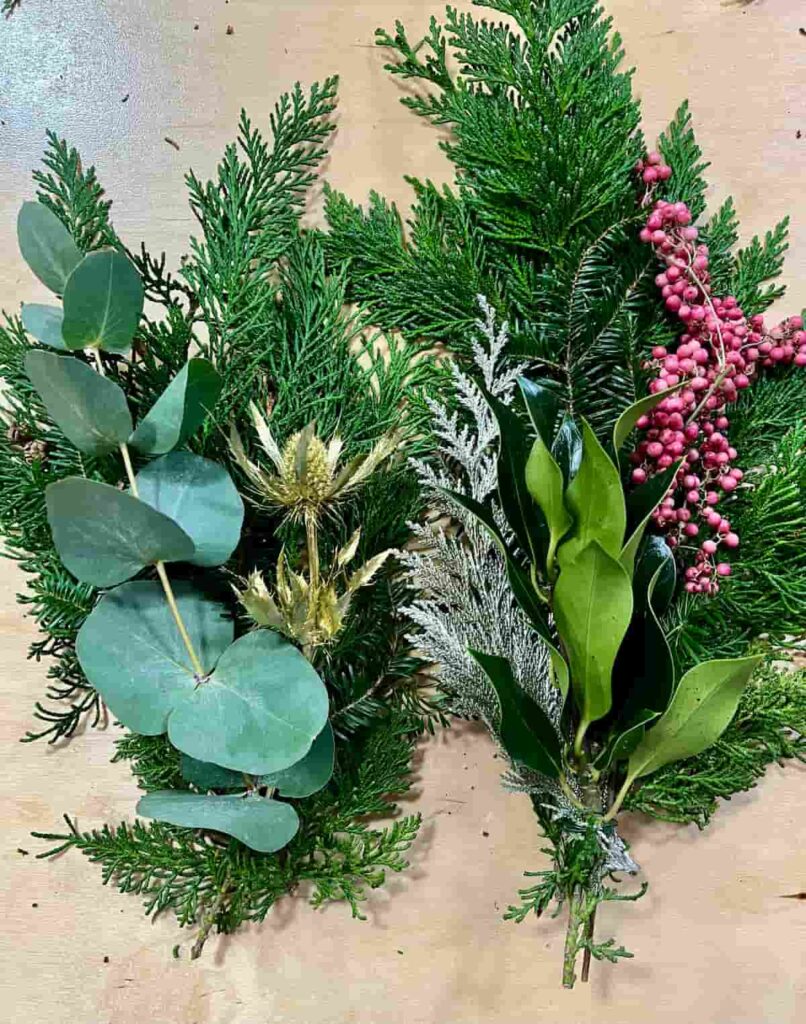
You can choose to make all of the bundles at the start or one by one after attaching them. Making the bundles at the start means that you can spread the foliage evenly amongst them.
You can also decide whether to have identical bundles or alternating types of greenery for more variety and texture.
Step 4: Secure Foliage Bundle
You can secure your bundles with either floral wire or floral tape.
Securing them individually rather than attaching them directly to the hoop wreath gives them more stability.
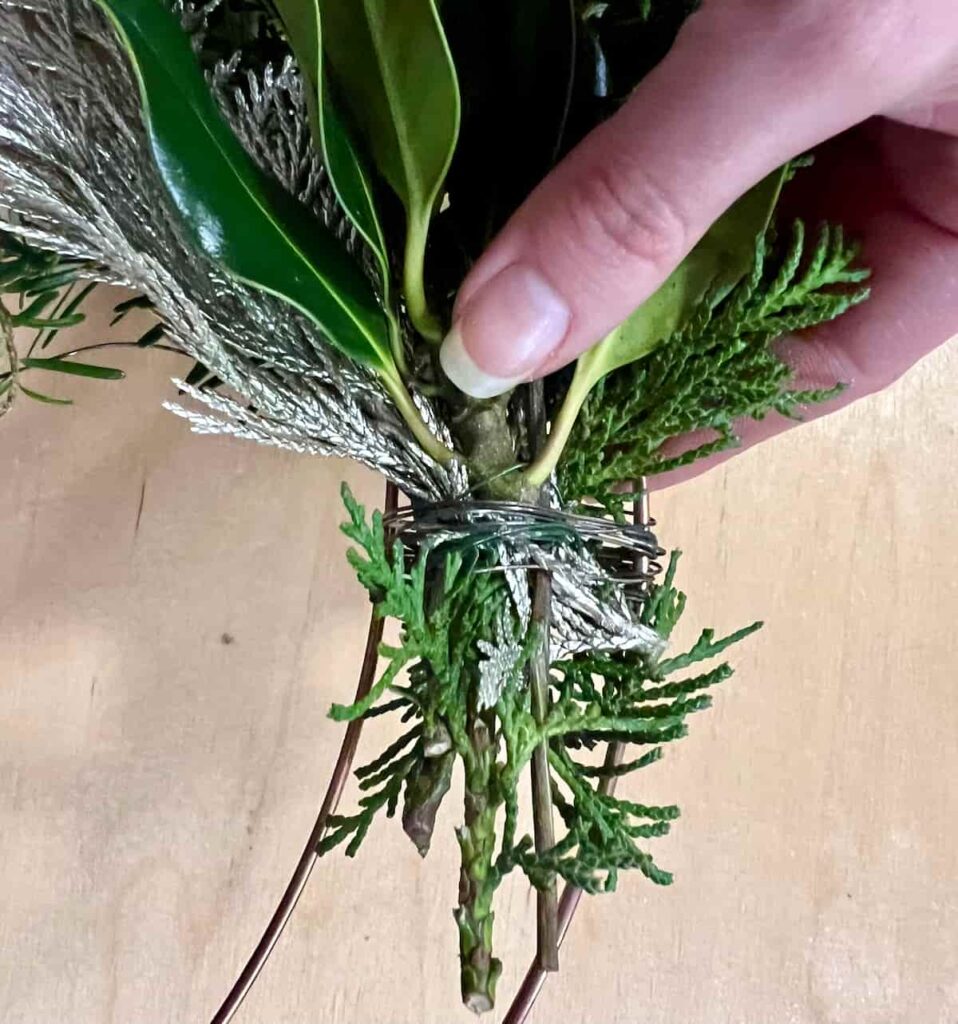
It’s best to secure the bundle about 1-2 inches from the end of the stem. Don’t worry about the wire being visible as the next bundle will cover it up.
Step 5: Attach Your Foliage and Flowers
To secure the foliage bundle to the metal hoop, simply use the thicker floral wire and wrap it several times. Ensure that the bundle doesn’t come loose and that the wire is pulled tight.
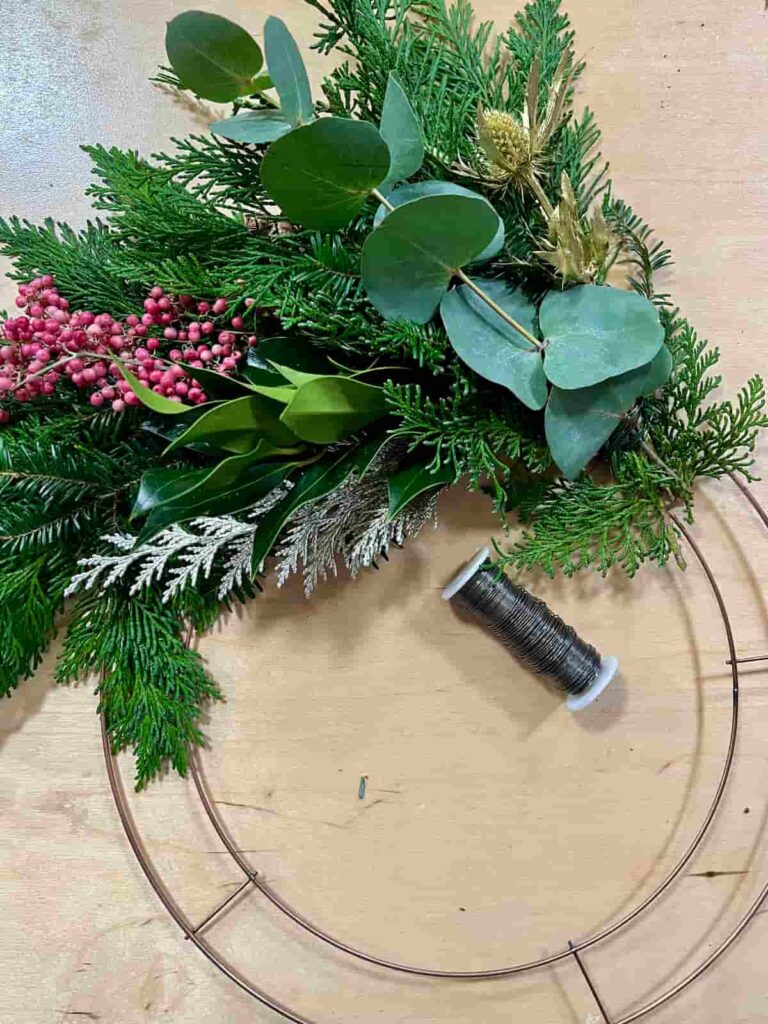
For each bundle, overlap the previous one. This both hides the floral wire and creates a pleasant rounded wreath shape.
If you have fewer bundles and they’re more spread out, the look will be more staggered and have sharper edges.
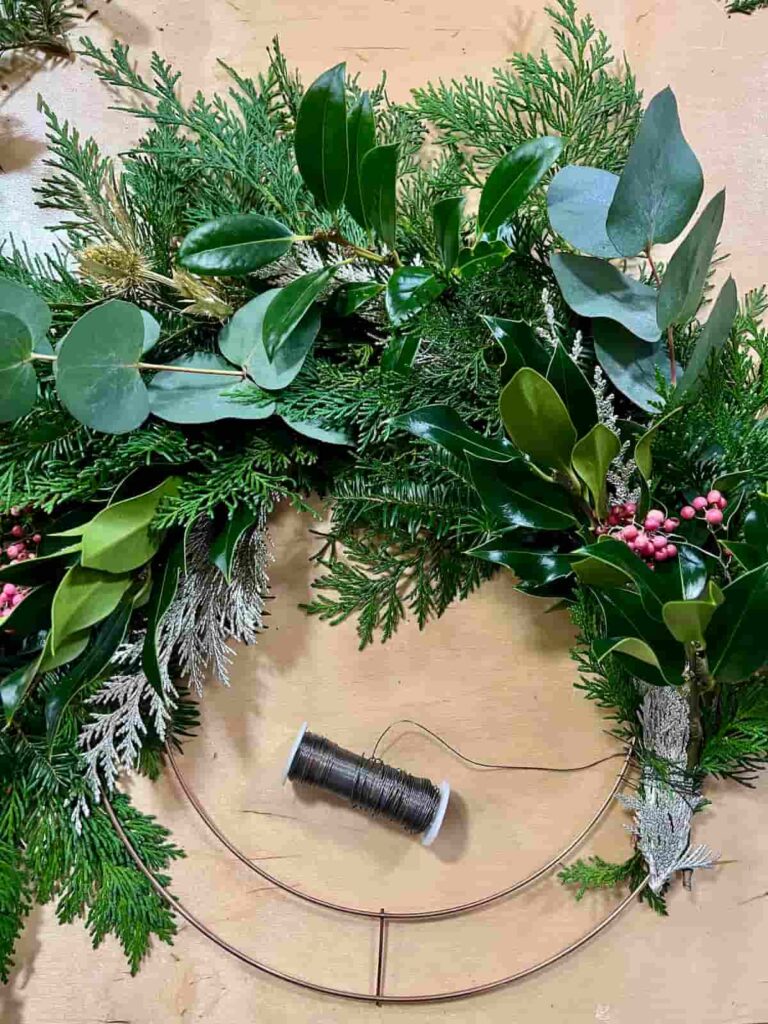
When adding embellishments, there are ways to help it look more balanced and aesthetically pleasing.
Adding larger flowers such as faux poinsettias or pinecones in the bottom half will make the wreath look more balanced and naturally heavier at the bottom.
Likewise spacing out the decorative elements evenly around the wreath will add visual interest to each area rather than bundling them too closely.
Step 6: Add Final Decorations
With gaps in the foliage or if the metal hoop is visible, you can cover those with scraps cut off from the bundles. This is also where you can add extra decorative elements that are not tied into the bundles.
Additional elements that add a cosy look are dried oranges, cinnamon sticks, star anise, acorns and berries.
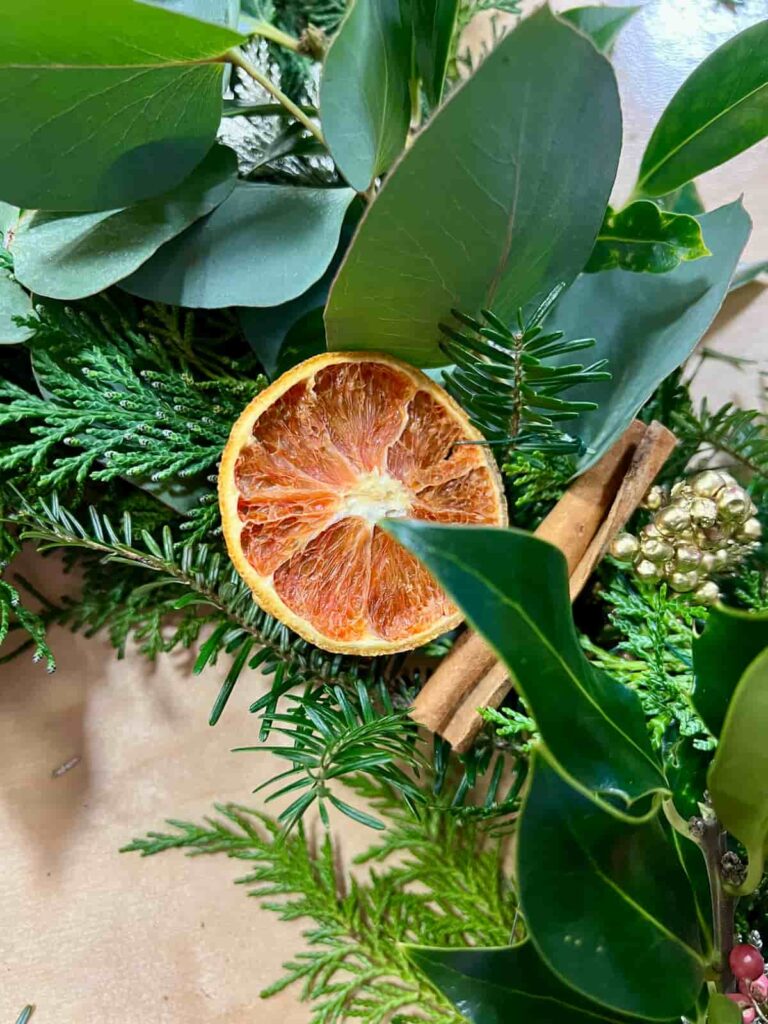
It’s a good idea to add these at the end so they aren’t hidden amongst the layers.
Here I added dried orange slices and cinnamon sticks. I tied these on with delicate green floral wire.
However, it’s easier to use a little hot glue, especially for unusual-shaped pieces such as a lotus head.
For an even more wintery look, you could add faux snow spray or glitter.
Step 7: Hang Your Wreath
If the wreath is fairly light, you can attach it to the door with command hooks.
For this wreath, I used a ribbon up and over the door and secured it on the back. If you don’t want the wreath to be visibly attached, then a strong clear wire works well.
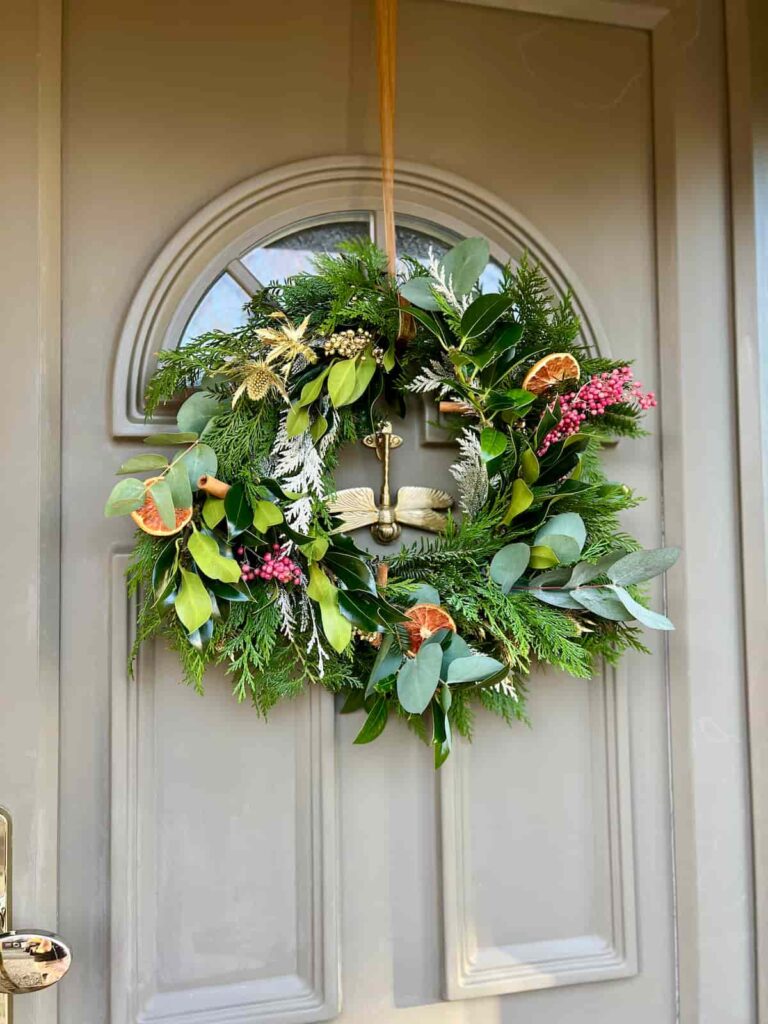
When choosing a ribbon colour, it’s nice to complement an accent colour in the wreath. For example, orange to match the orange slices. Alternatively, a strong contrasting colour to the green of the foliage is a bright red.
Try to avoid colours that are similar but not matching, as these can often look odd next to each other. With this wreath, I avoided the classic Christmassy red as I used less traditional pink berries.

The advantages of making natural wreaths are that they’re often cheaper, smell lovely, and feel more festive.
But unlike artificial flowers and decorations, these will eventually start to droop. However, you can repurpose the metal hoop for the next seasonal wreath, maybe for a winter wreath or Valentine’s Day.
Making your own wreath is an enjoyable and affordable way to create seasonal decor without the extra cost of shop-bought designs.
Whether you’re crafting a Christmas wreath or planning future projects, these simple steps will ensure your entire project looks professional and festive.
Did you make this craft?
I love seeing what you do. Please mention @teaandforgetmenots and share your creations with me!
Pin it for later – Beautiful Christmas Metal Hoop Wreath DIY
Hi there! I'm Rachel Bowyer, a passionate DIY enthusiast with a knack for transforming the old into something beautifully new. With a deep love for furniture painting, refinishing, and the art of crafting. I've been documenting my DIY projects and restoration journey since 2018. I specialise in techniques like decoupage, stencilling, and decor transfers. Join me as we explore the world of creativity and home improvement, one project at a time.

