How to Open Paint With Stuck Plastic Lid | 4 Easy Ways
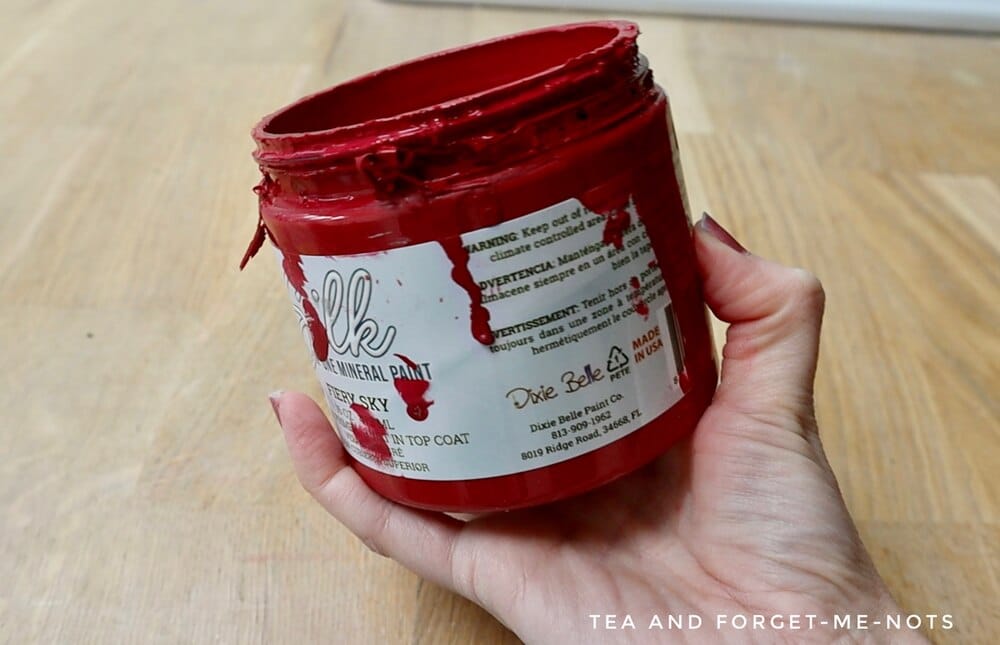
Can’t open your plastic paint pot lid? There are easy ways to open paint with stuck plastic lid. Here are the best tips for how to do it.
Whether you’re working with Dixie Belle or Fusion Mineral paint, getting the plastic lid off can be a challenge.
It’s easy to get a plastic lid stuck when there’s leftover paint dried to the rim. Excess paint can make a lid difficult to remove but there are several ways to help.
And even better, probably everything in this list you already have in your home or shed already. No fancy tools are needed. Just the easiest way to get the job done.
Also including the best way to prevent them from drying closed in the first place.
This post may include affiliate links so you can easily find the products I love and use myself. If you purchase these products, I may earn a small commission at no extra cost to you.
How to open paint with a stuck plastic lid
1. How to remove a stuck paint lid with water
The first way to loosen a stuck paint lid is with warm water. There are a couple of ways you can do this. You can run the paint under a warm tap for a few minutes. Or alternatively, you can place it in a bowl of warm water.
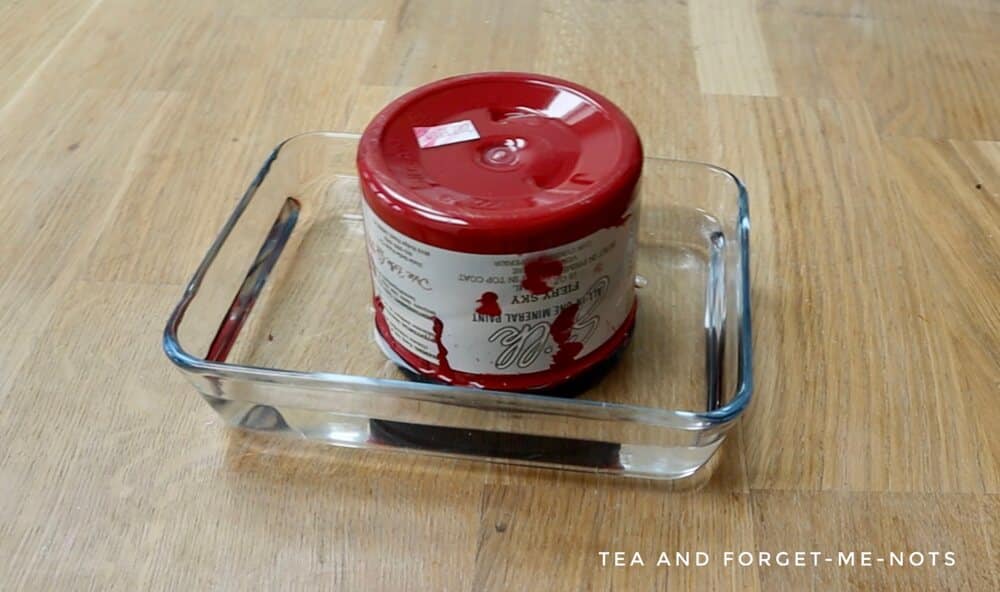
This works because the heat loosens the dry paint so it should easily screw off afterwards.
2. How to remove a stuck paint lid with brute force
Hitting the paint pot will also help loosen up the dried paint enough for the lid to open.
One way is to hit the lid with a rubber mallet, hammer or the end of a screwdriver. Sometimes, a little bit of force is all you need to break the seal on a stuck paint can lid.
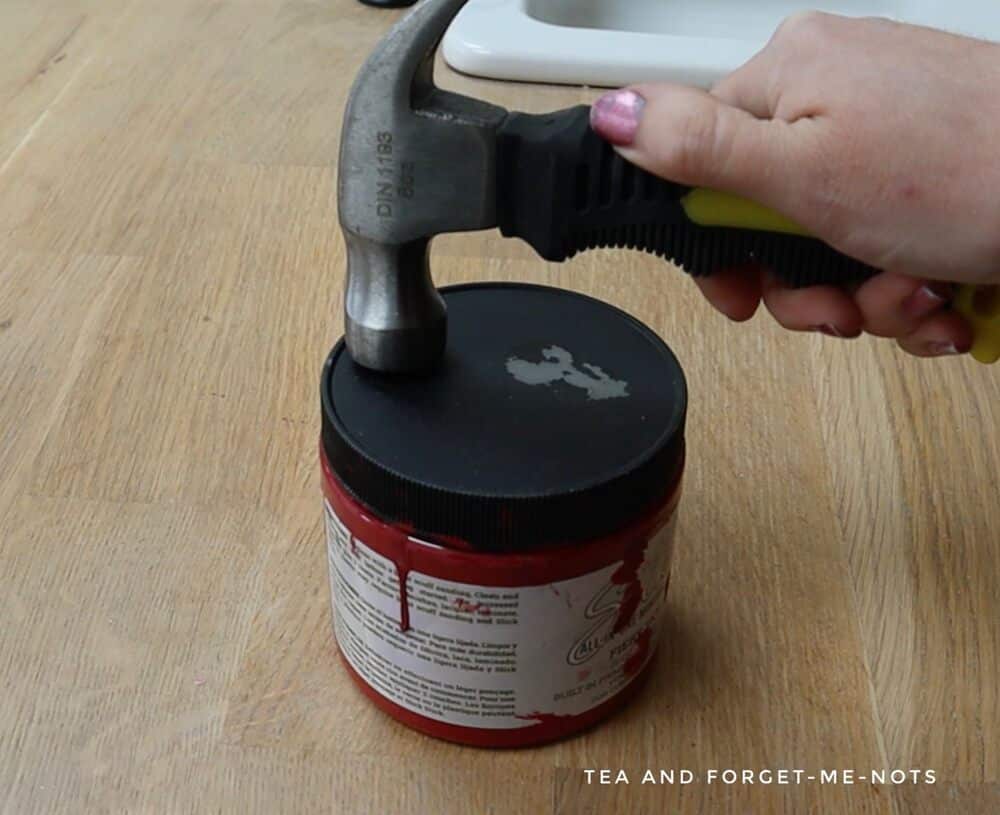
Just be careful not to hit it too hard, or you could dent the can.
This hammer is perfect for smaller hands. Here are other great tools I recommend.
Alternatively, no tools are needed! Hold the paint upside down and bang it on a flat surface a few times.
3. How to open a paint can with a sharp object
Sliding a sharp object under the side of the paint lid can help scrape the paint off enough to open it.
There are several tools you can do this with. Firstly, something you may already have to hand is a paint can opener tool.
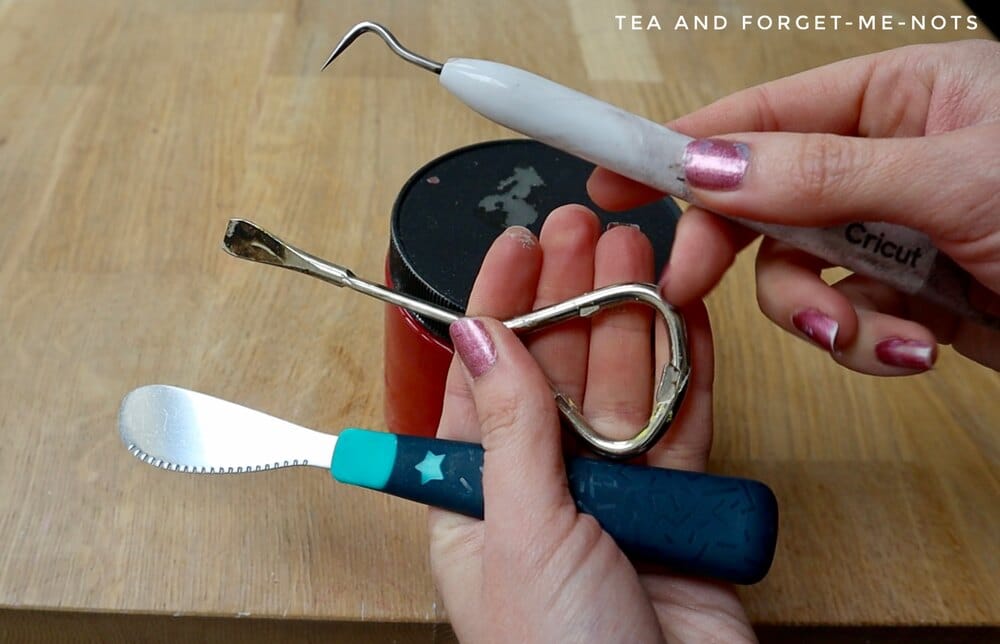
These tools are designed to make it easy to pry off paint can lids without damaging the can or spilling the paint.
So whether it’s opening the can the right way, or scraping it along the edge of the top of the can, it’s a good accessory to have. You can find them at most hardware stores.
Here are 5 more must-haves.
Similarly, a flat head screwdriver works the same way. In fact, you could use the same flathead screwdriver that you may have tried with the brute force method!
Alternatively, a butter knife does the same job. I use a children’s knife as it has a better (therefore safer) handle to grip. Likewise, a putty knife is a similar shape.
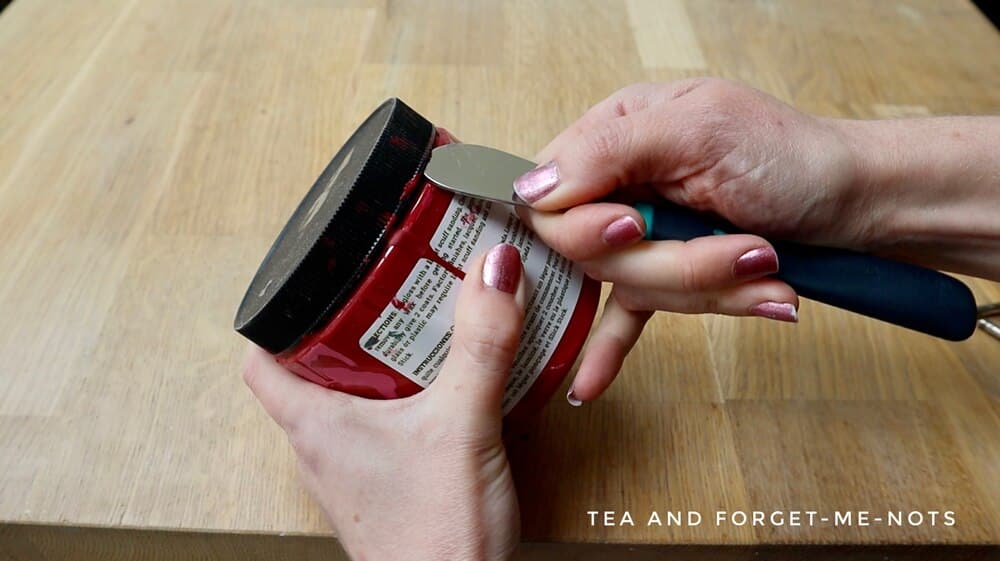
Finally, you could also use a weeding tool for a Cricut machine. This has a point on it so it is helpful at scraping the dried paint off.
Whichever of these you use, be careful when using a sharp object as they can slip easily.
4. How to open a paint can with a extra grip
Sometimes all you need to open a stuck lid is a better grip. There are a couple of ways to give you the edge in this way.
And I bet you already have them in your home!
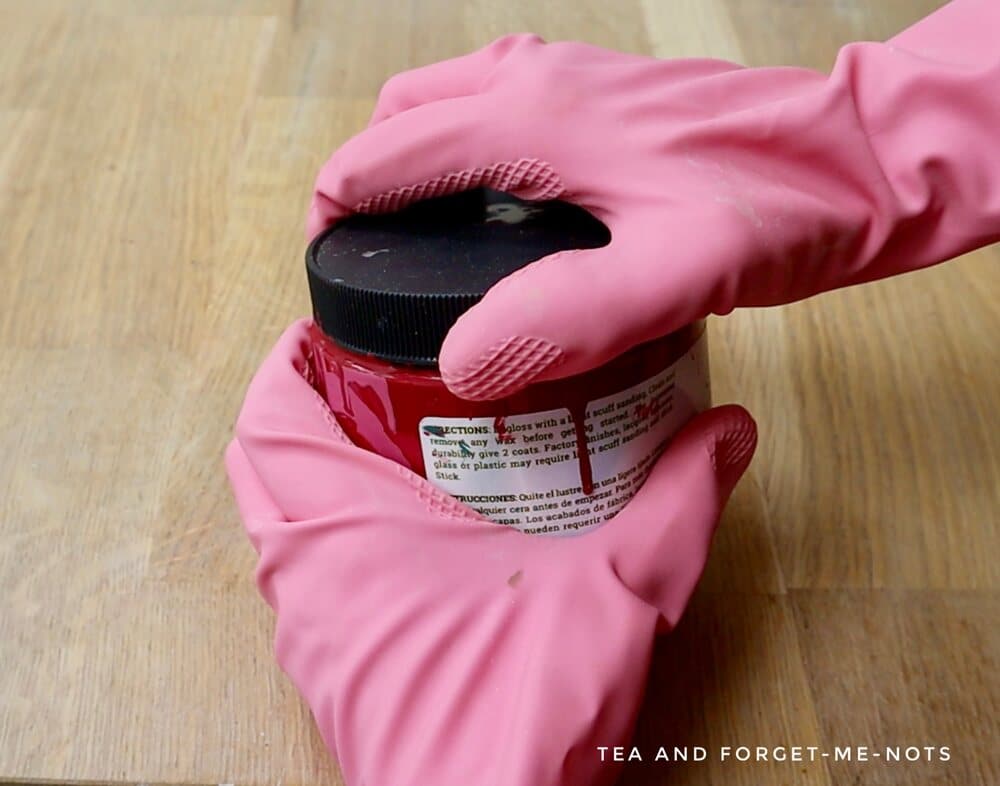
Firstly, rubber gloves. Perfect for washing up and giving you a strong, tight grip. The rubber stops your hands from slipping so is a good choice for getting that paint lid off.
Secondly, sandpaper. The naturally non-slip surface of the sandpaper increases the friction and helps strengthen the grip.
Finally, if you also have fancy tools for the kitchen, you might have a jar opener. That would also do the job as the plastic lids are a similar size.
What can you do when you can’t get a stuck paint lid off?
So, you’ve tried all of the above methods and the paint lid won’t budge?
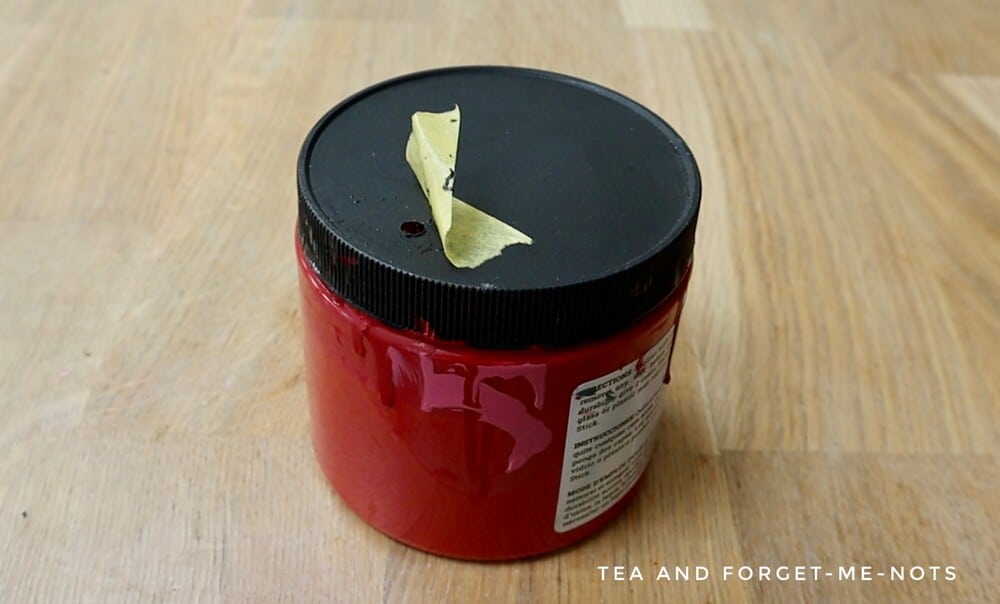
One option is to drill a small hole in the plastic lid. This is so you can pour your paint out to use it. Then to keep the paint fresh, you can cover the hole with painter’s tape.
Want a more air-tight seal in how you store paint? A good idea is to decant it into a mason jar.
You could also use a FIFO (first in first out) bottle. Which is like a squeezy ketchup bottle. Although won’t necessarily keep paint in the best condition long term.
So, you’ve got into the lid of the can this time. But how can you avoid it next time?
How to prevent your plastic paint lids from getting stuck
There are a few things you can do to help avoid getting dried paint stuck in the first place. Sometimes you have to experience the problem before you spend time preventing it in the future!
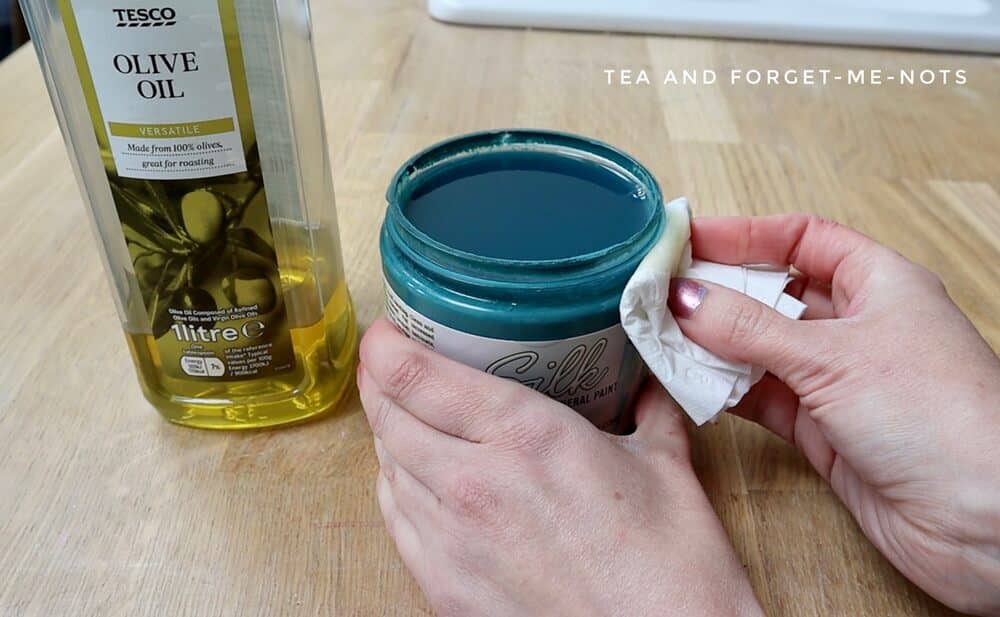
Firstly, you can wipe the wet paint off of the rim of the can and the inside of the lid with a clean cloth before you close it. This will help to prevent dried paint from sealing the lid shut.
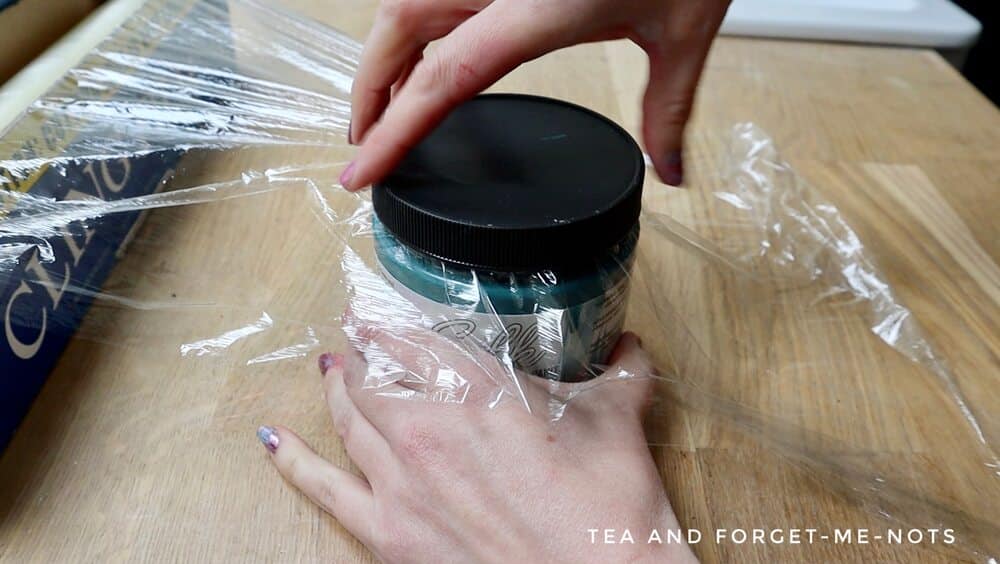
Secondly, you can cover the rim of the pot and over the opening with a piece of plastic wrap. Whether that’s cling film, saran wrap or similar.
Alternatively, there are a couple of things that you can apply to the rim of the new paint to keep it lubricated from the first time you open it.
You can apply olive oil or vaseline with a paper towel or your finger around the edge of the lid.
Here’s the other genius thing that I use vaseline for.
Fortunately, it doesn’t matter what type of paint you have. Whether it’s acrylic paint, oil-based paints, latex paint, or chalk paint, it’s all the same. If you have the types of paint cans with plastic lids then these simple tips should do the trick.
Both solve the problem you have of how to open a paint can now and also how to avoid the same issue in the future. I hope one of these tips works for you and that your future paint projects give you the best results.
Want more tips and tricks? Check out the YouTube channel.
Pin it for later – How to open paint with stuck plastic lid
Hi there! I'm Rachel Bowyer, a passionate DIY enthusiast with a knack for transforming the old into something beautifully new. With a deep love for furniture painting, refinishing, and the art of crafting. I've been documenting my DIY projects and restoration journey since 2018. I specialise in techniques like decoupage, stencilling, and decor transfers. Join me as we explore the world of creativity and home improvement, one project at a time.


This is super helpful. Thanks for sharing!
You’re welcome
Fantastic tips!