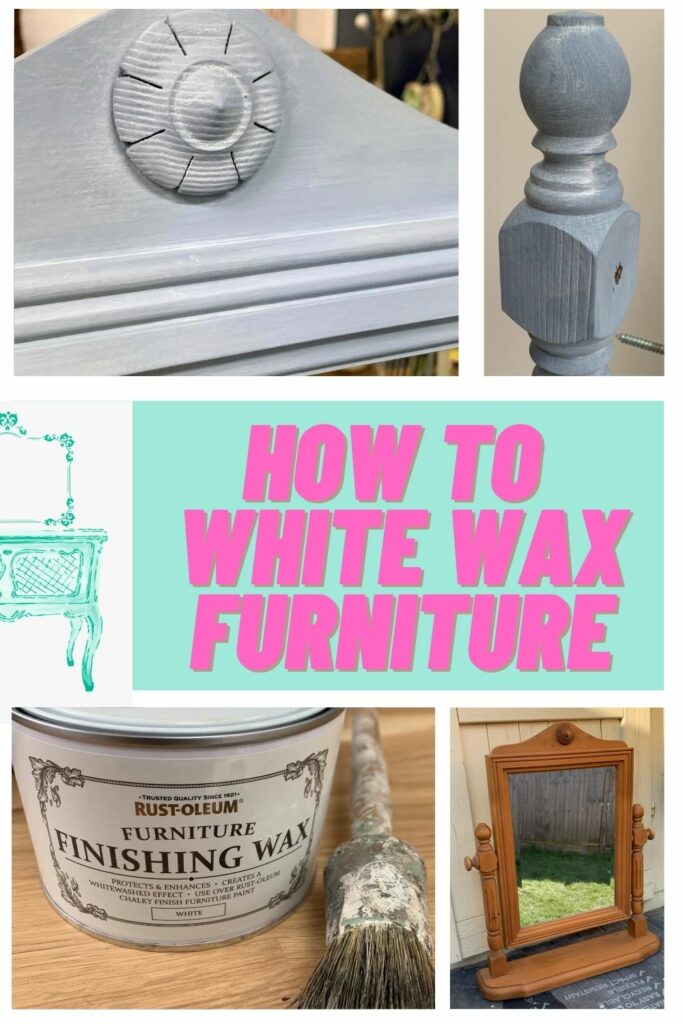
How to use white wax on furniture
White wax on furniture creates a faded or whitewashed look over paint or natural wood. It’s a simple process and can have a dramatic impact.
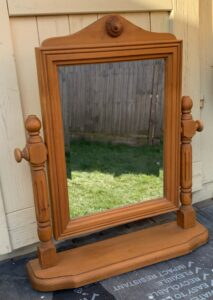
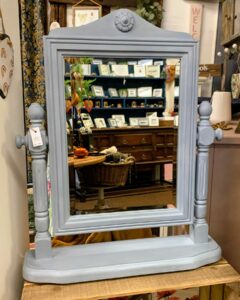
My friend, Katherine, asked if I would like this mirror before she put it on Freecycle. Of course, I said yes because it had pretty details and I thought it could be even more charming with some fresh paint.
Through friends and family is one way that I recommend finding free furniture. Check out the other ways!
This post includes gifted products and affiliate links so you can easily find the products I use myself and recommend to friends. If you purchase these products, I may earn a small commission at no extra cost to you.
How to use white wax on furniture
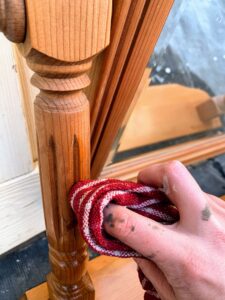
Time to clean
The trouble with pretty details though, as lovely as they are, they also collect dust.
So, to start I gave it a quick clean using my usual cleaner, Dixie Belle’s White Lightning. It’s diluted in warm water and then I give the piece another quick wash with plain water to get rid of any leftover soap.
It’s never the fun bit but it’s only worth painting a clean piece, otherwise, it just won’t last.
Thank you to Dixie Belle Paint for partnering with me on this project.
A touch of paint
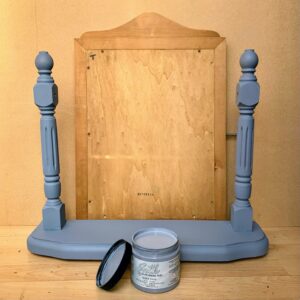
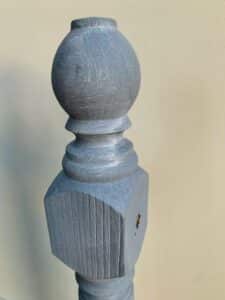
I took this photo because I was so impressed with the coverage of the paint.
Can you believe that this first coat of the mirror frame was done using only the paint in the lid after I opened it?
It also shows how the paint would look if I hadn’t added white wax. It’s a beautiful soft blue-grey called Quiet Cove by Dixie Belle.
I removed the screws on the back, hoping that the mirror would easily come out. Then I wouldn’t need to tape off the mirror to protect it when painting.
Unfortunately, after taking all the screws out, I found several pieces of additional wood keeping the mirror in place. Good for the mirror, not good for me.
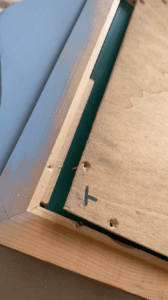
So, I went with the path of least resistance and decided to paint with the mirror in place.
I’d already done a layer of paint avoiding the mirror edge but I went back and painted to the edge too. I wasn’t too careful as I knew I would have to clean the mirror when I was finished anyway.
Sometimes if there’s a slight gap you can fit playing cards around the edge and that protects the mirror from paint too.
I have lots of different tricks like that in my tips using household items post.
How to use white wax on furniture
This paint is from Dixie Belle’s all-in-one range, so it doesn’t need a primer or sealer.
Wax is a sealer but it’s not an issue to add it over paint that doesn’t require it, it just gives it added protection.
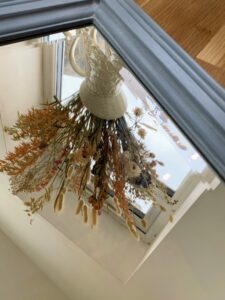
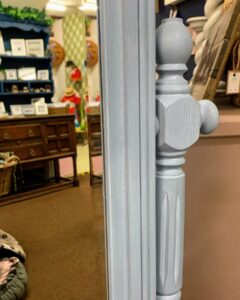
But I wanted to add white wax to give more dimension to the mirror. It has nice details like the central circle and ridges on the frame.
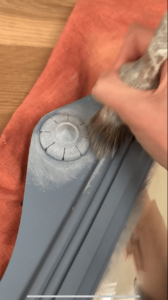
Wax settles well into nooks and crannies so is best used to make an ornate piece more interesting.
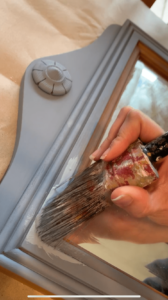
I label my wax brushes so I know what colour wax I use them for. I do that so I don’t accidentally get the wrong colour wax on a different project if it’s not washed perfectly.
This is after adding one coat of wax. You can see all the details that it’s settling into.
This is after buffing with a cloth to take off the excess and leave a more subtle whitewash across the piece.

You don’t need to buff if you like the heavier waxed look. Or you can add a second layer of wax after buffing to make the white stand out more.
There’s always one
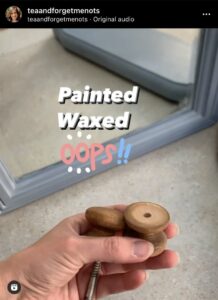
You might have seen my Instagram reel where I realised that I’d forgotten to paint the mirror knobs. Doh! Fortunately a quick fix!
I did two coats of paint and one coat of white wax and was happy with how it looked.
As wax is a sealer it doesn’t need (and can’t have) a top coat on it. So, I was done!
Take a look at another wax project here!
Want to know 23 great DIY tools? Get the list!
Work smart, not hard
Except… time to clean the mirror.
Fortunately, I know a great way to clean it quickly…

Shaving foam and a razor blade!

And done! It’s that simple. Just add the shaving foam and gently use the blade to slice off the paint from the surface. Wipe off the excess foam afterwards.
Waxed and finished
And here she is. I think the blue paint and white wax create such a delicate, soft effect.
Doesn’t hurt having other beautiful pieces at Homemade at The Barn to help stage the mirror!
See how it settles into the details and ridges?
The wax just enhances the delicate details that it started with.

I think it makes the mirror more interesting without being overly feminine or cute. Just a soft, beachy vibe. I’m really happy with it.
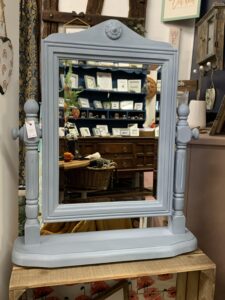
What do you think? Do you like the heavier waxed look or the original colour of the Quiet Cove paint? Both give a different character but you can’t go wrong.
If you like using white wax on furniture, you might also enjoy this post about using black wax.

Hi there! I'm Rachel Bowyer, a passionate DIY enthusiast with a knack for transforming the old into something beautifully new. With a deep love for furniture painting, refinishing, and the art of crafting. I've been documenting my DIY projects and restoration journey since 2018. I specialise in techniques like decoupage, stencilling, and decor transfers. Join me as we explore the world of creativity and home improvement, one project at a time.
Love it and blue with white wax is one of my favorite combinations. I love working with different waxes.
Thanks, it’s such a calming combination.
The end result of this makeover is so good! Enjoy your new mirror.
Thank you, Paula!