Make Your Own Soy Candles in Unique Charity Shop Containers
Why settle for ordinary candles when you can create something truly unique?
Making your own soy candles using cute upcycled containers is a fun and creative hobby. But it’s also a thoughtful way to add a personal touch to your home or give as a gift.
Plus, it’s an eco-friendly and budget-friendly way to get crafty!
I love the thrill of treasure hunting in charity shops. They’re great places to find one-of-a-kind gems for a bargain. From vintage teacups to quirky jars, the possibilities are endless.
This post includes affiliate links so you can easily find the products I use myself and recommend to friends. If you purchase these products, I may earn a small commission at no extra cost to you.
For this project, I turned my finds into homemade soy candles, and the more unique the container, the better!
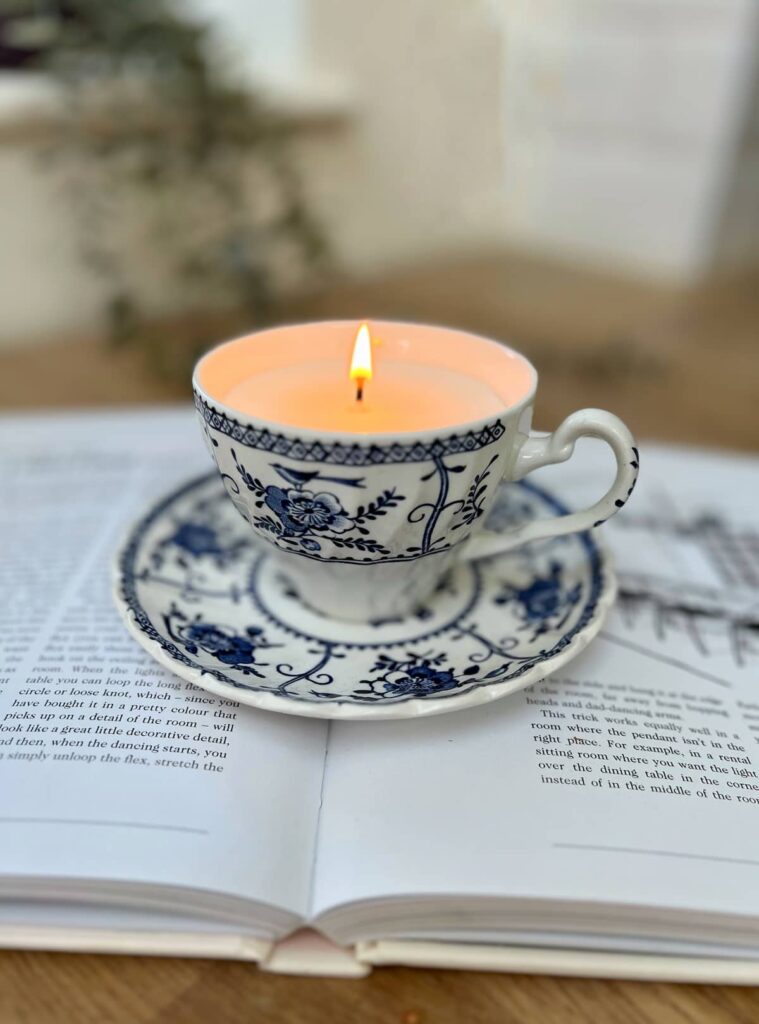
Here are a few different ideas and tips for how to make your own candles. Some of the challenges can be tricky to solve…

Do It Over’ Designers is a group of talented bloggers who love to recycle, upcycle and DIY.
Check out all the ‘Do It Over Designers’ at the bottom to see their lovely do-overs too!
How to Make Your Own Soy Candles Step-by-Step
Materials Needed
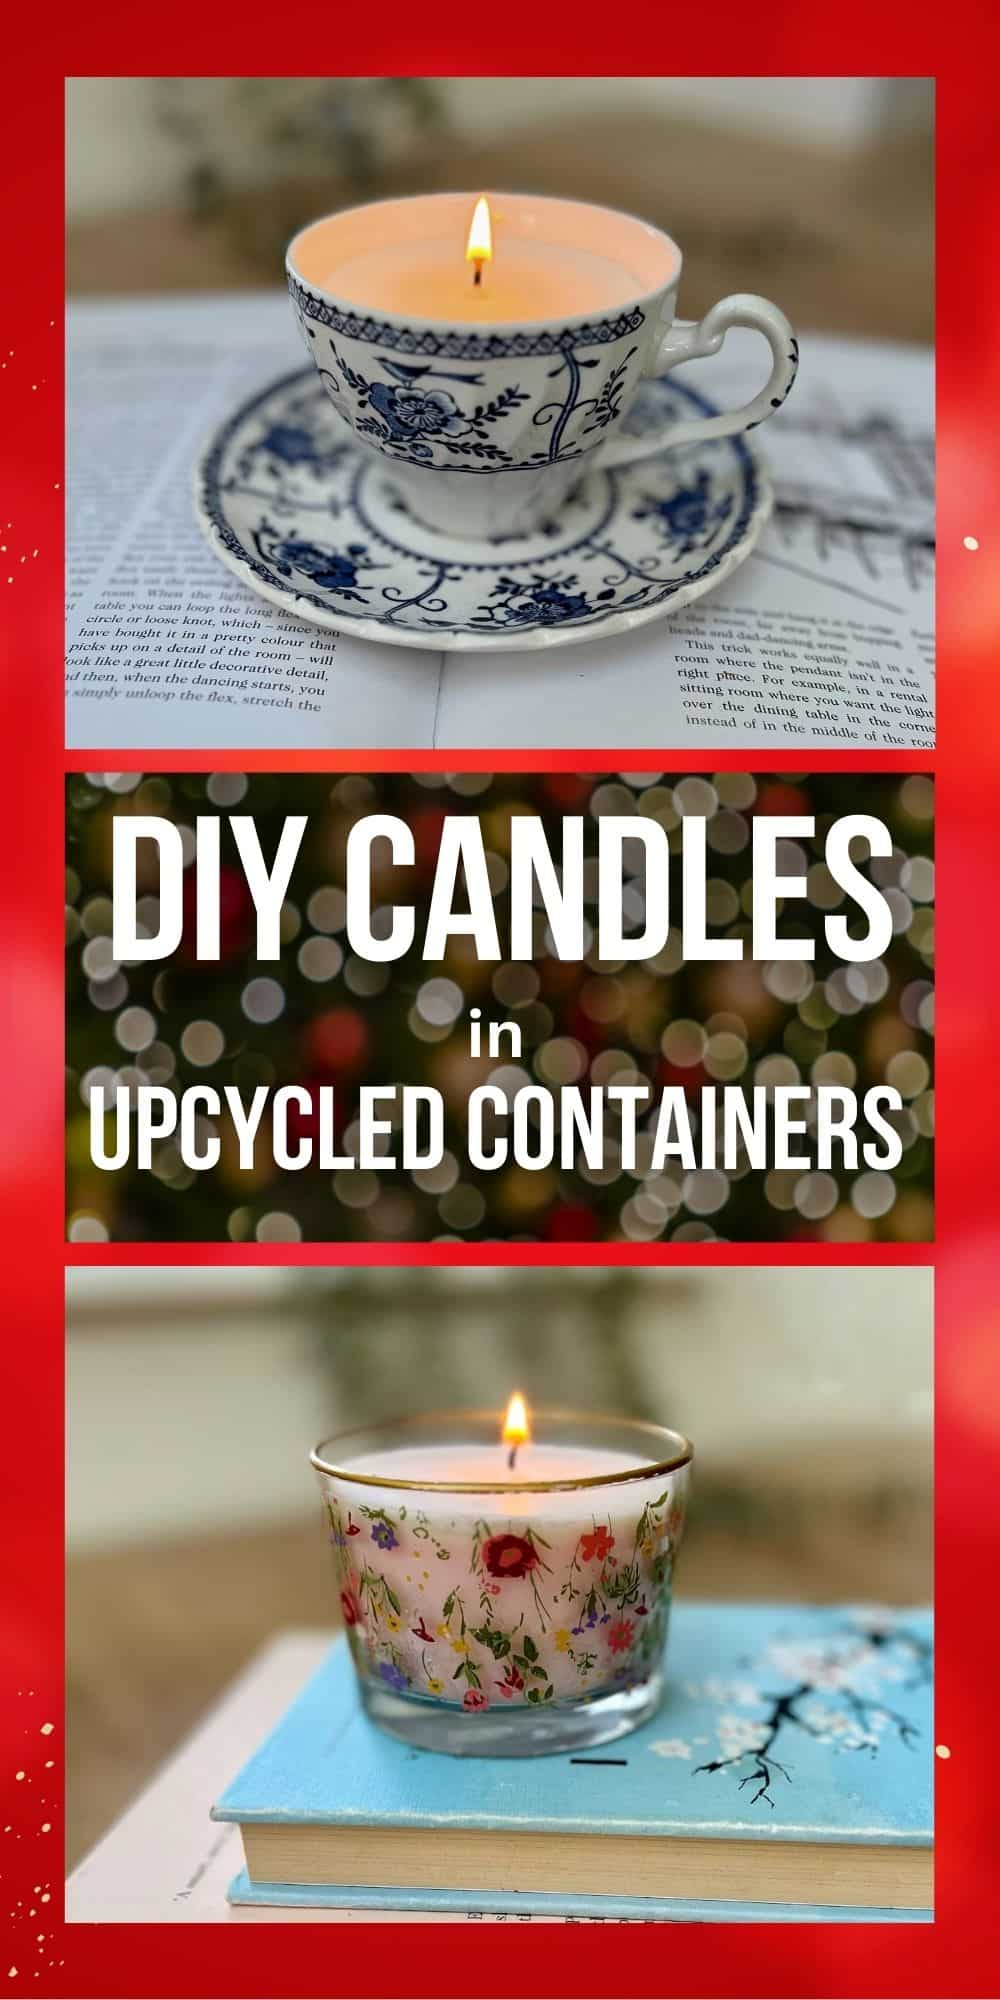
Handmade Candle in a Vintage Teacup
Step 1: Finding the Perfect Candle Container
The fun of charity shop treasure hunting aside, using upcycled containers is eco-friendly and budget-friendly.
Here, I’ll show you three different DIY candles: an adorable vintage tea cup and saucer, another in a pickle jar (with lessons learned along the way!), and a third in a pretty floral glass pot.
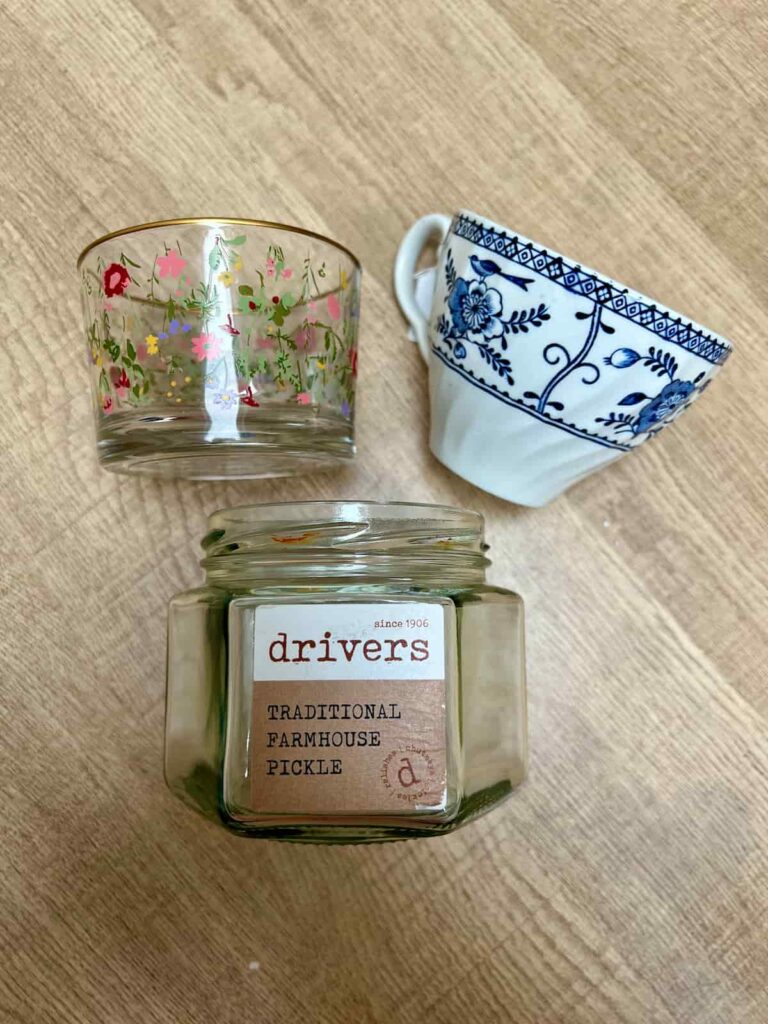
What containers work best?
Glass: A great choice for candles, but make sure it’s thick enough to withstand heat. Mason jars are perfect because they’re made with thick glass.
Ceramics: Items like tea cups are ideal as they’re designed to handle high temperatures.
Metal Tins: Look for ones specifically designed for candle-making.
Before you start, ensure your containers are free of cracks or leaks. And remember, the more unique the container, the better. Homemade candles don’t need mass appeal; they just need to make you smile.
Step 2: Supplies to Make Your Own Soy Candles
- Wick: You can buy wick stickers for easy attachment or secure them with a hot glue gun.
- Melting Pot: A heat-resistant container like a glass measuring jug works well.
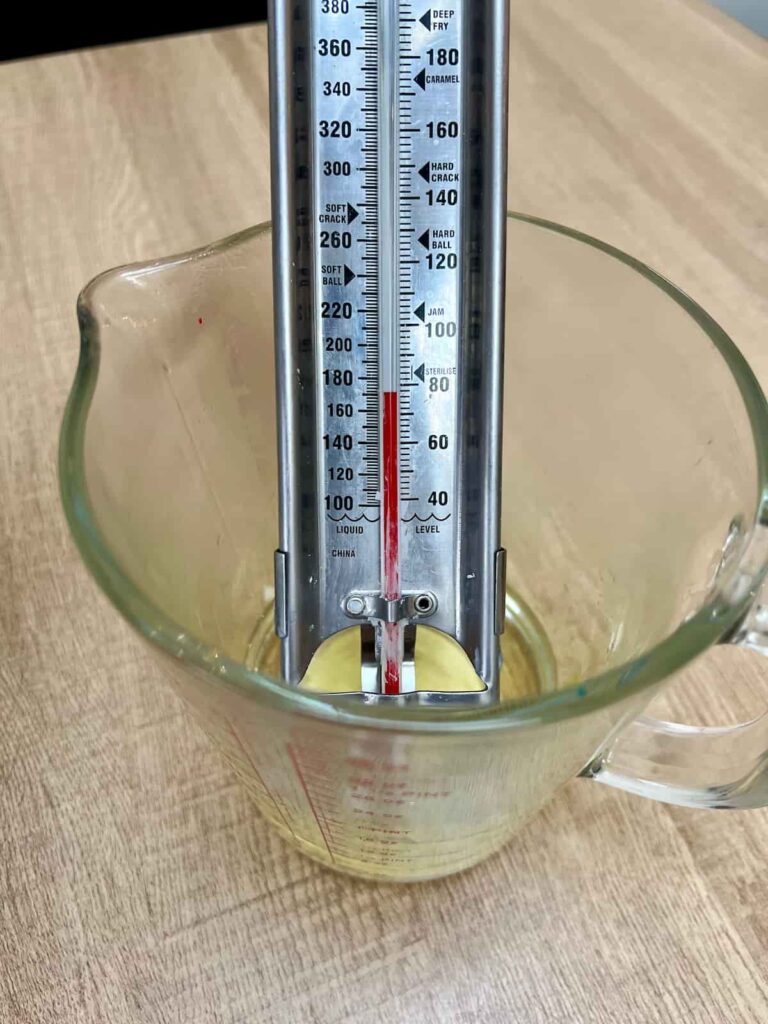
- Thermometer: Helpful for monitoring the temperature of the melted wax.
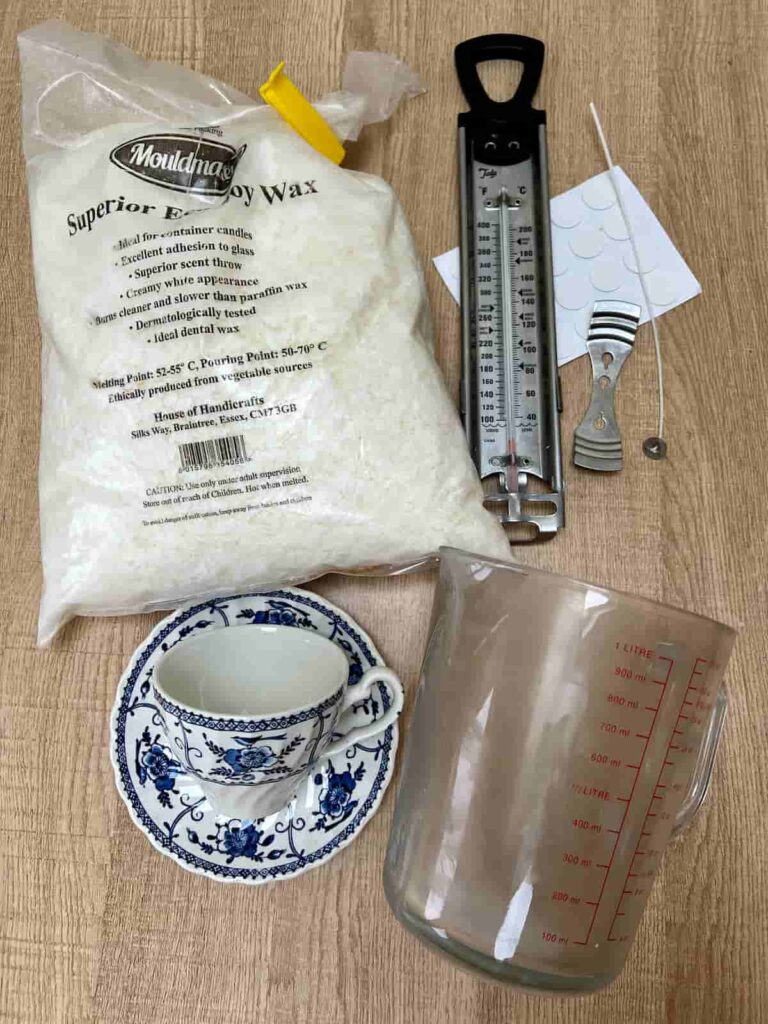
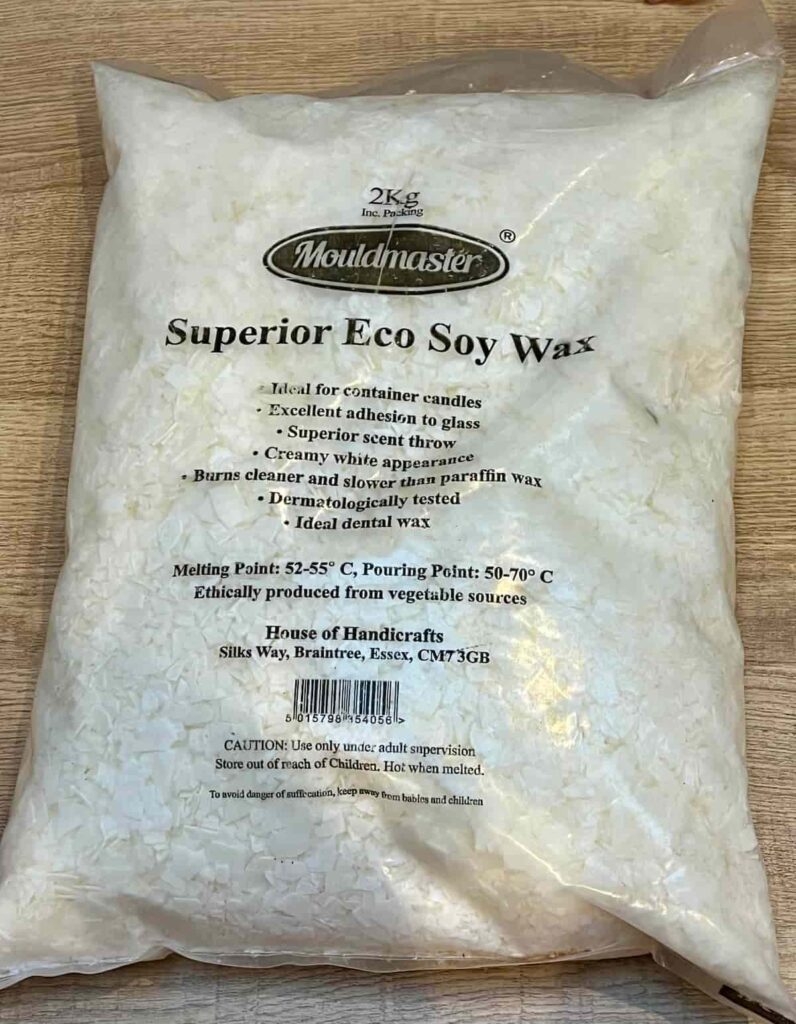
Soy Wax: A great option for DIY candles because it’s biodegradable and eco-friendly. It also produces less soot than paraffin wax, making it a good choice for use at home.
This soy wax costs £10.05/kg compared to the same brand’s paraffin wax at £9.46/kg.
Step 3: Prep the Containers
To prepare the containers for the melted wax, there are a couple of things to do first.
Clean and dry your containers thoroughly, especially if they’ve been sitting on a charity shop shelf for a while.
Attach the bottom of the wick to the container. You can use:
- Stickers that come with the wicks (the easiest option).
- A hot glue gun to secure the wick in place.
- A small amount of melted wax to hold the wick down until it solidifies.
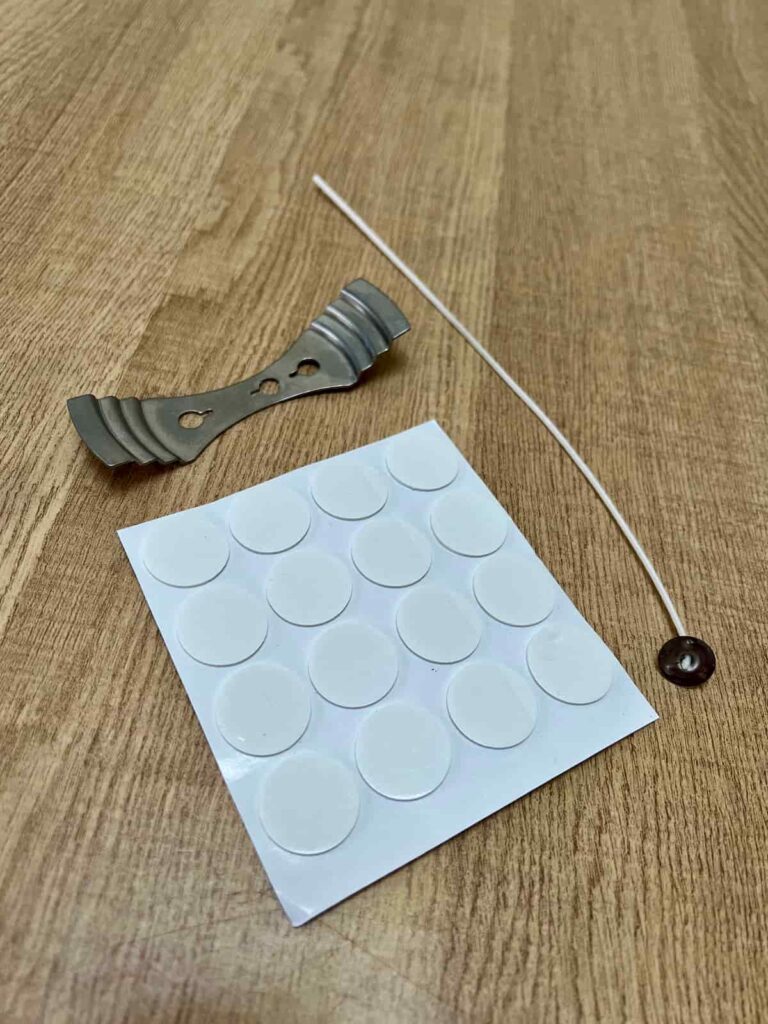
Secondly, you need something to keep the candle wick upright while the wax is cooling. This set has a wick holder with it.
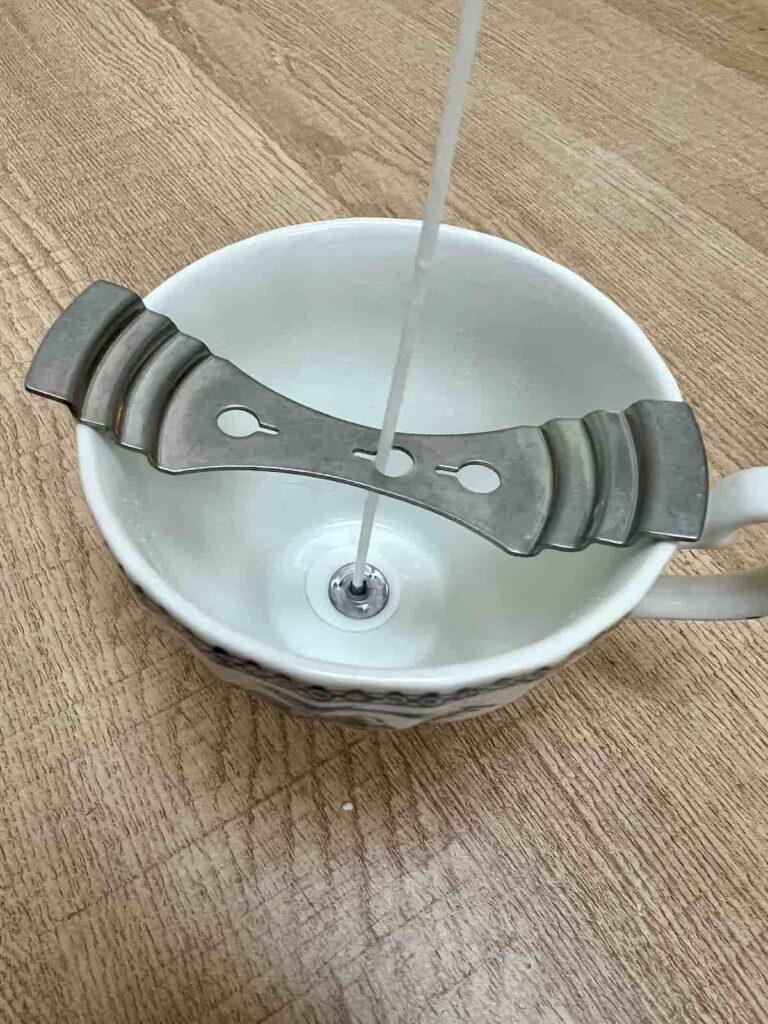
Alternatively, you can use lollipop sticks or a pencil to wrap the wick around it to keep it in place.
Step 4: Measure Out Soy Wax Flakes
A good rule of thumb to work out how much wax you’ll need for your candle, is to fill up the candle container twice.

Once melted, two cups of soy wax flakes will fill up the teacup to near the top of the container.
Step 5: Melt Candle Wax in the Microwave
- Place the soy wax in a heat-resistant container, like a glass measuring jug.
- Heat the wax in short bursts:
- Start with 1 minute in the microwave.
- Stir the wax, then reduce the heating time to 30-second intervals until fully melted.
- The wax is ready when it’s completely clear. If using a thermometer, refer to the instructions on the soy wax packaging for the ideal melting and pouring temperatures.
Pro Tip: If you’re adding essential oils or fragrance oils, do so after the wax has cooled slightly.
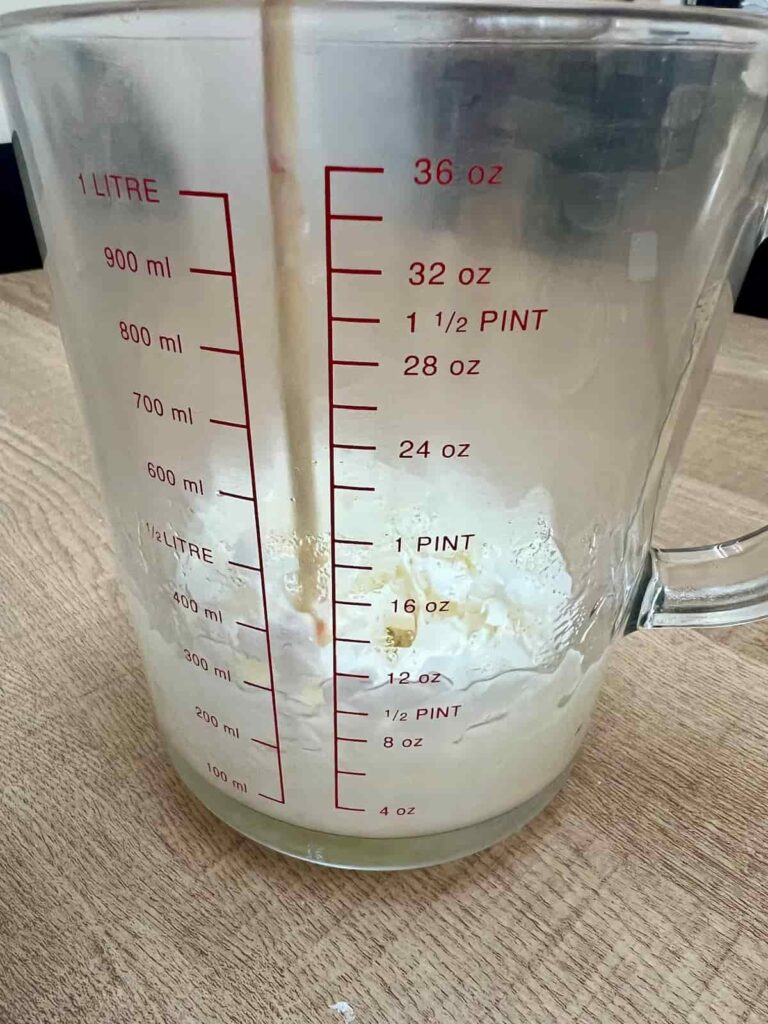
Fortunately, this soy wax had instructions for melting and pouring temperature on the packet. The melting point for these soy wax flakes is 50-55°C and the pouring point is 50-70°C.
But different types of wax melt at different temperatures so that’s something to check on the instructions.
I chose not to add essential oils or fragrance oil to give the candles a scent. But if you do want to add this extra step, then the time to do it is when the wax has cooled slightly.
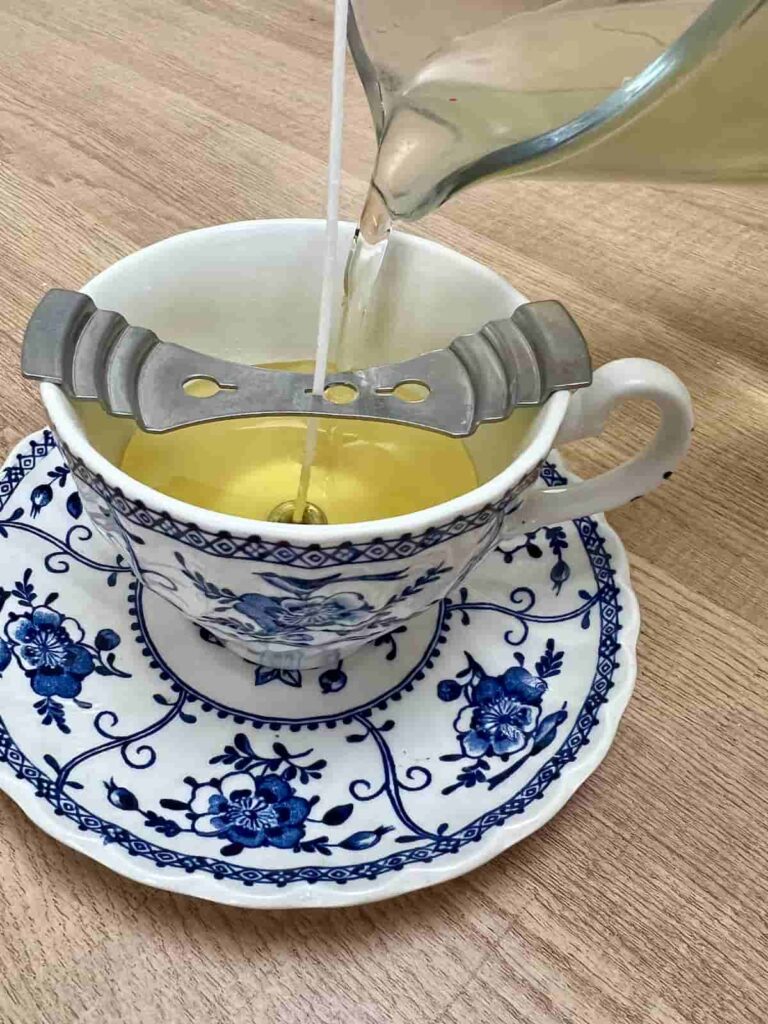
If you’re making large batches of candles, a double boiler is more efficient. But for small DIY projects like this, the microwave is quick and easy to use.
The final step is to trim the wick size down to 1cm or 1/4 inch. Try and cut the wick straight across to help it burn evenly.
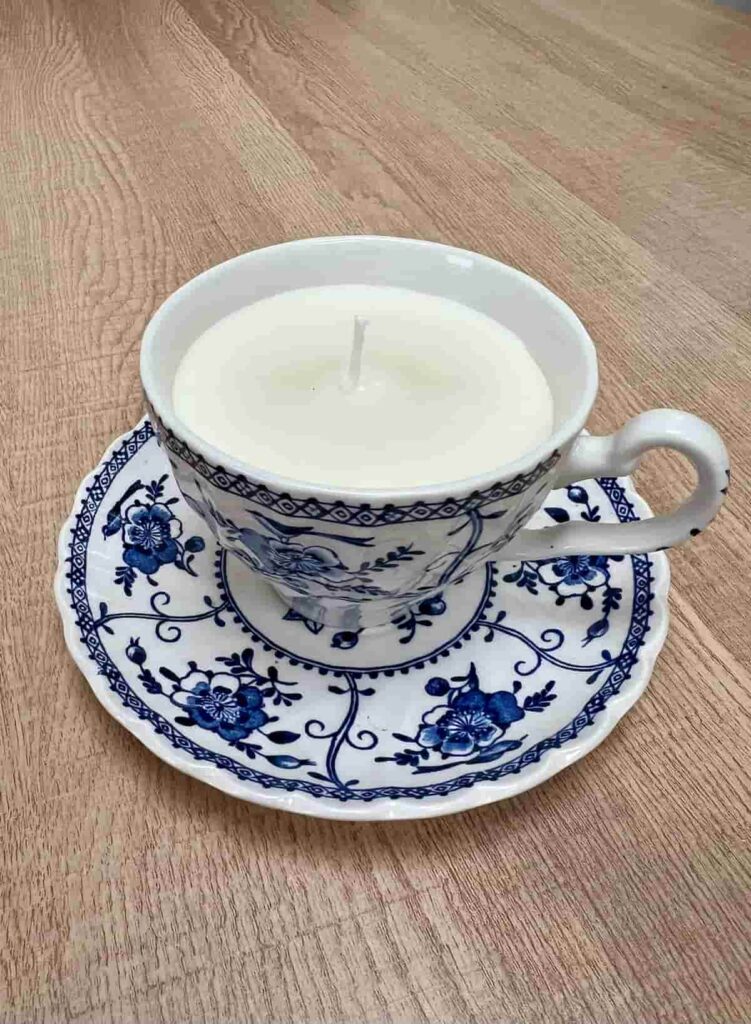
Ideally, also leave the candles to set for a week before lighting them.

DIY Soy Candle in Glass Pot
One of my favourite things about charity shop finds, is how unusual they can be.
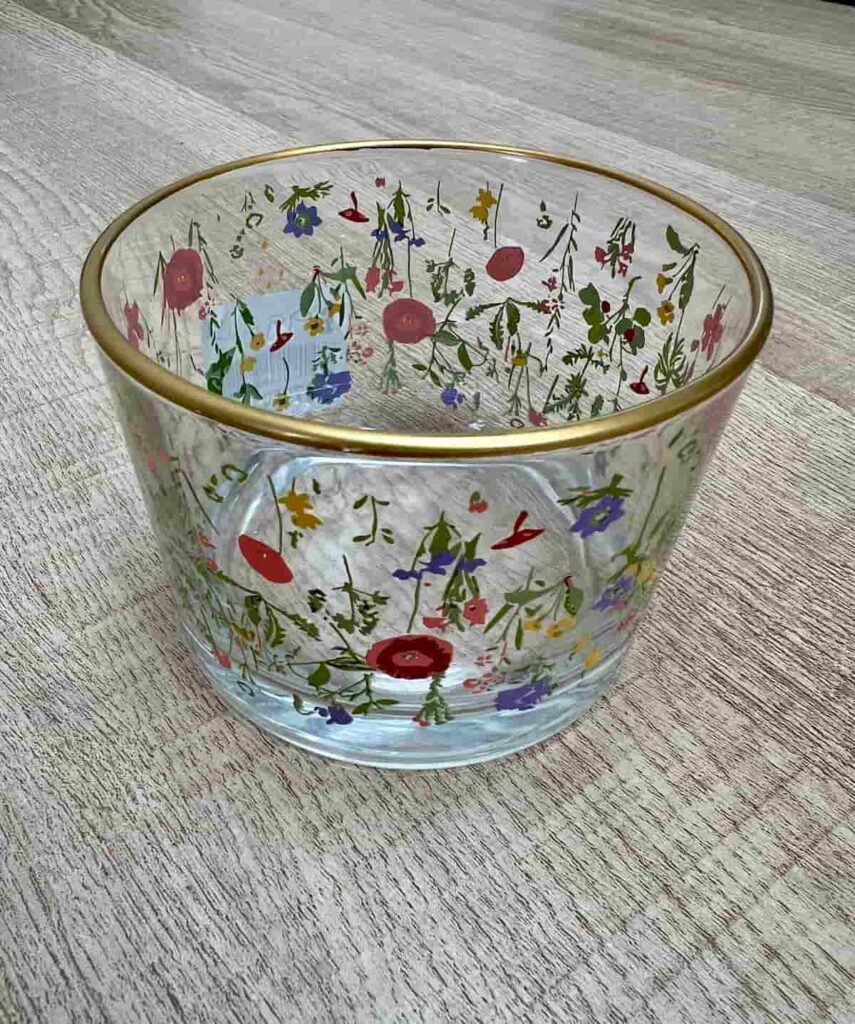
At a glance, this glass pot is a pretty floral design. But if you look closely, the floral pattern is upside down. That made me like it even more.
And for the bargain price of 99p, what’s not to love?
Fixing Sinkholes
Sinkholes can happen when the wax doesn’t cool evenly. If you find yourself with a sinkhole, there are a couple of ways to help remove them for a smooth candle top.
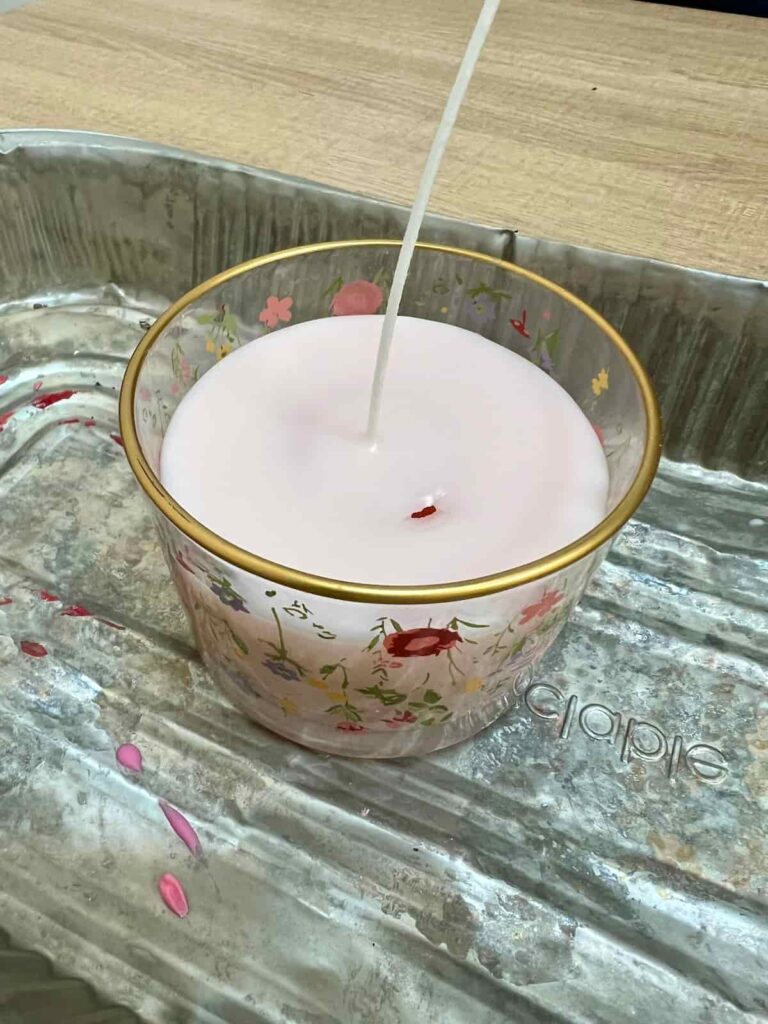
They will most likely appear near the wick. Here’s how to fix them:
- Use a heat gun or hairdryer to gently melt and smooth out the existing wax or
- Add a thin layer of melted wax to fill in the holes.
It’s helpful to melt a bit more wax than you think you need in case you need it for top-ups. This is especially important if you’re making a coloured layer and won’t be able to recreate the same colour again.
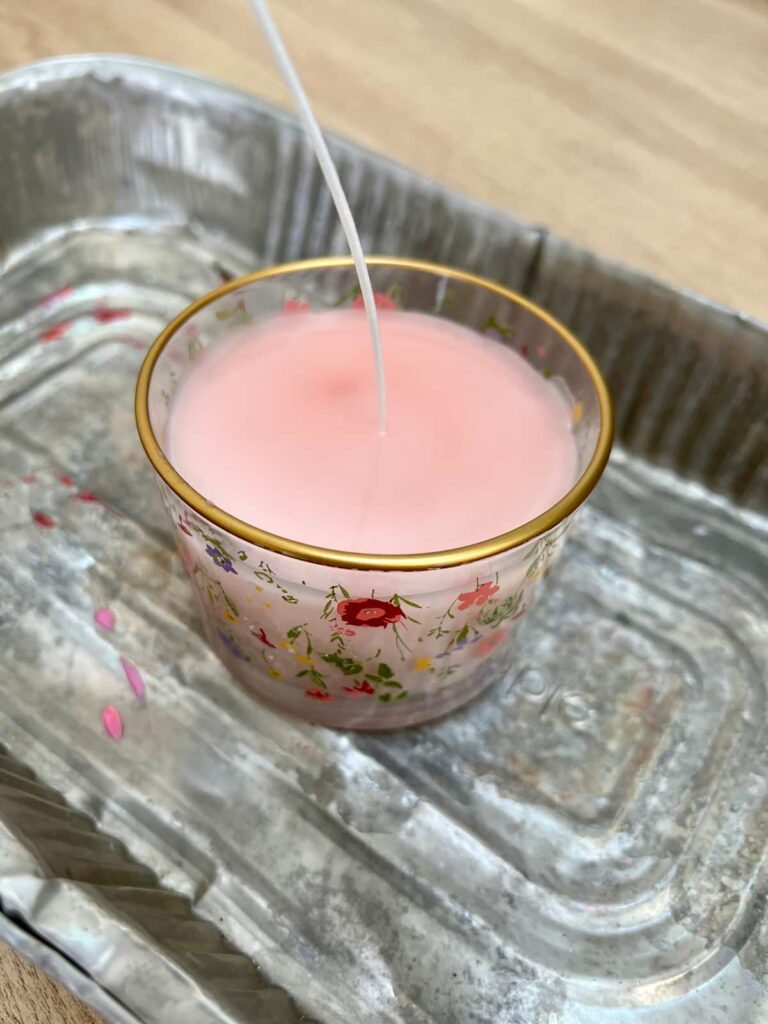
It’s also a good idea to pour the hot wax over another container or paper towel to avoid getting splashes of melted soy wax on the table.
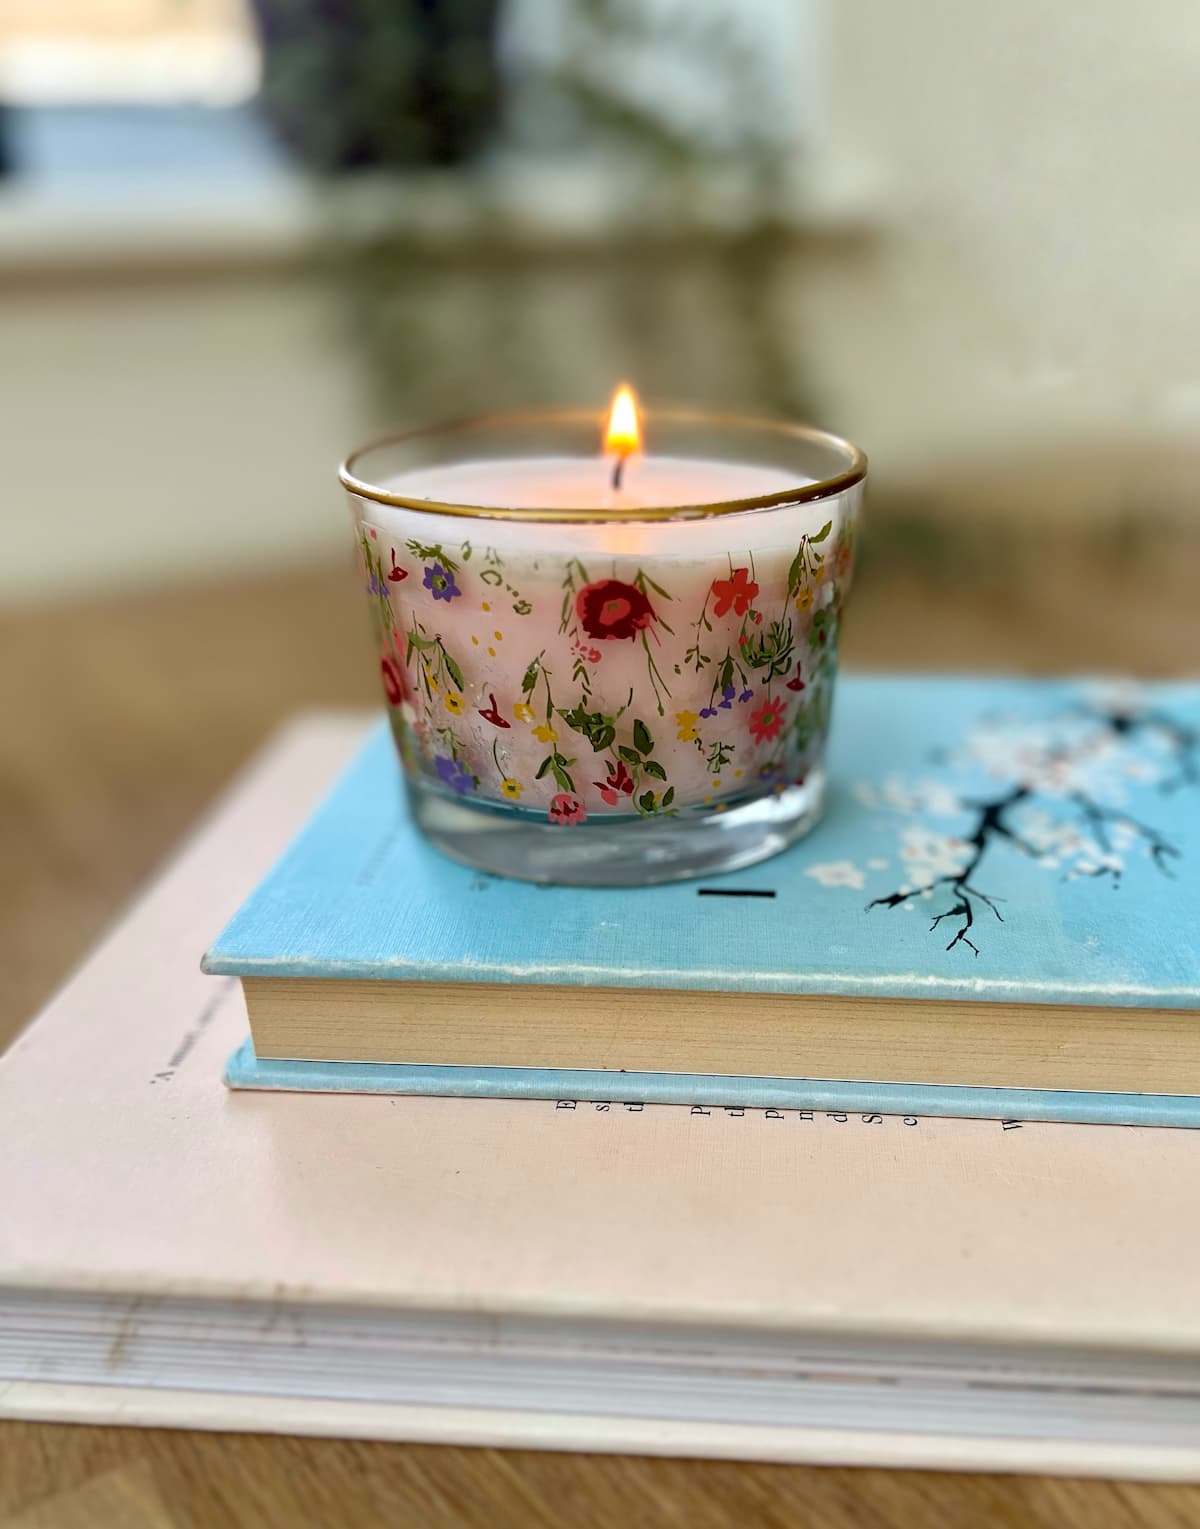
The upside-down flowers are even more obvious with the colour of the wax behind the glass. But I still love it.
It makes it extra special. Which is what unusual charity shop finds are all about.
Homemade Soy Candle in Upcycled Glass Jar
For the pickle jar candle, I decided to get creative with colour and layers. While the result was unique, it also taught me some valuable lessons such as the challenge of frosting in soy wax.
This, as you’ll see, had a mixed result!
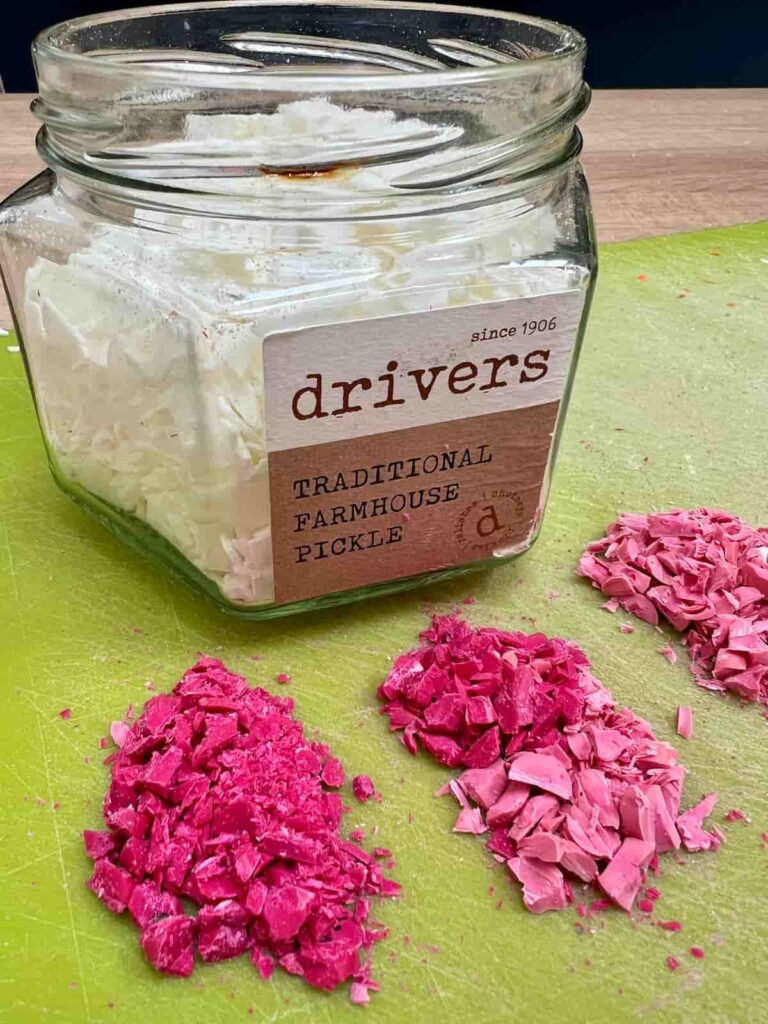
To brighten up your candles, you can add wax crayons. I went with a mix of pink crayons for a layered look.
Chop the crayons up and add them to the rest of the soy wax flakes for melting.
Make sure the previous layer has solidified and cooled before adding the next layer.
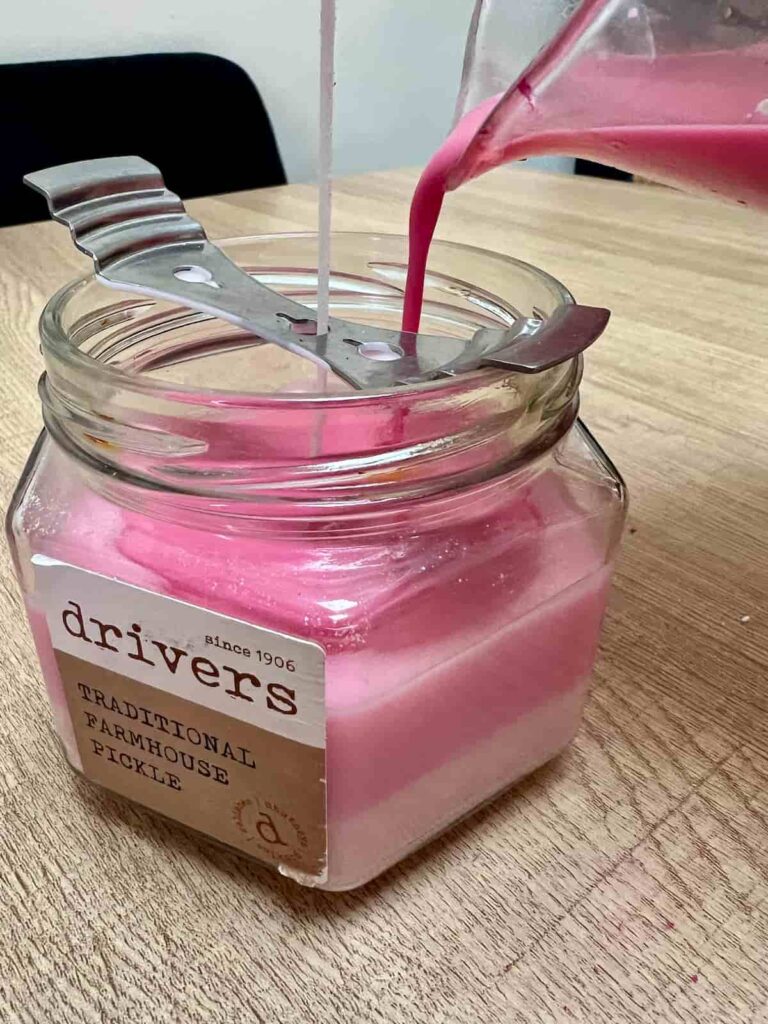
Where it went wrong…
Frosting, I have discovered, is a white, powdery layer that can appear on the surface or edges of the candle. It is caused by uneven cooling temperatures. So, especially likely when making coloured, layered candles!
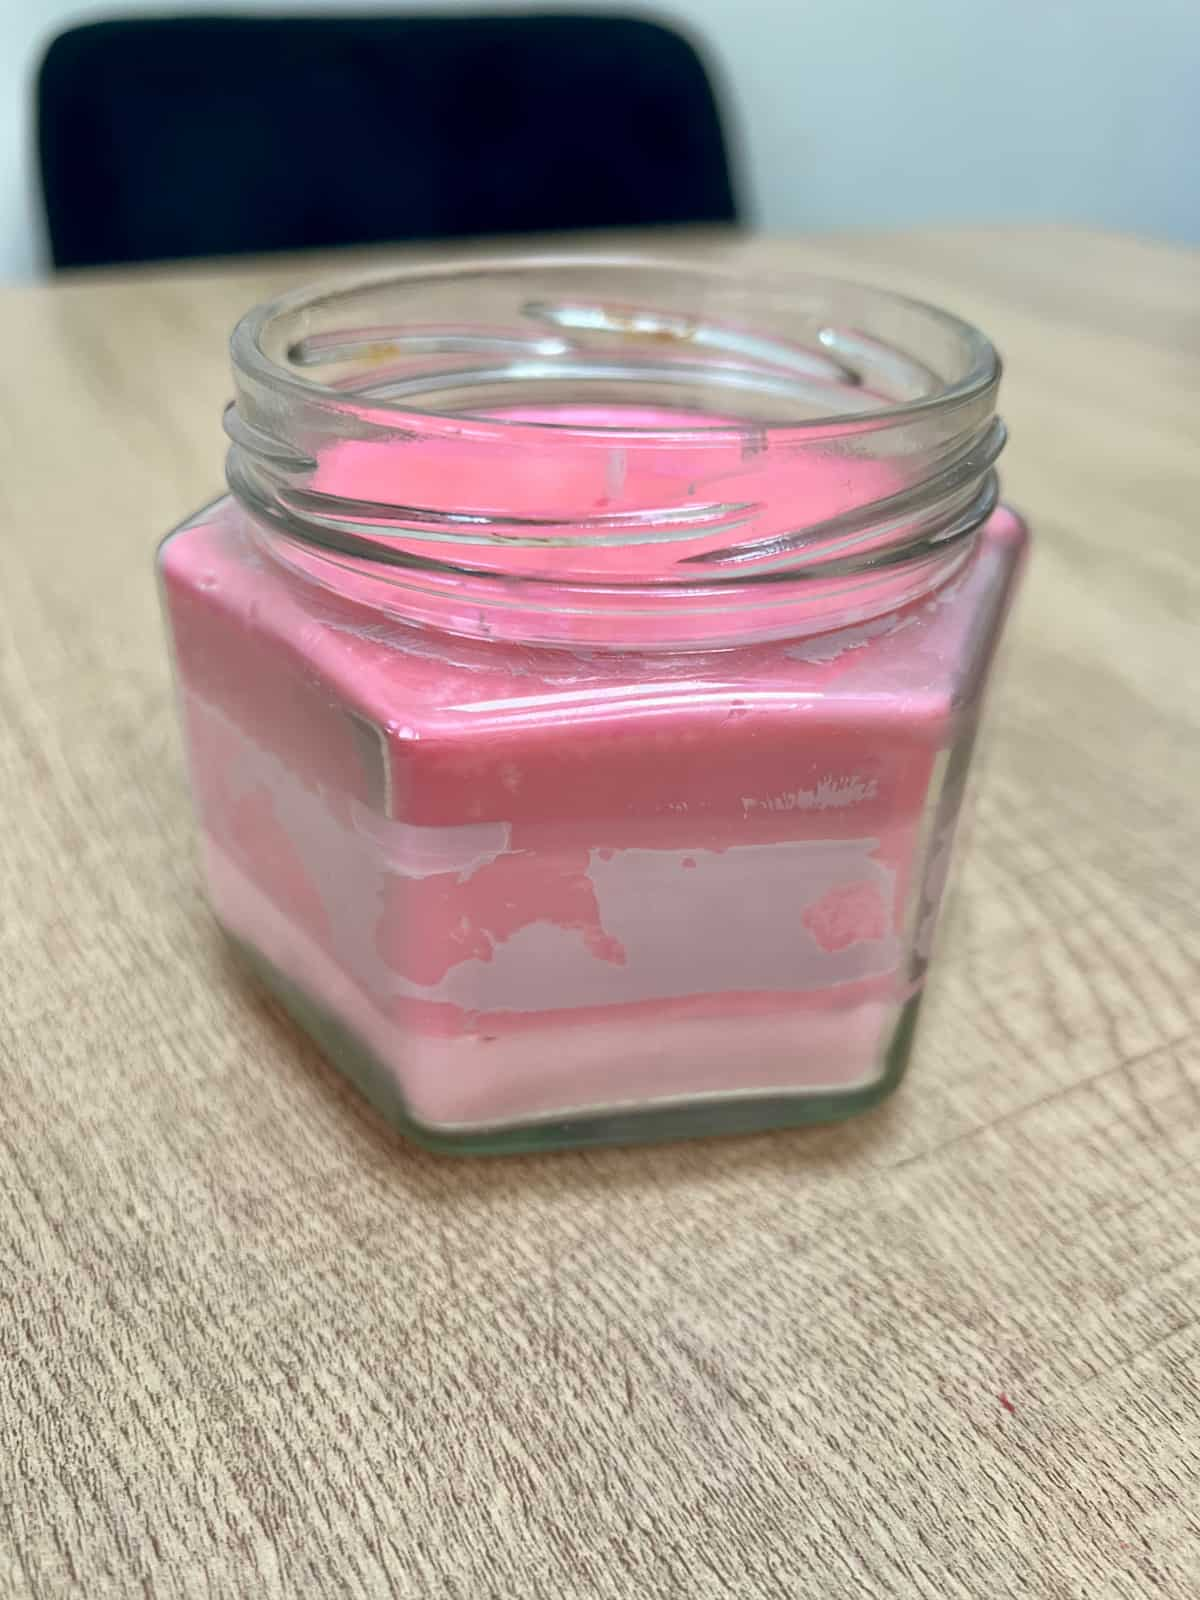
You can reduce frosting by letting the wax cool naturally and slowly after pouring. It also helps to preheat the containers slightly before adding the wax for a more even cooling process.
You can temporarily reduce the look of frosting by re-warming the candle. But the crystals won’t be permanently removed.
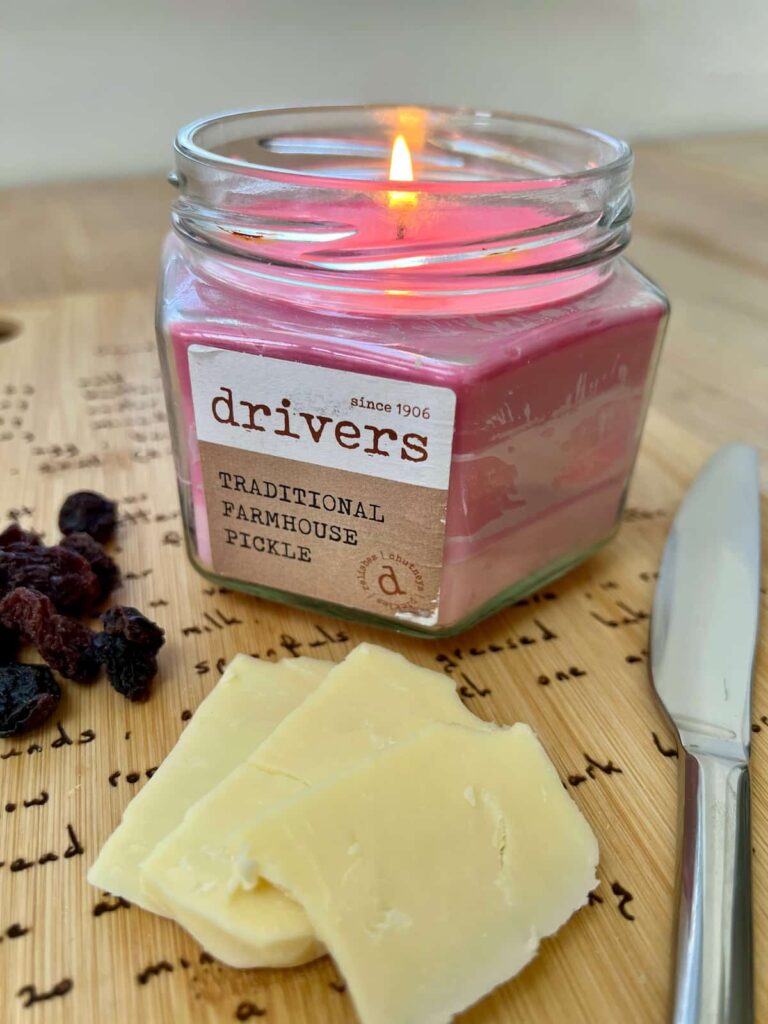
The issue is less obvious if you don’t add colour to the wax or use an opaque container.
It also is less likely to happen if you blend soy wax with paraffin wax. But if you prefer the more natural ingredients of soy, then that might not be a good option.
If frosting does occur, it’s mostly a cosmetic issue and won’t affect how well the candle burns. However, if you’re gifting or selling your candles, keep this in mind.
While not all perfect, these natural candles are so much fun to make.
They are wonderful as a small gift, especially when using original containers such as tea cups. As you can experiment with colours, layers and scents, there are so many unique ways to make a candle.
A bonus way to gift wrap a candle is with some twine and a card with a handwritten tag.
If you find a great candle container in a charity shop, think about what you could make with it beyond just decoration or storage. I’d love to see any original soy wax candles that you make.
Pin it for later – Make Your Own Soy Candles in Thrifted Containers
Do It Over Designers
Check out more upcycled and unique creations from my blogging friends below.
Hi there! I'm Rachel Bowyer, a passionate DIY enthusiast with a knack for transforming the old into something beautifully new. With a deep love for furniture painting, refinishing, and the art of crafting. I've been documenting my DIY projects and restoration journey since 2018. I specialise in techniques like decoupage, stencilling, and decor transfers. Join me as we explore the world of creativity and home improvement, one project at a time.



Beautiful! I suddenly have the urge to make candles for everyone I know. I have tons of thrifted containers that would be perfect for this craft. Thanks for the tutorial and the great tips!
Thanks, Kim. I know, what a cute gift to receive!
These are so sweet and would make perfect hostess gifts! Love the tea cup especially!
Thank you so much, Patti.
Great tutorial and so many options for making soy candles. I haven’t made candles since I was a little girl and we made them in milk cartons! Believe me, this is a much classier option! They’re all beautiful, Rachel!
Aww I love the idea of milk cartons. Thanks, Ann.
These are all so charming Rachel, but the tea cup is so you lol! I didn’t know you could blend the two waxes together, but I’d love to try the soy wax on it’s own since it’s environmentally friendly. And for negligible price difference the soy wax is the way to go!
Yes, I prefer the soy wax too. But if you really need the candle to work perfectly, then you might have to give it some thought. (Don’t tell the other candles but the tea cup is my favourite!).
Love this, Rachel! I think this is one of those projects where you can’t stop making them – especially every time you come across a lovely container! You make it seem so easy! I like the upside down flowers container the best!
Thanks, Gail. Absolutely, I’m going to be viewing pretty old jars in a different way now.
I love making candles in thrifted containers, I have one sitting right next to me that I made in a pretty vintage sugar bowl! I love how yours turned out, especially the layered one, it’s a bummer about the frosting.
Thanks, Tania. It is a shame about the frosting but I’m glad it wasn’t something I was going to gift.
I love these pretty candles in a tea cup, it’s good to read all about how to make them.
Thanks, Julie
Great tutorial Rachel! I have always wanted to try this, but was afraid the glass may break, but now I know what to look for. I love the teacup idea, so chic, plus I never seem to be able to find matching pieces for an entire set. This makes those one off purchases so worth it!
Yes it’s perfect for those odd tea cups that don’t have a set with them any more.
Such an informative tutorial, the tea cup is my favourite it has so much charm. We’ll done.
Thanks so much, Anita.
This is a great tutorial. I didn’t know you could melt wax in the microwave for candles. So I learned something new today. And your upcycled containers are so pretty. Pinned.
Thanks Donna. Yes it’s so easy using a microwave.
My fave is the teacup, also! Awesome idea for gift-giving for Mother’s Day coming in a few months. I like learning about possible issues with a particular craft before making it, so that was great to include in your tutorial.
Thanks Allyson. I think it’s important to include the issues too. It’s more helpful when trying things out and not being disheartened if it’s not perfect.
Great tutorial! Love how your candles turned out. I’ve always had a thing for pretty teacups and saucers, for repurposing that is. The teacup candle is my fave. So pretty!
Yes there are so many pretty projects you could do with cups and saucers. Thanks, Tuula.