Personalised Laser Engraved Chopping Board for Custom Gift
See how to create a unique laser-engraved chopping board for a custom gift. You won’t believe the result!
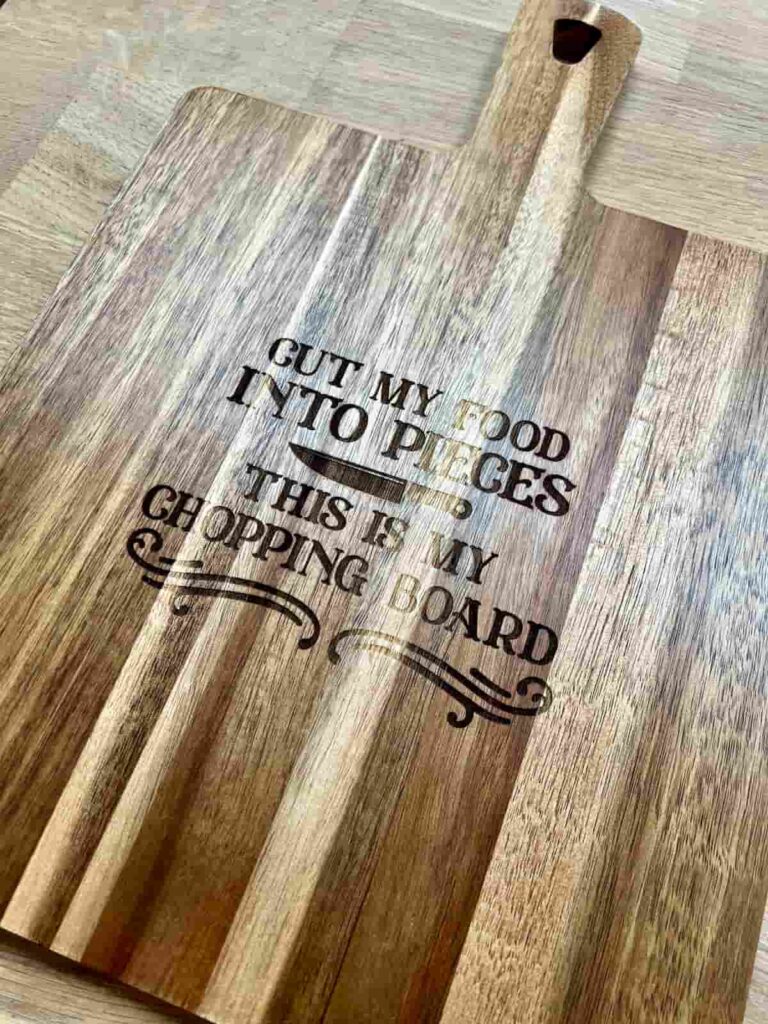
This is a versatile gift that would be lovely for anyone who loves to cook. Or even for someone who likes more unusual kitchen decor. This one is personalised with song lyrics but is easily adaptable to other designs.
Learn How to Make a Laser Engraved Chopping Board
For my family, this is great as a Father’s Day gift, for a millennial dad and a fan of cooking.
Here you’ll see how you can transform a plain chopping board into a personalised gift or decor by laser engraving detailed designs onto its surface. Laser engraving is a great way to create something unique. Whether you’re looking for a special gift idea or want to add a personal touch to your kitchen.
Creative Craft Hop
Welcome to our Creative Craft Hop hosted by Sara from Birdz of a Feather and Donna from Modern on Monticello. I’m are so glad you’re here! If you’re coming over from Birdz of a Feather, welcome! Wasn’t their tissue box cover interesting?
How to Laser Engrave a Chopping Board Step by Step
Don’t have a laser engraver or cutter yourself? Don’t worry! This will give you an idea of a unique gift to order from a small local business or on Etsy.
This post includes gifted products and affiliate links so you can easily find the products I use myself and recommend to friends. If you purchase these products, I may earn a small commission at no extra cost to you.
Materials you’ll need
Step by Step Instructions
Blank Chopping Board for Engraving
Firstly you need a blank chopping board. This Acacia chopping board cost £10 from a supermarket. But you can find similar ones in different shapes and sizes online.
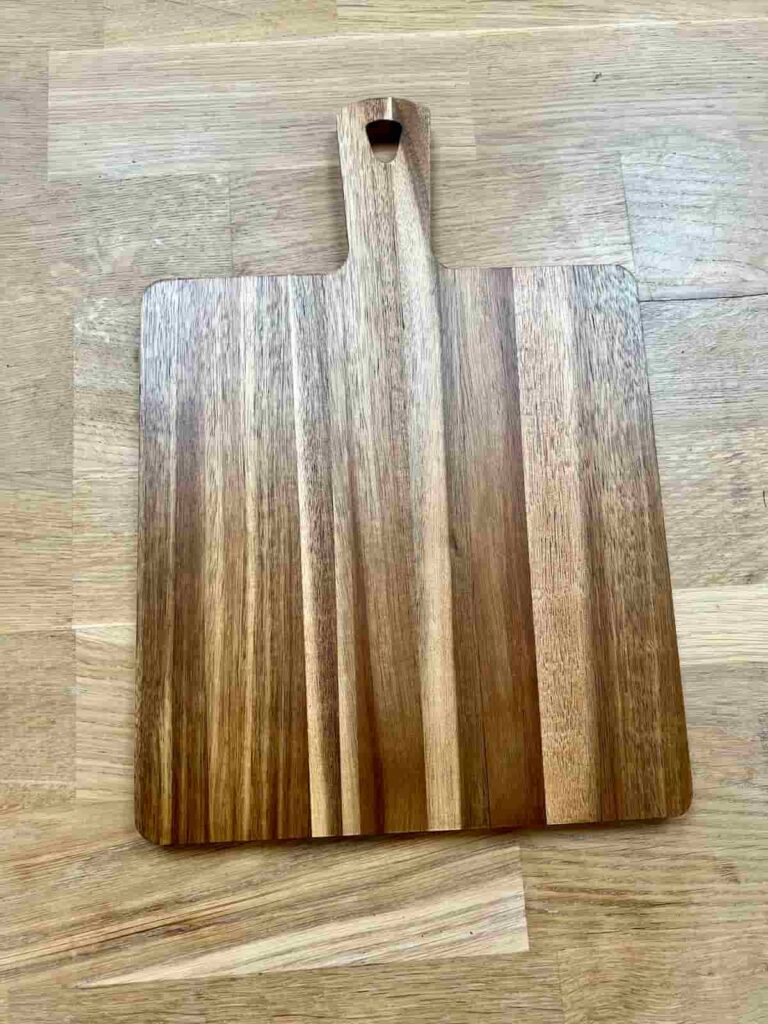
The blond parts of the wood in this Acacia will naturally look different to the darker areas after engraving. To reduce this difference, either choose different wood types or an Acacia wood with more even colouring throughout the engravable area.
This can be used as a real chopping board or as decor. If you want to use the chopping board, it’s a good idea to do the cutting on the opposite side of the engraving. This keeps the engraved area crisp without knife marks on it.
It also makes it easier to clean as food items don’t get caught in the engraving.
Choose Engraving Design for Chopping Board
When choosing a design for the perfect gift, something personal is the most meaningful. I use a site called Creative Fabrica which has digital files of a huge variety of designs.
If you can think of a design, they will likely have something similar to download. For something like laser engraving, you’re looking for the SVG files.
Creative Fabrica is a yearly fee for access to everything. Which is a huge plus over buying individual files on something like Etsy.

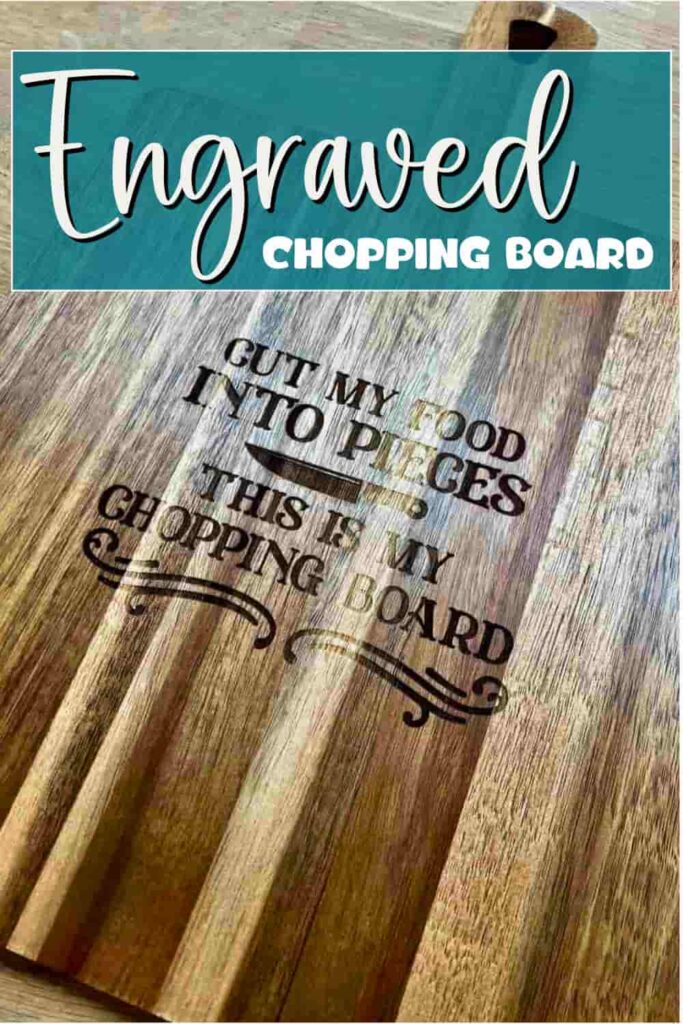
The song lyrics added to this personalised chopping board are altered from the song Last Resort, by Papa Roach. The original lyrics were “Cut my life into pieces, this is my last resort”. The new version is “Cut my food into pieces, this is my chopping board”. The song was released in 2000 and is familiar to many millennials.
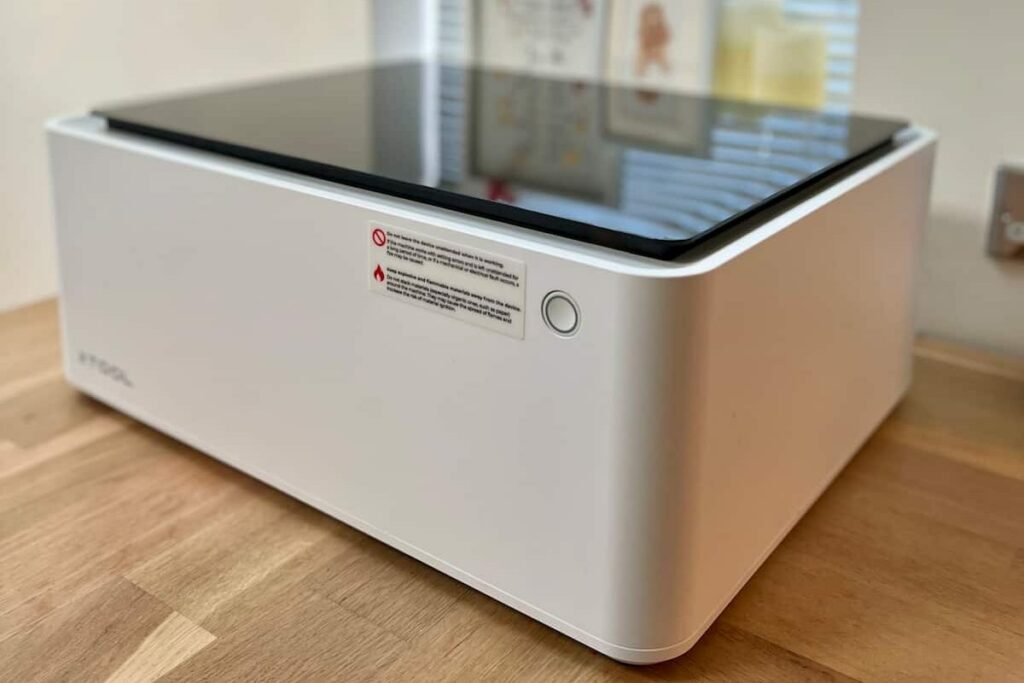
This process would work for any laser engraver. But I’m using it on this xTool M1 laser machine. If you’re new to engravers, here is a beginner’s guide.
Mask Off Wood Before Engraving
For centring the design, it helps to mark off the engraving area. You can do this with masking tape and a tape measure.
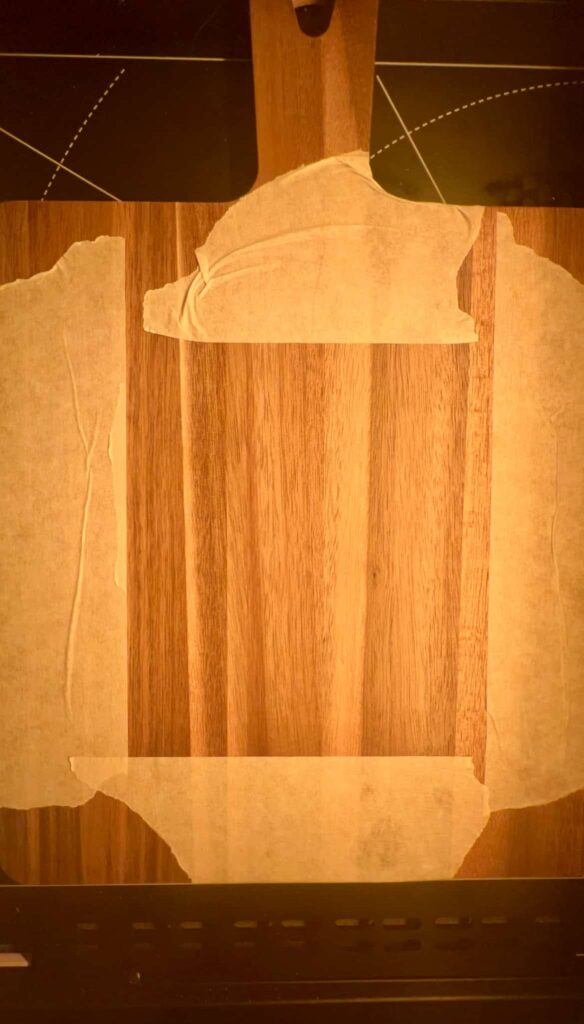
I created a square within the working area to check that the image was lined up accurately. It’s an extra step to check that you are getting the design level.
Which is even more important when you only have one of the items that you’re engraving on.
Settings for Engraving Acacia Wood
As there is no default setting for Acacia within the xTool software, you can research the best way to engrave it. Facebook has several xTool user groups that share their project settings to give you a helpful starting point.
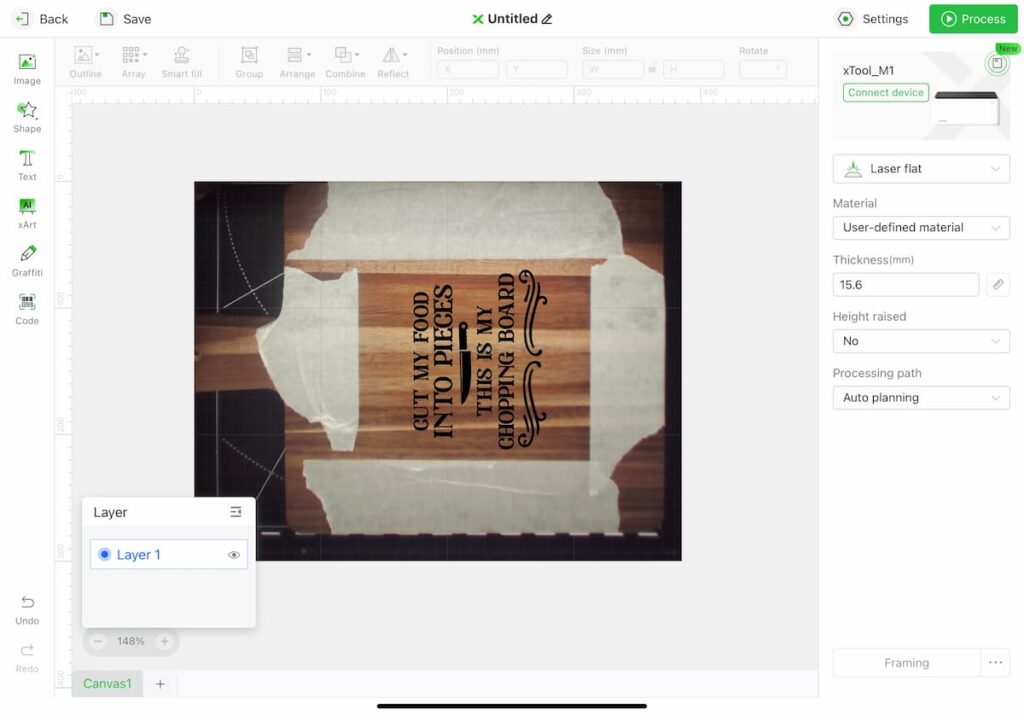
For this engraved cutting board, I used the settings Power 80, and Speed 100 with 1 Pass.
It took about 30 minutes to engrave. You always want to stay nearby while it’s working for safety. But otherwise, it just does its thing.
Clean Up Wood Engraving
Without the masking tape, you can see how the edges can get charred. This is an easy fix. But having the tape removes the need for this extra step.
To remove charred edges, gently use sandpaper in the direction of the wood grain. This returns it to the colour of the wood underneath.
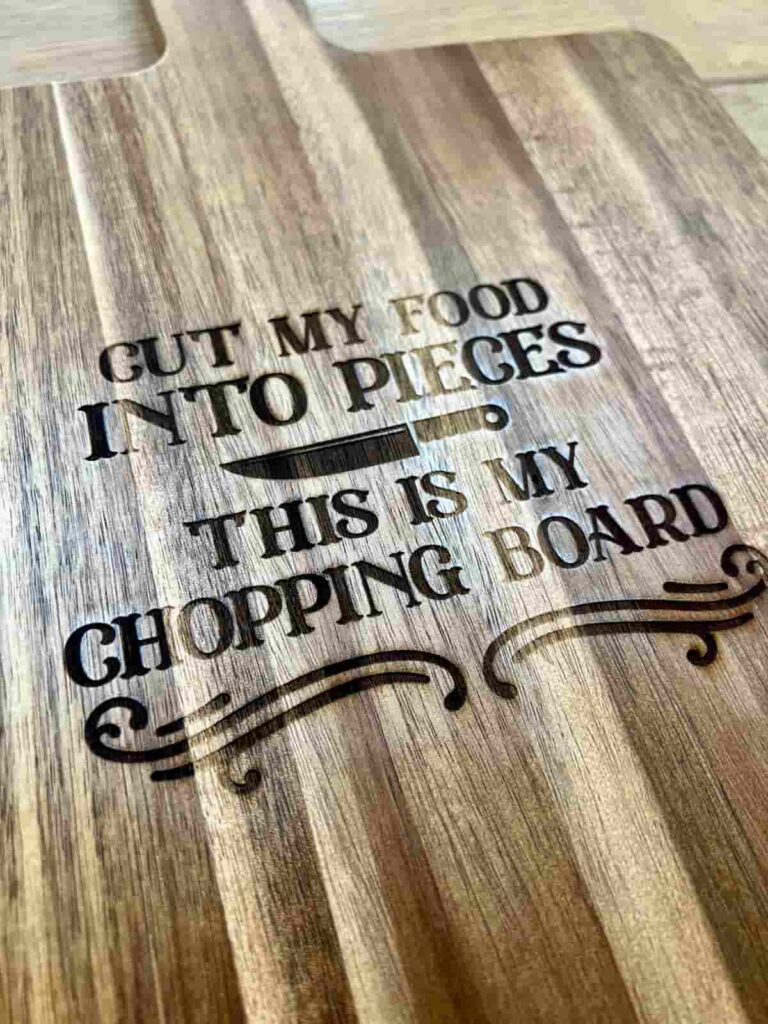
But this may remove any oil or protective coating that was added at the manufacturing step. If so, you’ll need to seal the chopping board if it will be used.
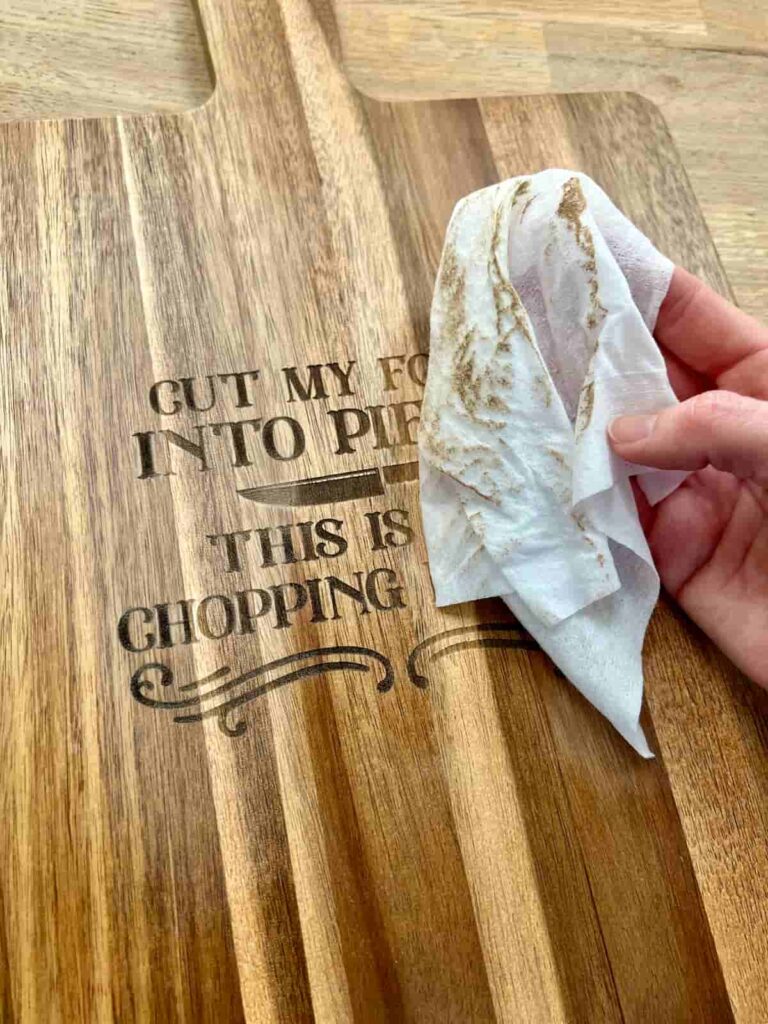
Clean-up after engraving is nice and simple. You can use a damp cloth or a wet wipe to remove any residue.
Seal Engraved Chopping Board
Then the final step is to seal the chopping board. This will give it a nice even colour, even if you don’t intend to use it. But this is necessary if you will use the chopping board in the kitchen.
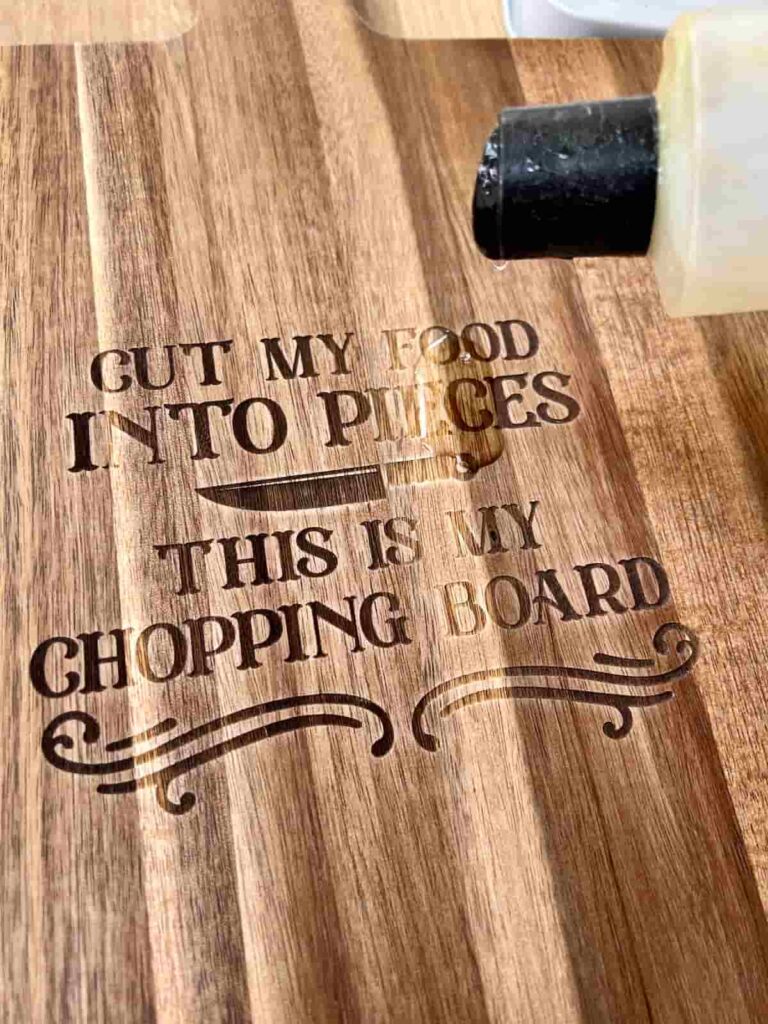
Or if you are giving it as a gift or selling the custom cutting boards.
You can seal it by rubbing hemp seed oil or mineral oil over the surface. It hardens to give a solid protective coating. To keep the condition as nice as possible, it’s still best to use the back side for the actual chopping board.
Then to clean it, you can use warm soapy water.
Engraved Chopping Board Gift
The final result is a lovely, high quality gift. The dark wood feels luxurious and the special message is thoughtful.
While this is a great Father’s Day gift for my family, it equally works for housewarming gifts or the perfect wedding gift.
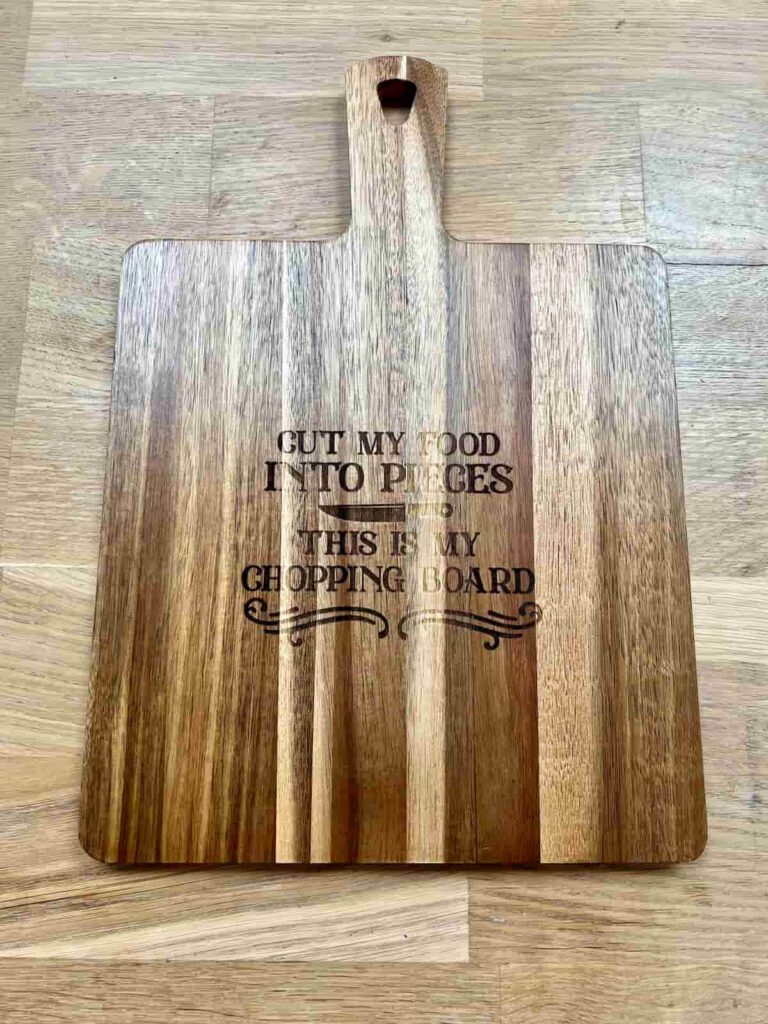
I love the contrast between the classic, sophisticated wood with song lyrics from an alternative rock group. It makes me want to think of other ideas to create functional decor with a nostalgic twist.

How would you personalise a chopping board?
If you loved this project, you’ll love these projects too:
Did you make this craft?
I love seeing what you do. Please mention @teaandforgetmenots and share your creations with me!
Pin it for later – Laser Engraved Chopping Board
Creative Craft Hop
Now it’s time to check out this amazing Coffee Filter Hydrangeas from Patina and Paint. When you’re done, please remember to visit these other amazing talents below:
Easiest Way to Paint Glass for Summer Decor
Embellish A Sign With DIY Cricut Paper Flowers
Wood Veneer Edging Door Basket
Hi there! I'm Rachel Bowyer, a passionate DIY enthusiast with a knack for transforming the old into something beautifully new. With a deep love for furniture painting, refinishing, and the art of crafting. I've been documenting my DIY projects and restoration journey since 2018. I specialise in techniques like decoupage, stencilling, and decor transfers. Join me as we explore the world of creativity and home improvement, one project at a time.


Beautiful Rachel! Such a great gift for anyone who loves to cook – or even as decor for those who don’t! I’d love to give this a try.
Yes, I’d be happy with as decor too. Thanks, Sara.
This is quite a machine and it gives you so many options. A personalized cutting board makes a lovely gift – great project!
Thanks so much, Ann.
Your engraving machine is absolutely amazing, Rachel! And the results are quite unique and very creative! I’m imagining all the fabulous possibilities using it! Thanks for sharing this awesome technique!
Thanks Gail, it is so versatile for gift ideas.
This is such a great tool to have in the craft room. Love how neat the print looks on the cutting board. Thanks for sharing Rachel. Love it!
Thanks Terrie, it really went down well!
I agree – this would make a great personalized gift. I don’t have a laser engraver but I like the suggestion to shop on Etsy for something similar. So glad you joined the link party.
Thanks Donna. Yes I think being able to find it as a gift is just as important.
Rachel, I collect cutting boards, so I know this would be a great gift. What is an xTool? What does it look like and how does it work! I’m curious. Where do you purchase one?
You’d love it, Carol. It’s a laser cutter and engraver. There are various models of increasing complexity, mine is the M1. You can order it online http://xtool.pxf.io/M1
How amazing, it is so professional! What a great kitchen decoration!
Thanks so much, Jenna.
This chopping board is super cute! My husband has an engraver and I always forget about it. Going to seriously have to learn how to do this. Great job!
Thanks Tammy. It’s not too hard, give something non-precious a try!
This turned out so cute! I love cutting boards in kitchen decor, and this one would be proudly displayed front and center. Thank you for sharing your inspiration.
Thanks so much, Cara. There’s something about it, isn’t there?