An interesting way to paint a wood stool
You can add a lot of character if you paint a wood stool. Here’s how to use an interesting design to create a one-off, statement piece.
An interesting way to paint a wood stool
The piece
A customer bought this quirky stool from another trader at Homemade at The Barn. Then they asked me to paint it to match a table I refinished for them. You may have seen the original post about their table, as it was one of my top 10 in 2021.
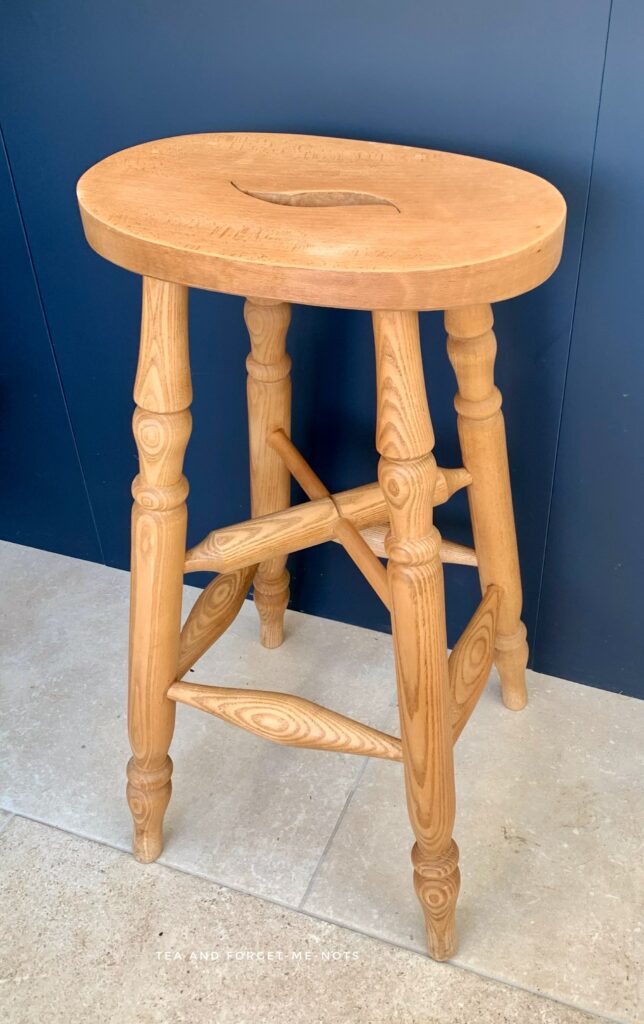
A lot of people don’t like painting chairs because the spindles take a long time and are difficult to finish well. Below you’ll see how I managed it so cleanly.
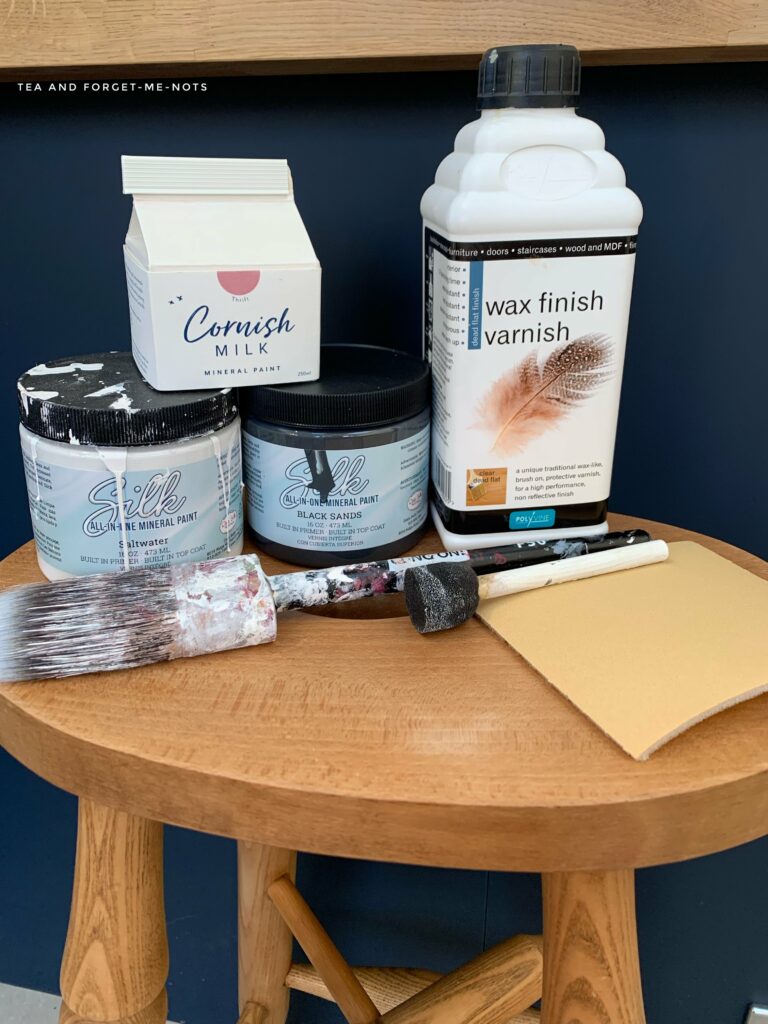
These are the supplies I expected to use before I started work. It was 90% accurate as to the actual products I used, with also a cleaner and stencil.
If you like stencil projects, here’s how I created a stencilled mirror.
As you would expect as it was bought at The Barn, the stool was in lovely condition, with no scratches or dents to fill in. So, I started by giving the piece a quick clean with White Lightning and a rough sand with 180 grit sandpaper.
This post includes gifted products and affiliate links so you can easily find the products I use myself and recommend to friends. If you purchase these products, I may earn a small commission at no extra cost to you.
Paint a wood stool with a pop of pink
As the plan was to match the original table, the main paint I used was Cornish Milk Mineral Paint’s, Thrift.
Fortunately for me, the company has just announced a reformulation of their paint, so a lot of their stockists had sales to use up their existing supplies. Which meant that I got the 250ml carton of Thrift for £7.
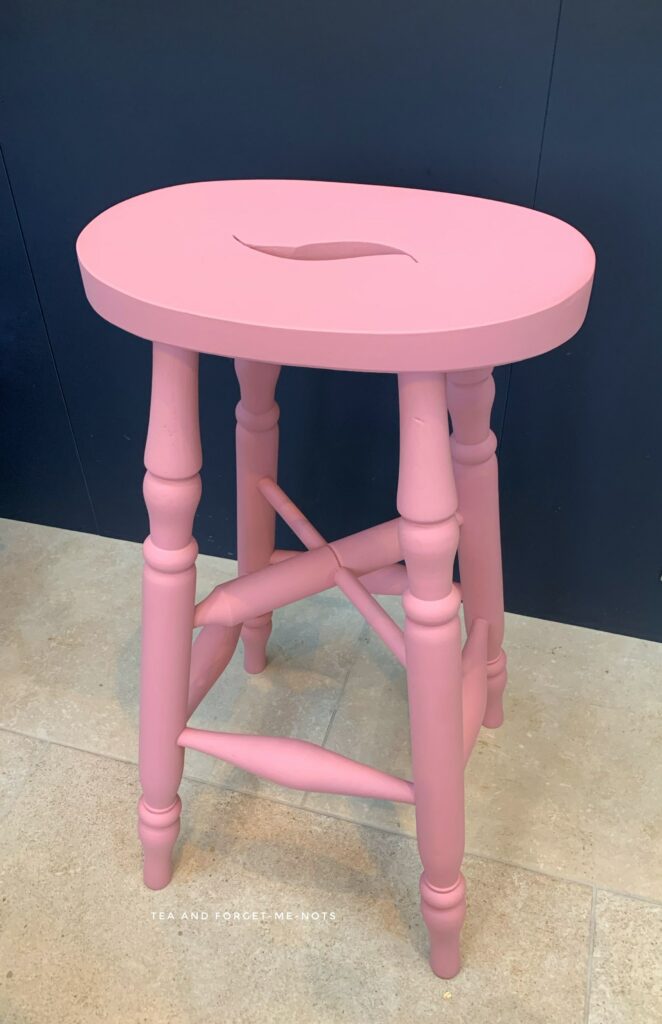
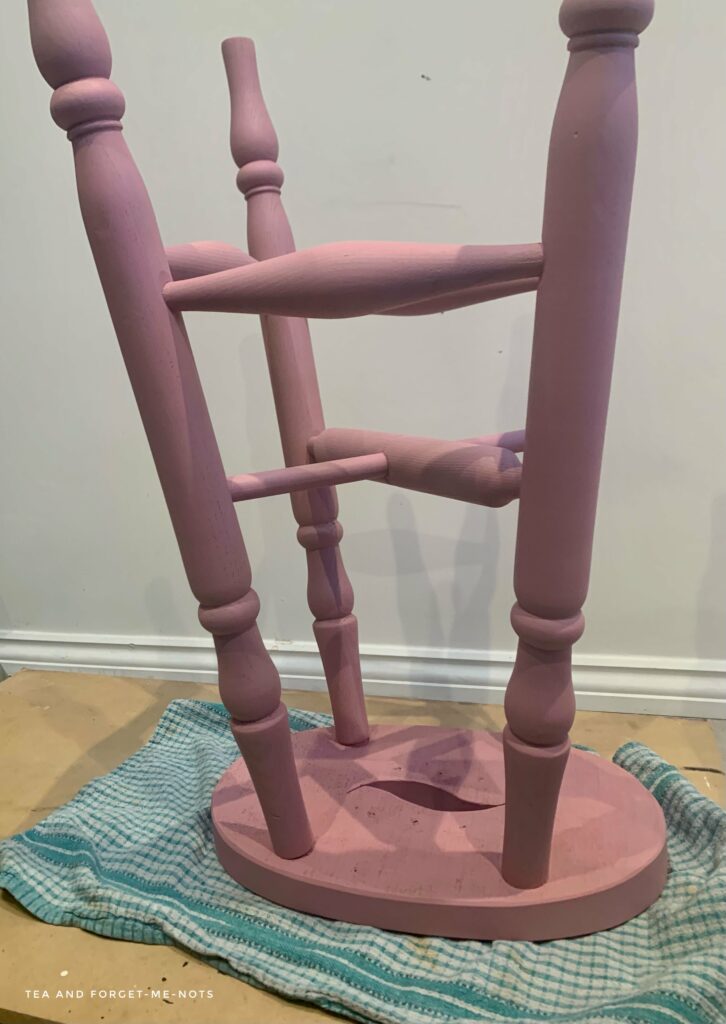
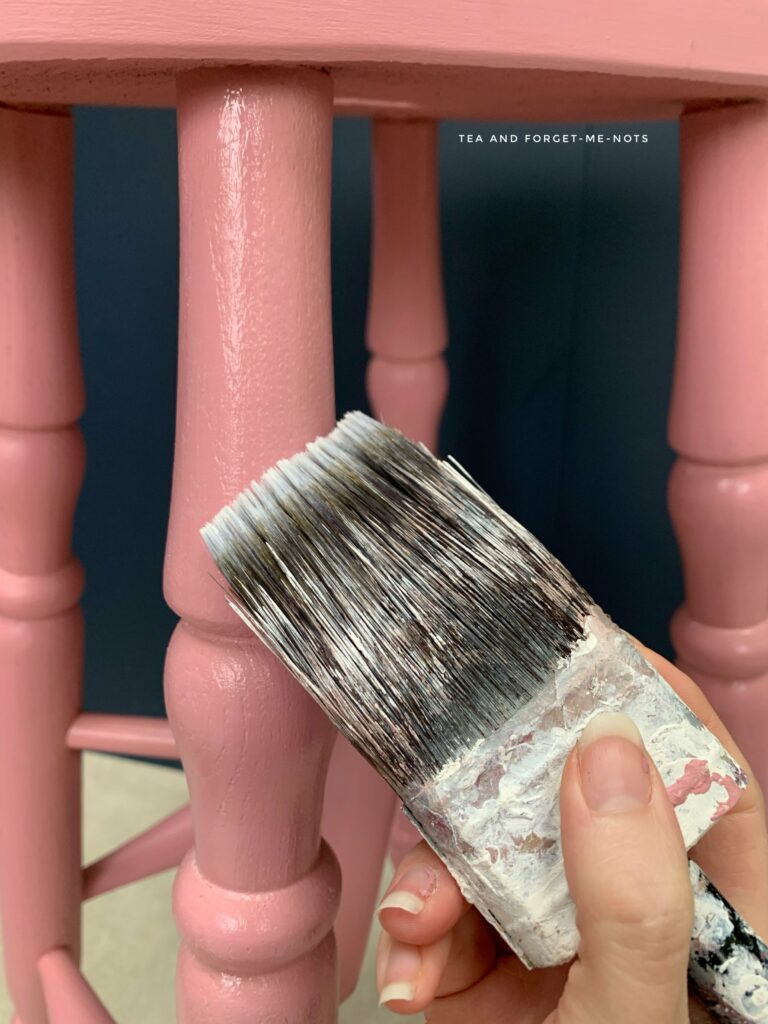
After one coat of Thrift, the wood grain was still clearly visible. And as I was going for an opaque look, I needed three coats in total. The last coat of paint made a big difference. Definitely on its way to becoming a statement piece with this colour.
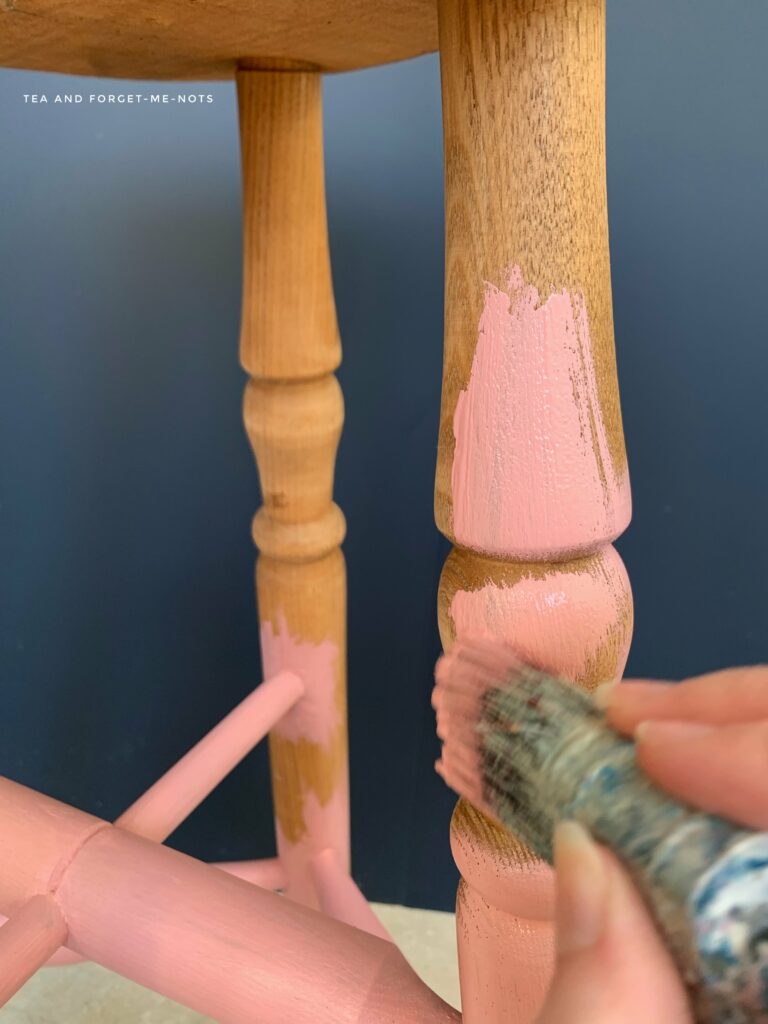
And the trick to well-painted legs… You can just about see it. Furniture wheels!
I placed the stool upside down, with the top protected by a cloth. Then as I painted each leg, I rotated the furniture mover so I could see each angle and check that the paint was going on evenly.
This DIY furniture mover is on my top tools under £15 to make your life easier list!
It’s essentially painting on a large lazy Susan and makes it very convenient.
Adding the interesting design
To match the original table, I used the cherry blossom stencil that I created on my Cricut Explore Air 2.
For more info, this is the full process on how to paint a layered stencil.
These are my two best tips for how to stencil furniture well…
- Paint the first layer of the stencil in the colour of the piece. In this case, pink.
This creates a barrier so the actual stencil colour is less likely to bleed out of the lines. It’s ok if the base colour bleeds a little because it’s much less visible as it matches the colour of the piece.
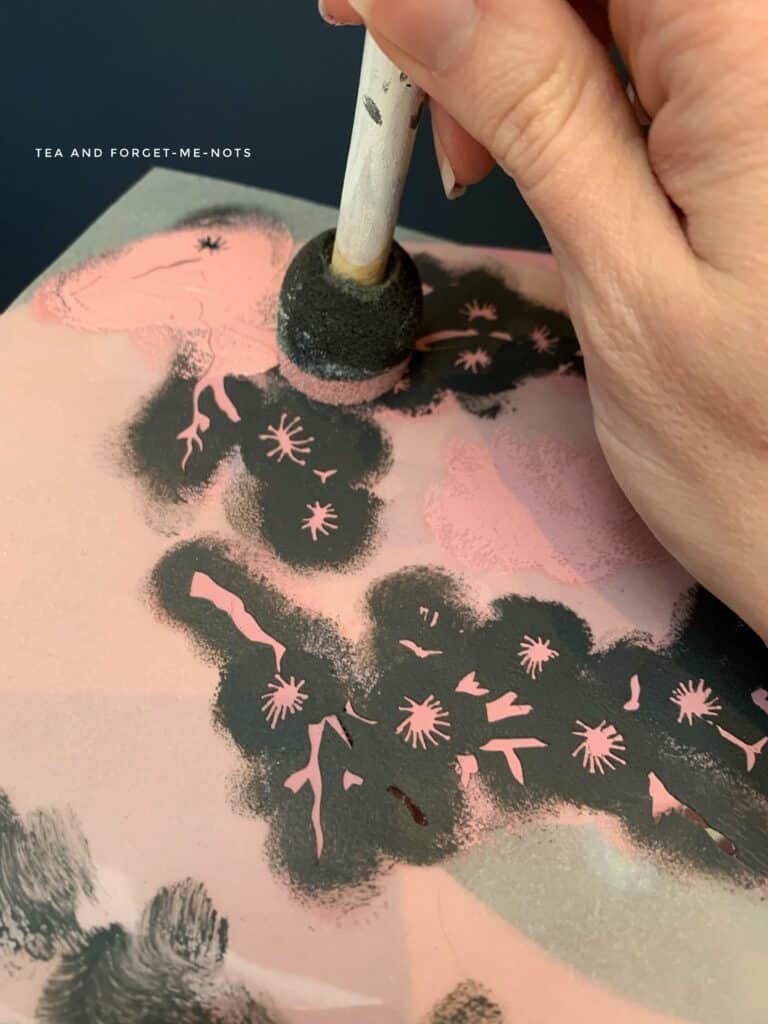
2. Have very little paint on the sponge dabber. So little that it can feel like making very slow progress.
If you feel impatient and load up the sponge with paint, it will just bleed through the lines and need touching-up or even redoing completely.
Patience is a virtue with this one.
Want to know 23 great DIY tools? Get the list!
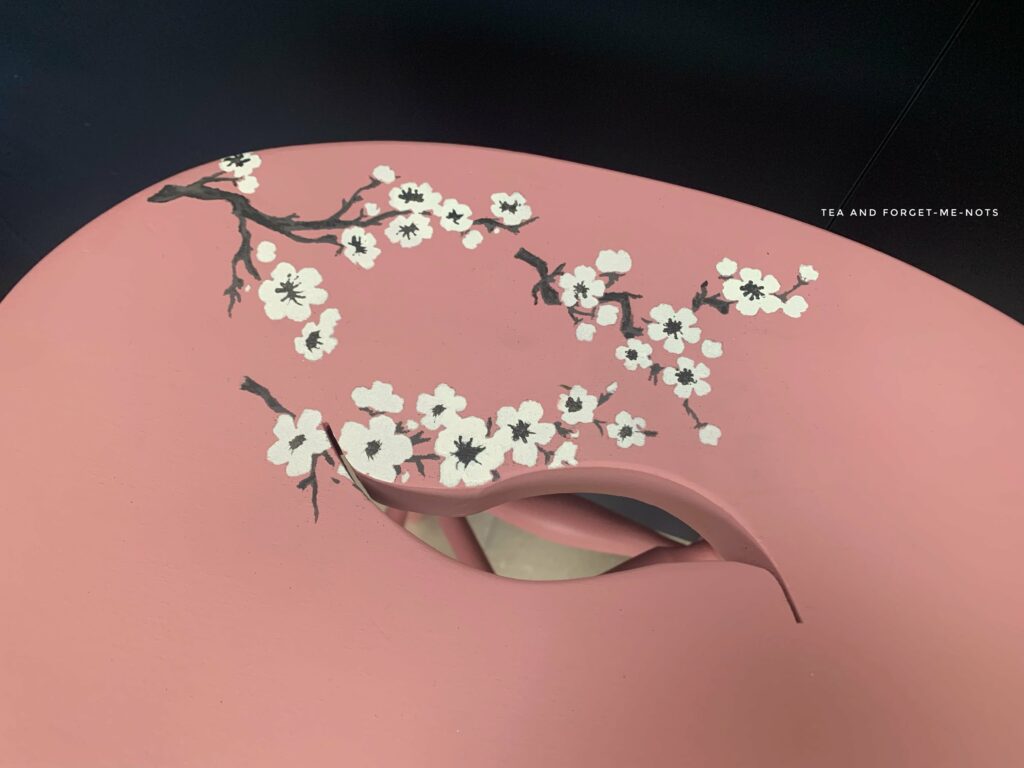
Here’s the stencil starting to come together after the first coat of colour on the branches.
I used Dixie Belle’s Black Sands and Endless Shore to paint the branches and blossoms.
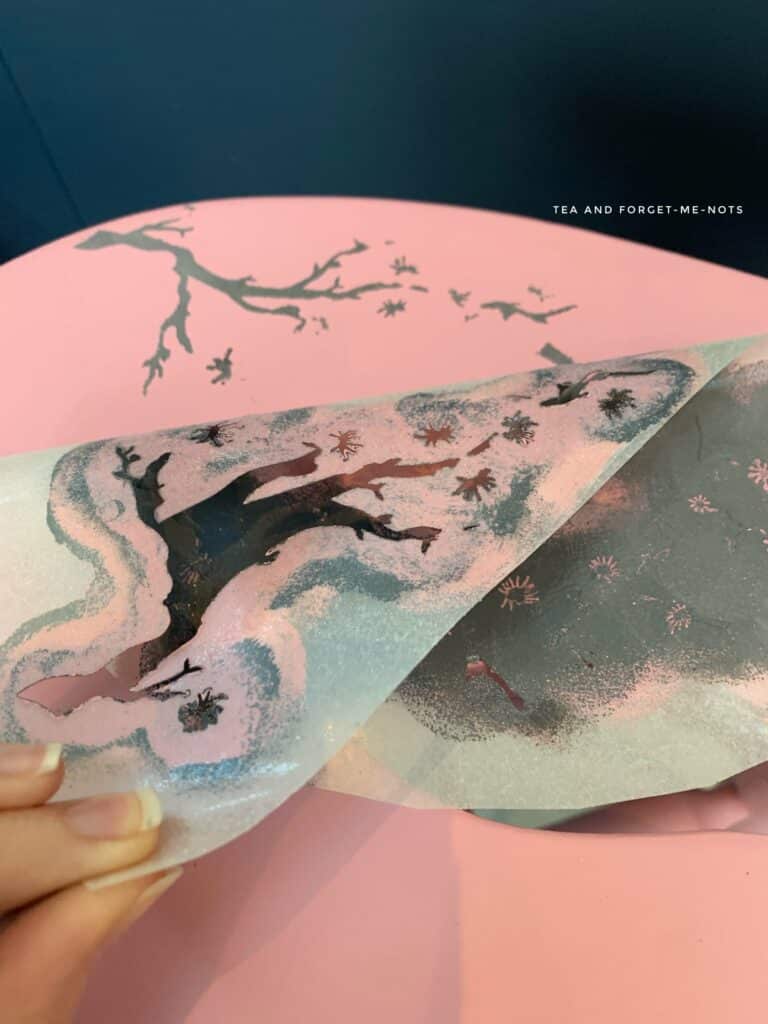
It needed 5 separate layers to complete the cherry blossom stencil.
- The base layer of the branches in pink.
- The branches in black.
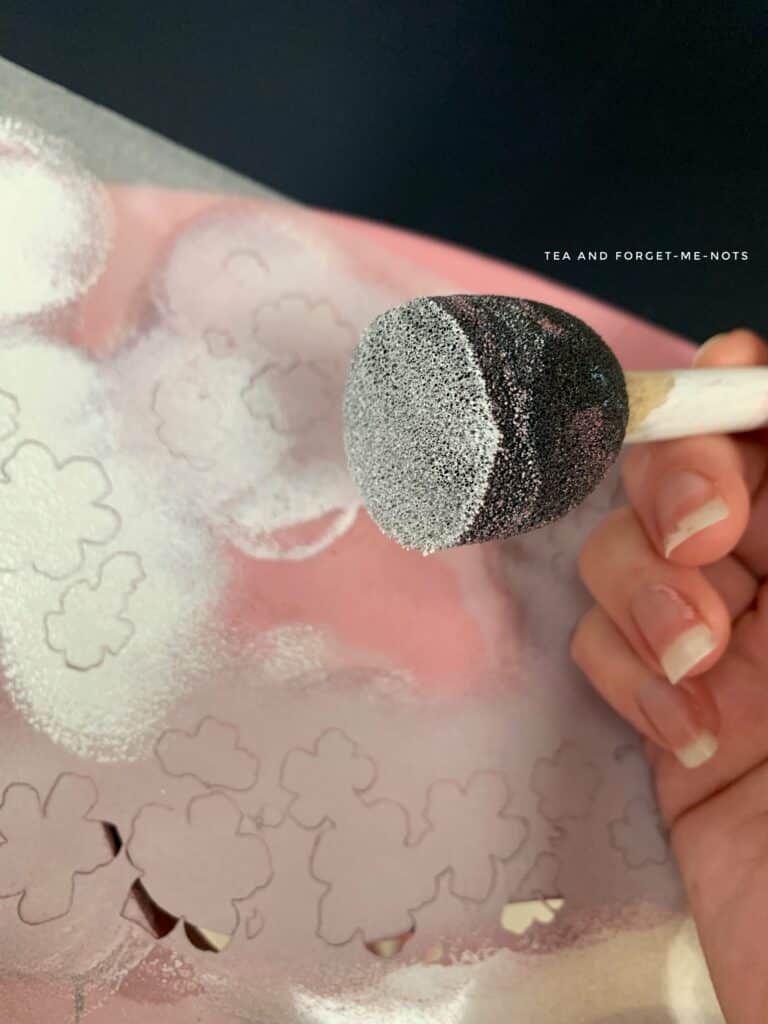
- The base layer of blossoms in pink.
- The blossoms in white.
- Then finally the black insides of the blossoms.
There doesn’t need to be a base layer for the inside of the blossoms because the white blossom layer already created the barrier.
Sealing it up
To seal the stool, I did three coats of Polyvine’s Wax Finish Varnish. It’s particularly important to seal the seat and spindles where you would put your feet, as those areas will get the most friction.
I regularly use this sealer as it finishes the piece off with a lovely, subtle sheen.
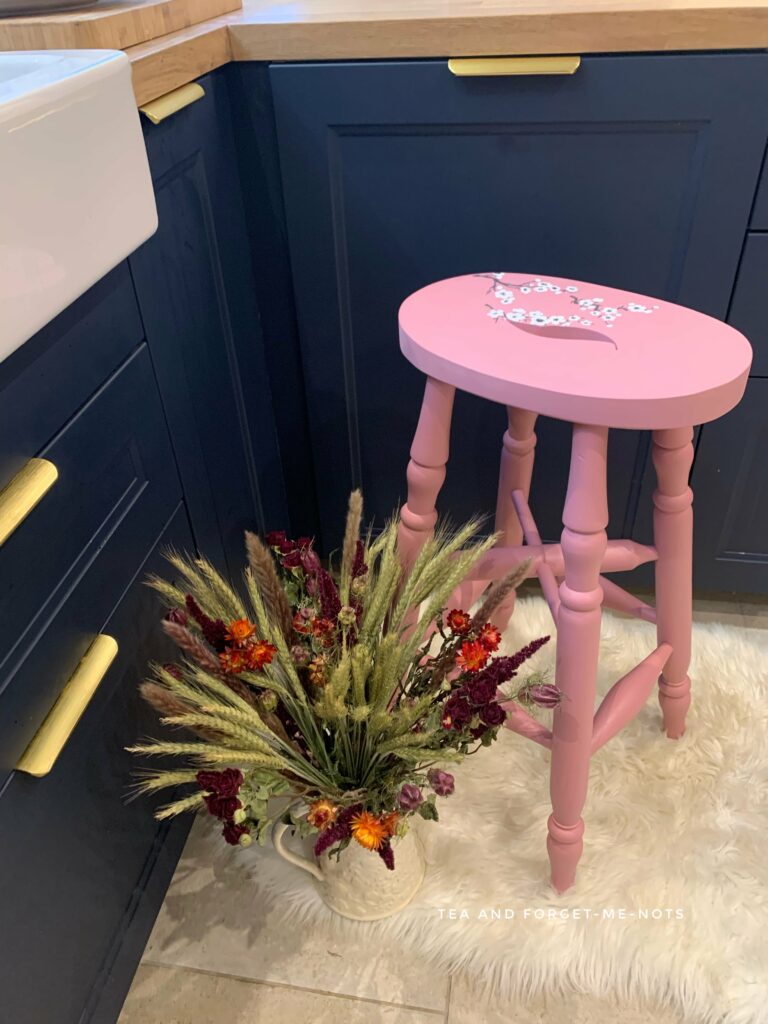
A dream of spring
And the finished stool in all its painted glory. I bet the customer has such a fascinating house to suit these interesting pieces.
How would you paint a wood stool? Would you go bright pink or more neutral?
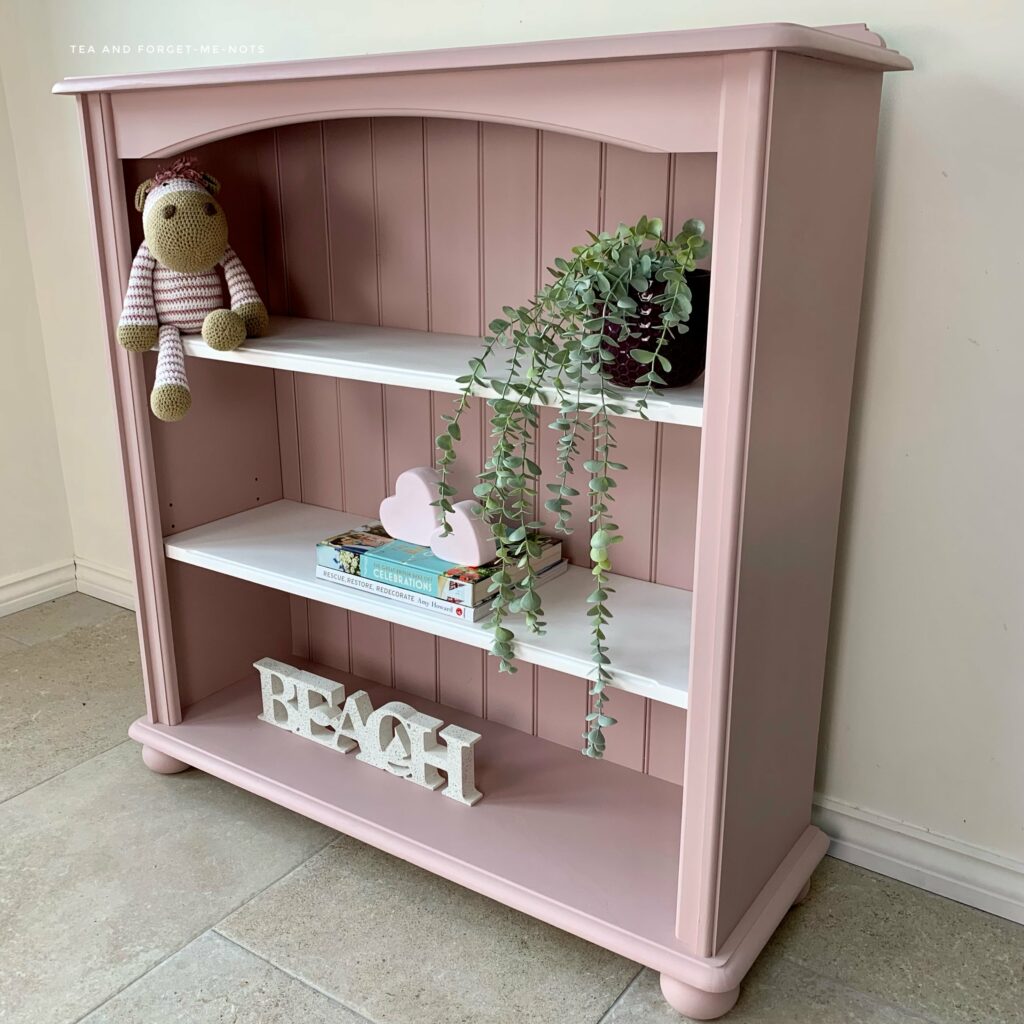
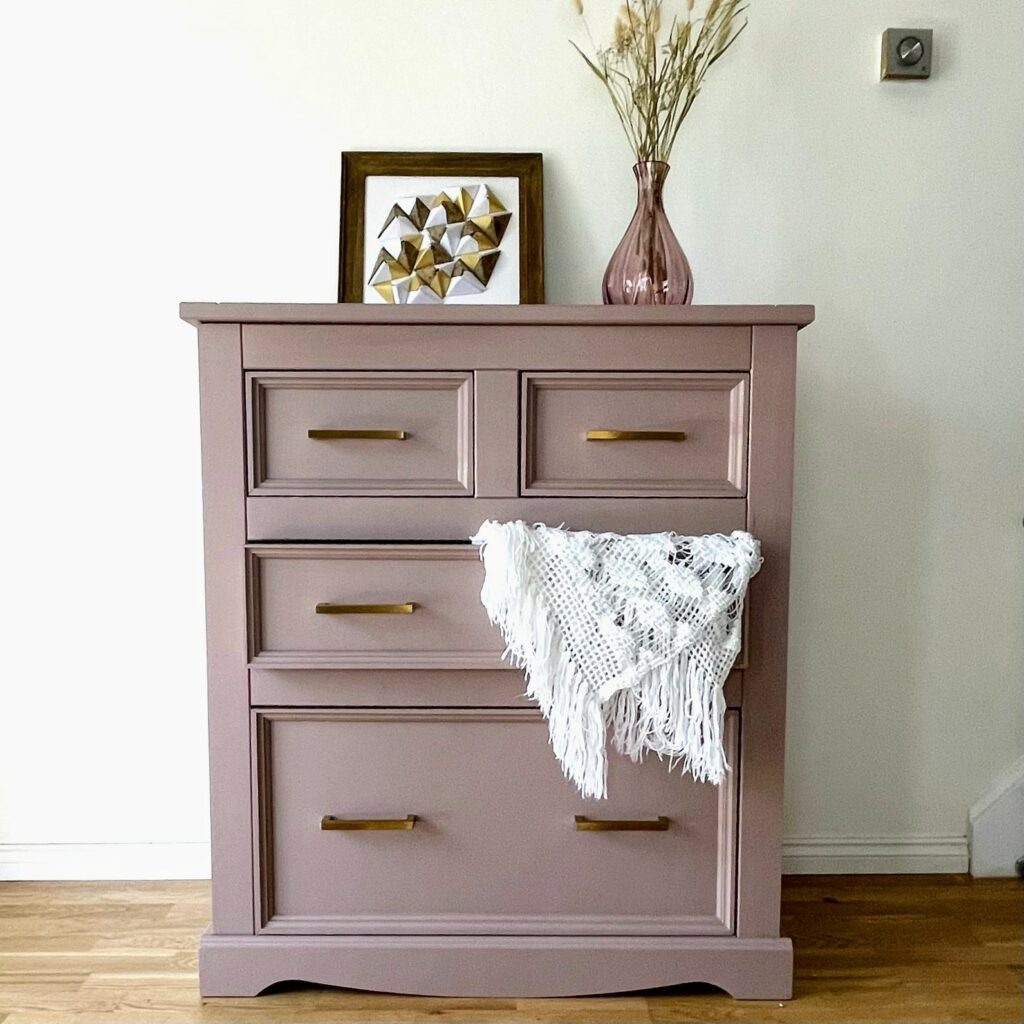
If you liked this post, you might also enjoy this pretty pink makeover…
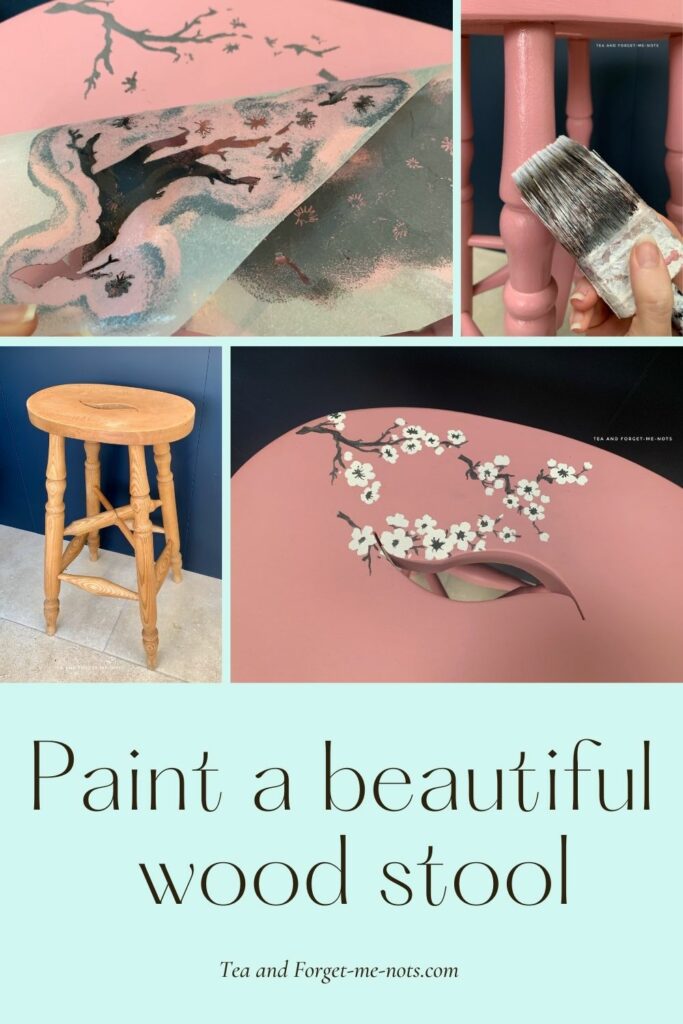
Pin it for later – an interesting way to paint a wood stool
If you loved this project, you’ll love these projects too:
Did you make a similar project?
I love seeing what you do. Please mention @teaandforgetmenots and share your creations with me!

Hi there! I'm Rachel Bowyer, a passionate DIY enthusiast with a knack for transforming the old into something beautifully new. With a deep love for furniture painting, refinishing, and the art of crafting. I've been documenting my DIY projects and restoration journey since 2018. I specialise in techniques like decoupage, stencilling, and decor transfers. Join me as we explore the world of creativity and home improvement, one project at a time.
So beautiful! I love the color you chose and the blossoms on top are so fun!
Thanks – it was the customer’s choice but it did match my original table design. Quite bold but lots of fun.
You do the best furniture makeovers. Adding the stencil was the perfect finishing touch.
Aw that’s so kind, Paula!
The stool looks great! I love the added touch with the stencil, so pretty! Donna
Thanks, Donna
Very pretty!!
Such a great color and the blossoms were perfect.
Thank you. The customer was delighted with it.
This is so cute! I could see this in a small bath, a little girls room or even the kitchen!
It was a lovely shape too and now completely original, happy customer!
Love the color you chose and I appreciate the pointers. I have an old stool in the garage and I wasn’t sure what to do with it until now. Yay! xo
Thank you. Please share once you’ve done it!
I love this pretty little stool. It’s such a pretty pink!
Thanks, Libbie
What a beautiful color! I love the stencil you added too. So pretty! It has me dreaming of spring!
Thank you, it’ll come round before we know it!
Another great project. Love the tiny bit of stencil