How to Make Over a Bookshelf for a Tween Bedroom
Doing a makeover on a bookshelf for a tween bedroom? The skill is in designing it for a child while it lasts them for years to come.
A tween is the years before becoming a teenager. A child of about 8-12 or so. They want to be grown-up but still like a bit of the childish things they loved when they were younger.
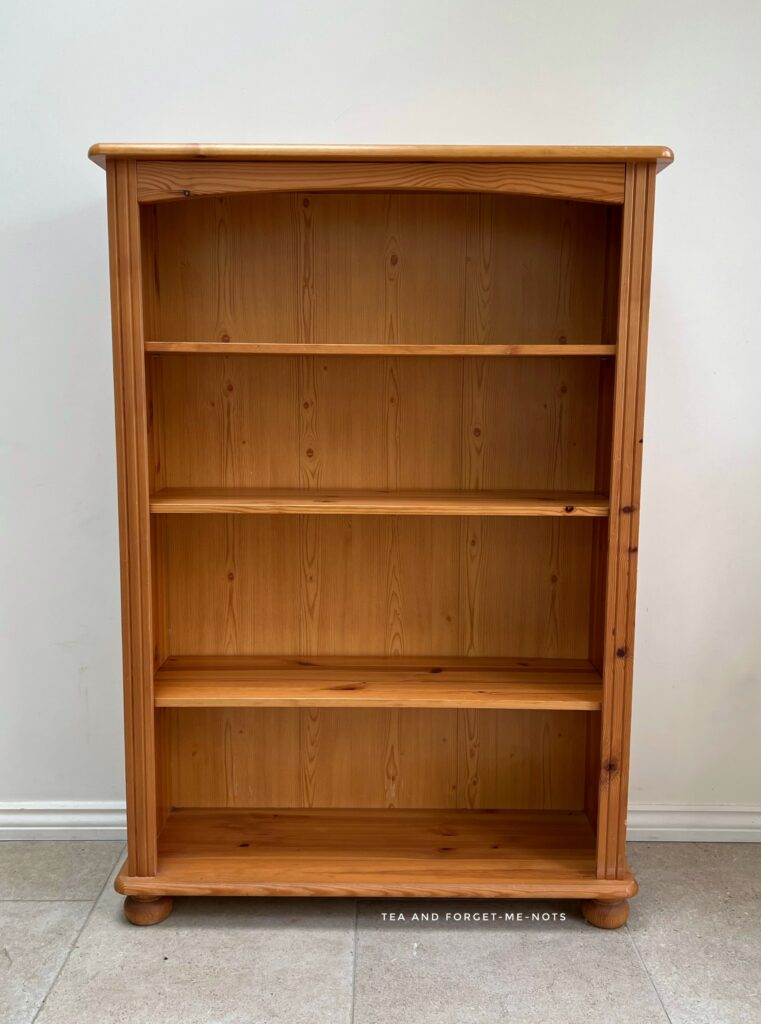
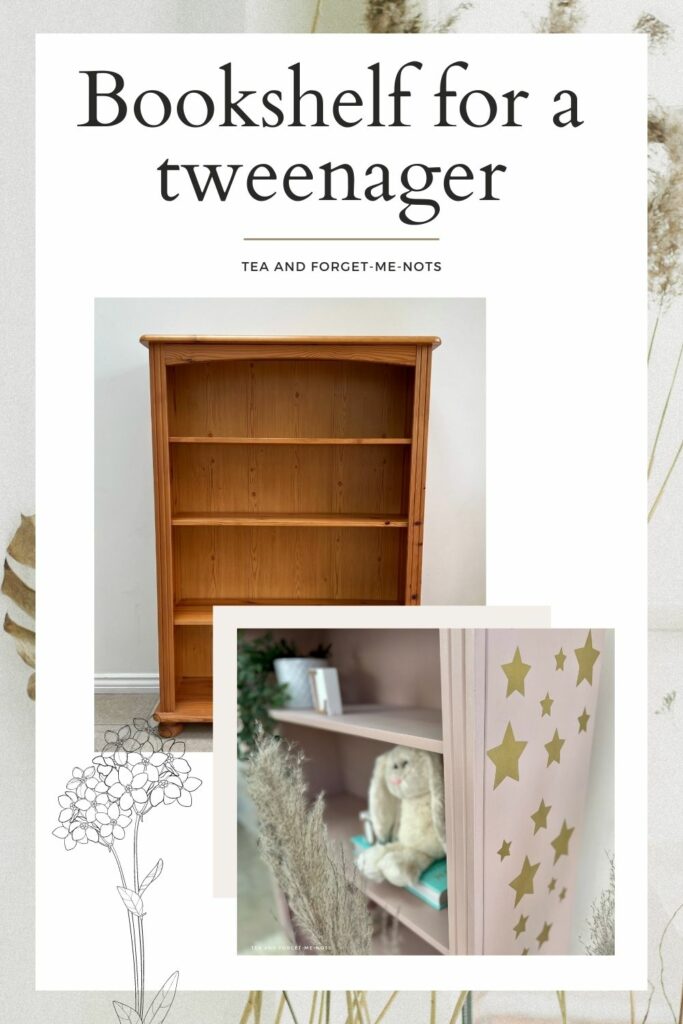
This bookshelf is a commission piece from grandparents to grandchild. So I don’t know how much it cost but it was bought in a charity shop. I tend to see these bookshelves anywhere from free to £30.
How to make over a bookshelf for a tween bedroom
So how do you make over a bookshelf to suit these in-between years? It wants to suit the stage they’re in while also being appropriate for a few years to come.
In this case, I let my tween customer design exactly what they wanted for their bedroom bookshelf. Being told you can have any design you like could be overwhelming.
I think they did a brilliant job.
How to prepare a bookshelf for paint
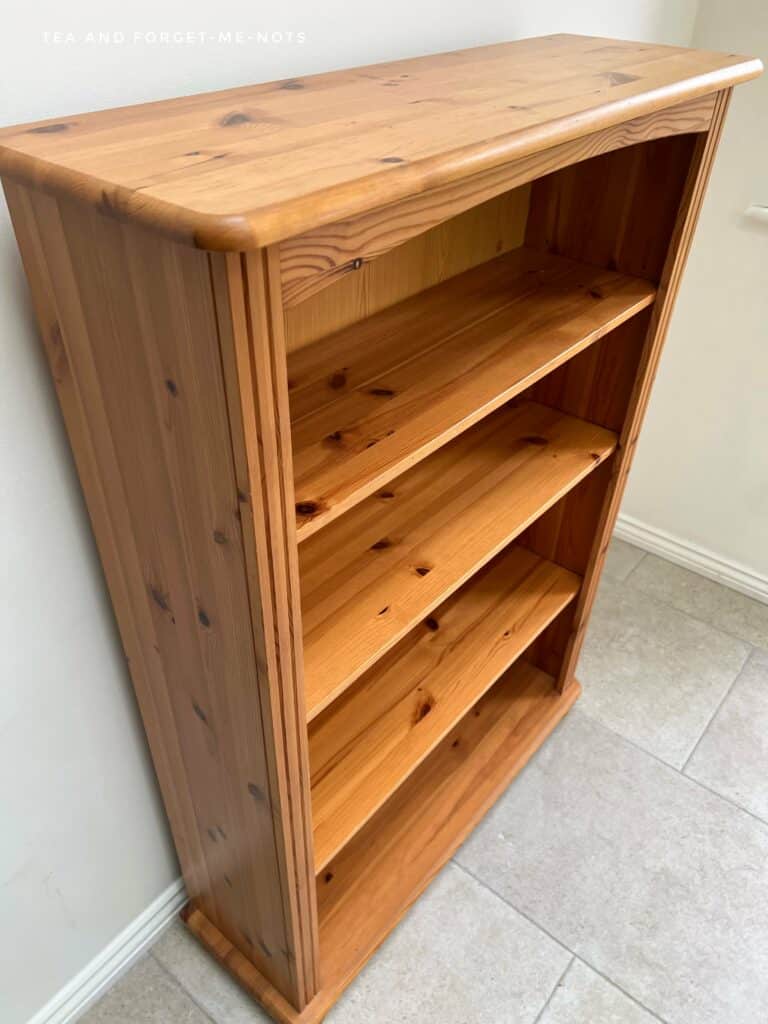
The bookshelf was in great condition. It had a few scratches here and there but otherwise nothing that needed filling. I did use a staple gun to attach the back more securely but that was the only repair needed.
I started by cleaning with White Lightning and a cloth. The water came out quite dirty on this piece so it really did need a clean. I then washed it down again with plain water and a fresh cloth to remove any of the cleaner.
Sanding is not my favourite task. And this one took a long time.
The orange pine varnish needed at least a scuff sand to get the paint to adhere to it well. But 180 grit sandpaper wasn’t making much of a difference. So I upped the grit level to 80 and it blitzed through the varnish.
You have to be careful with softwoods like pine so as not to dent the surface. I have a heavy sander so I put the bookshelf on its side when sanding those areas. That allows gravity to help me apply consistent pressure on the sander.
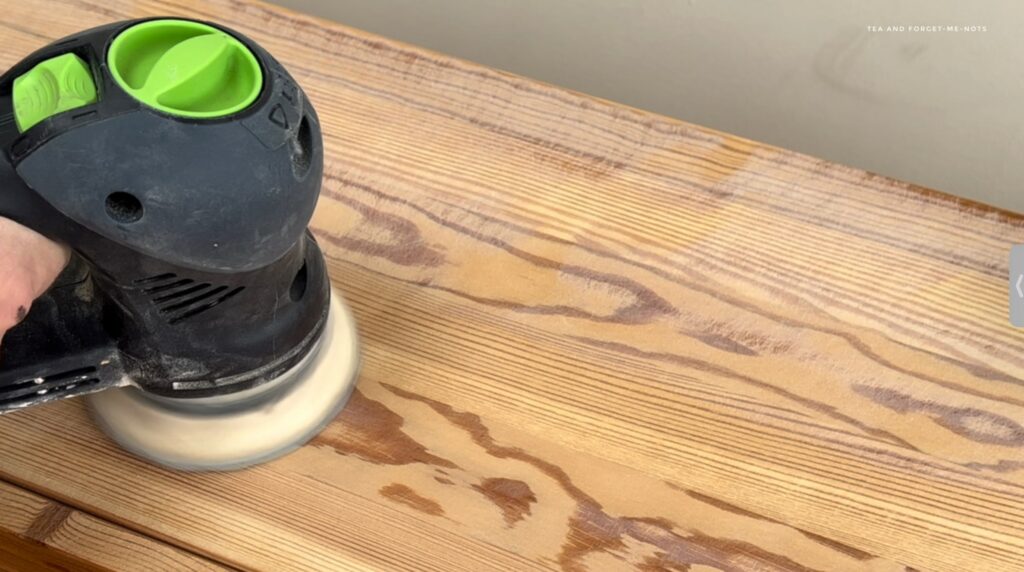
I ended up taking the finish back to raw wood rather than just scuff sanding. While 80 grit took the finish off easily, it left a really rough surface behind. So I then did 120 and 180 grit sandpaper to get a nice finish.
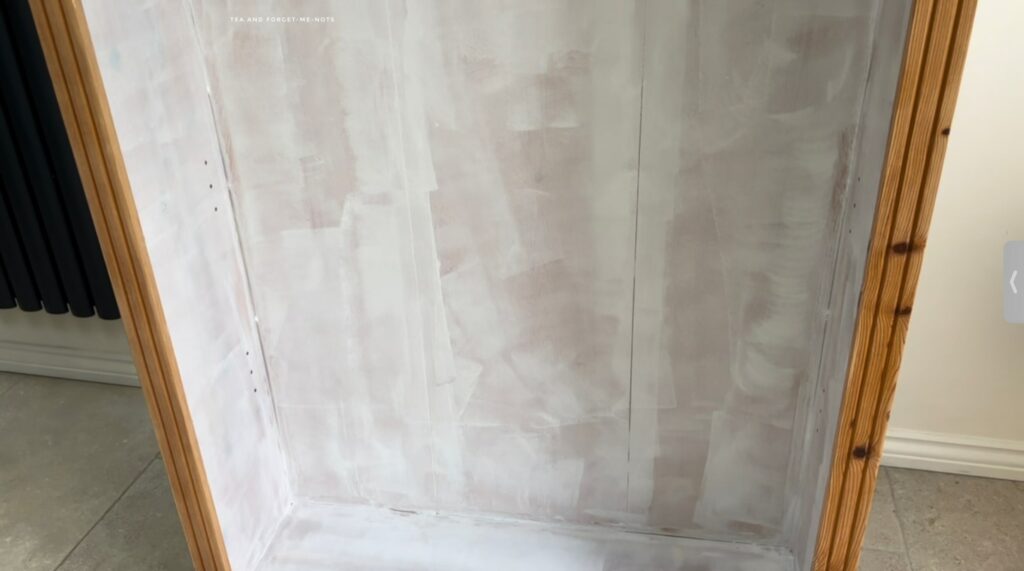
The back of the bookshelf is the only part that isn’t solid wood. So while I did sand it, I wasn’t convinced that I had scuffed the area enough for the paint to adhere well.
I used Slick Stick on the back and the inside of the bookshelves. Slick Stick is a primer specifically for shiny surfaces like laminate. So the combination of sanding and a coat of Slick Stick should be enough for a good base for the paint.
Another option is wallpapering the back like in this beautiful makeover.
How to paint a bookshelf
While the tween was given free rein to design the bookshelf they wanted, there was one rule given to me by their parents. That was not to use any of my “luminous pinks”.
And of course, I obliged.
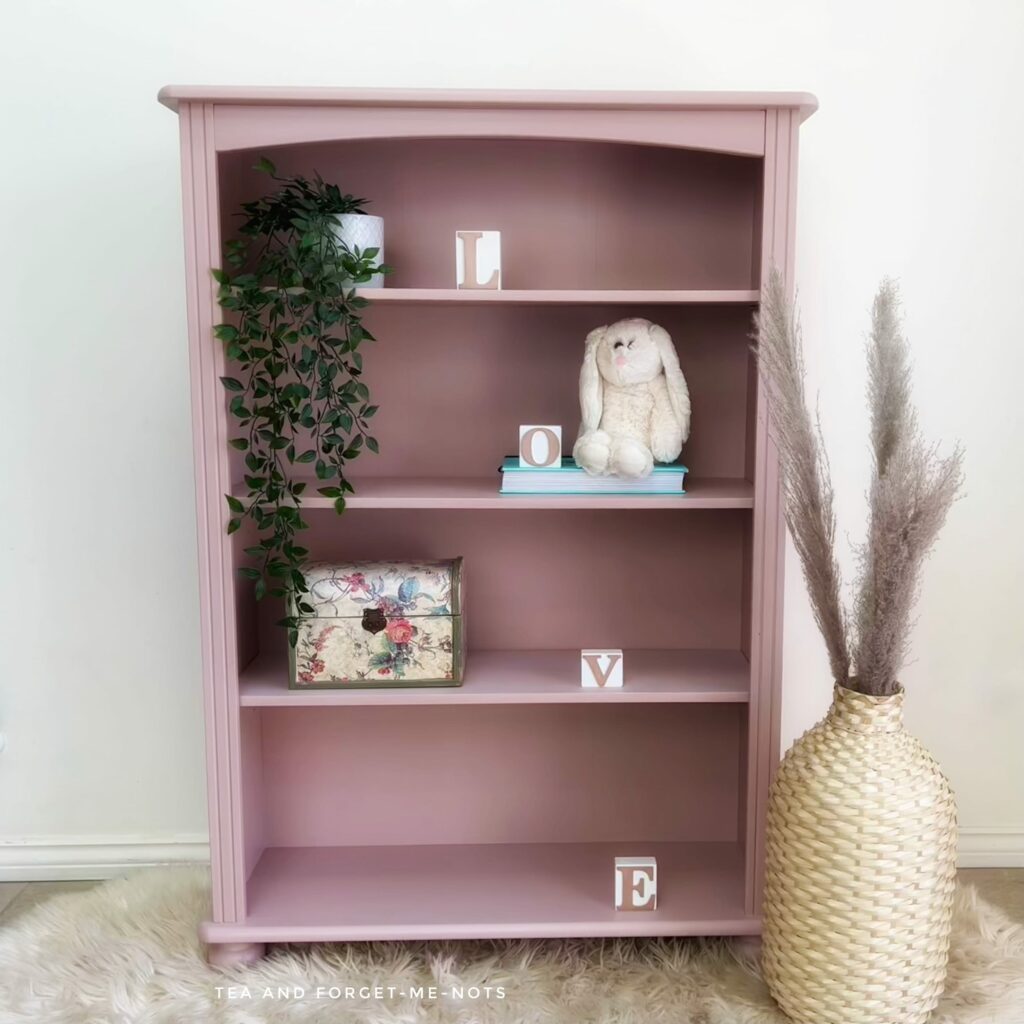
Fortunately, I have a good selection of muted pinks. The tween decided on Tea Rose, from the Dixie Belle chalk paint range.
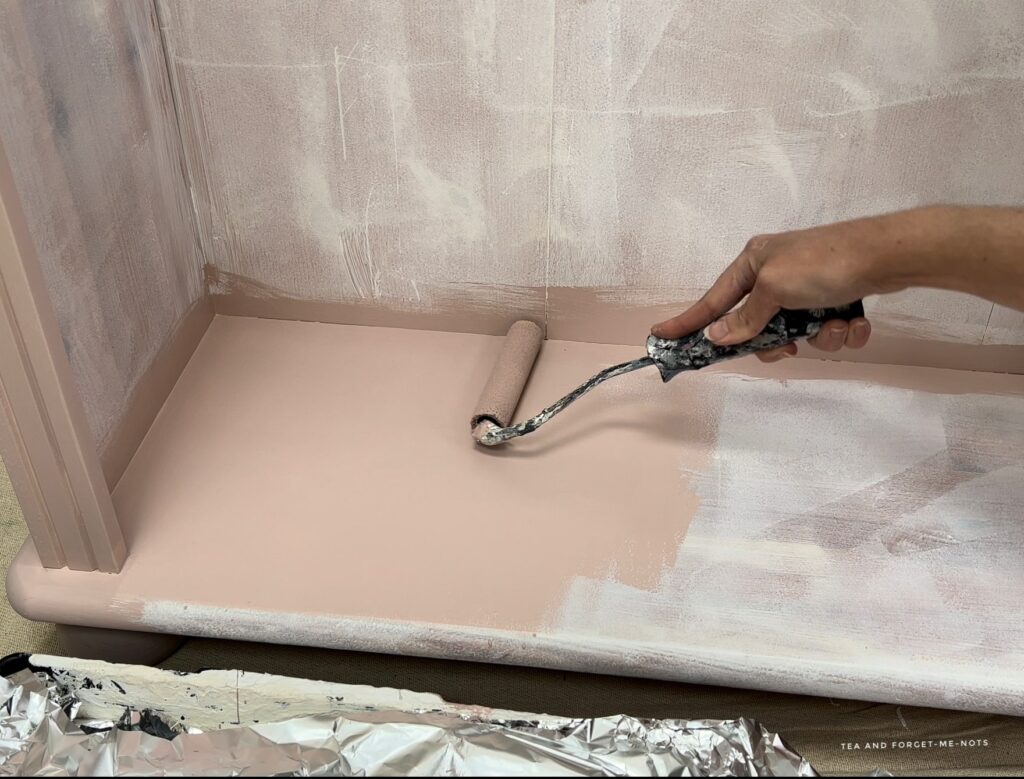
I used a combination of brush and roller to paint the bookshelf. A roller for the back and shelves and a brush for the details and edges.
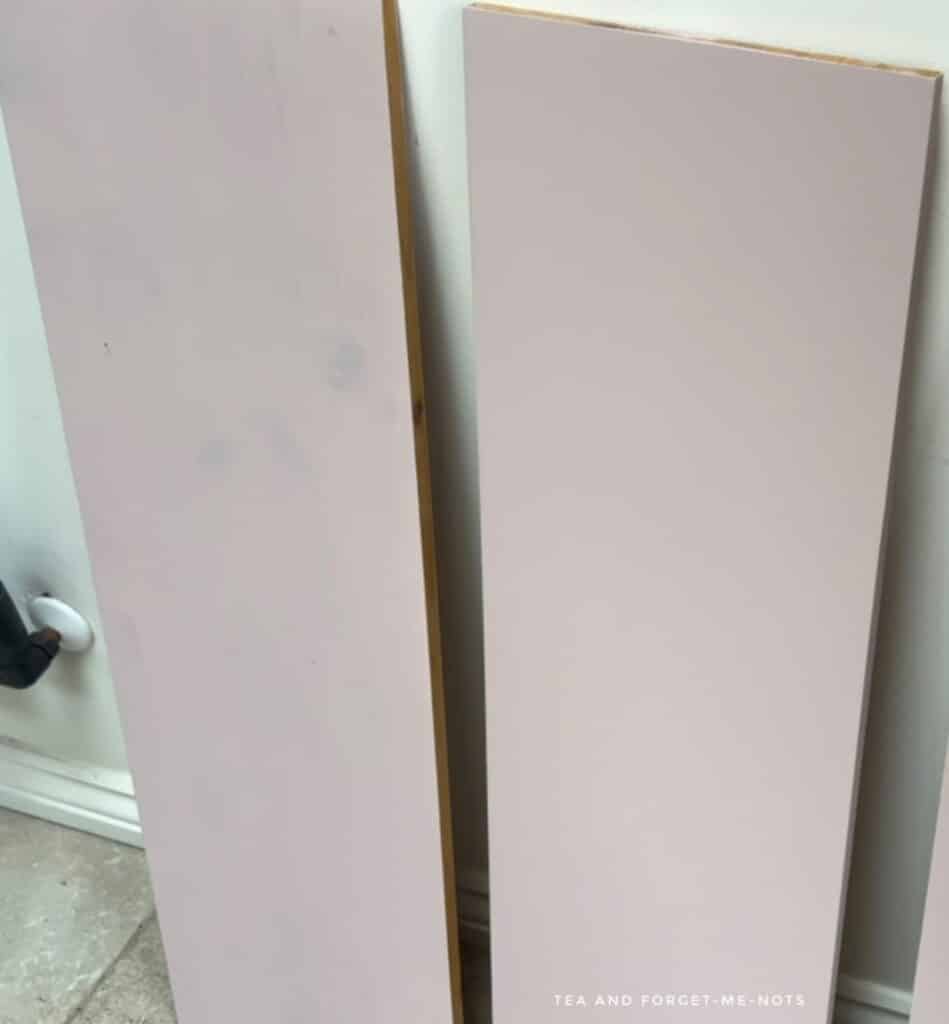
I did two coats of Tea Rose to get to the coverage I was happy with. You can see in the photo what a difference there is between the first and second coats.
One last step to finish it off before getting to the bling section of the bookshelf…
I sealed the piece with two coats of Clear Coat in Satin. I chose Satin so it would have a nice subtle sheen. Satin also gives it a good level of protection for what will be a well-used bookshelf.
This is what Gloss looks like, which gives the best level of protection.
Want to know 23 great DIY tools? Get the list!
A cool bookshelf for a tween
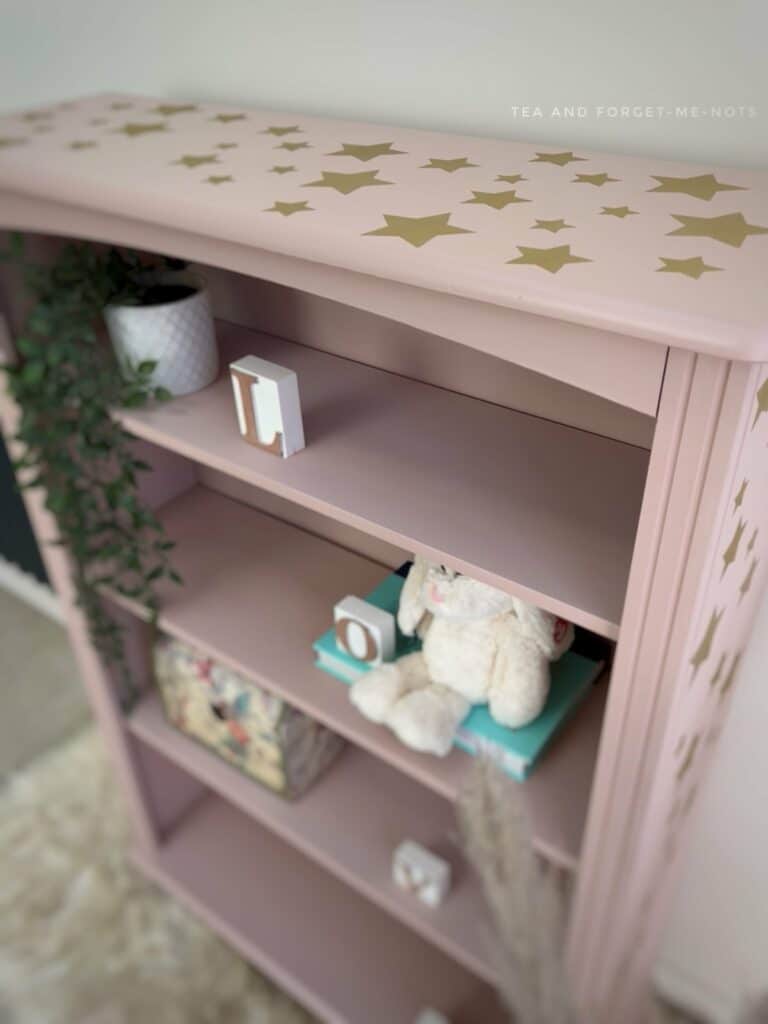
Now the part of the design with the character. I was asked to put “about 50” gold stars on the top and sides. The sides would have a cascading design so that they got more spread out as they went down the side.
So, using my Cricut I cut out one sheet of stars in a variety of sizes. I only used one sheet as I was able to rotate it for a slightly varied look across the piece.
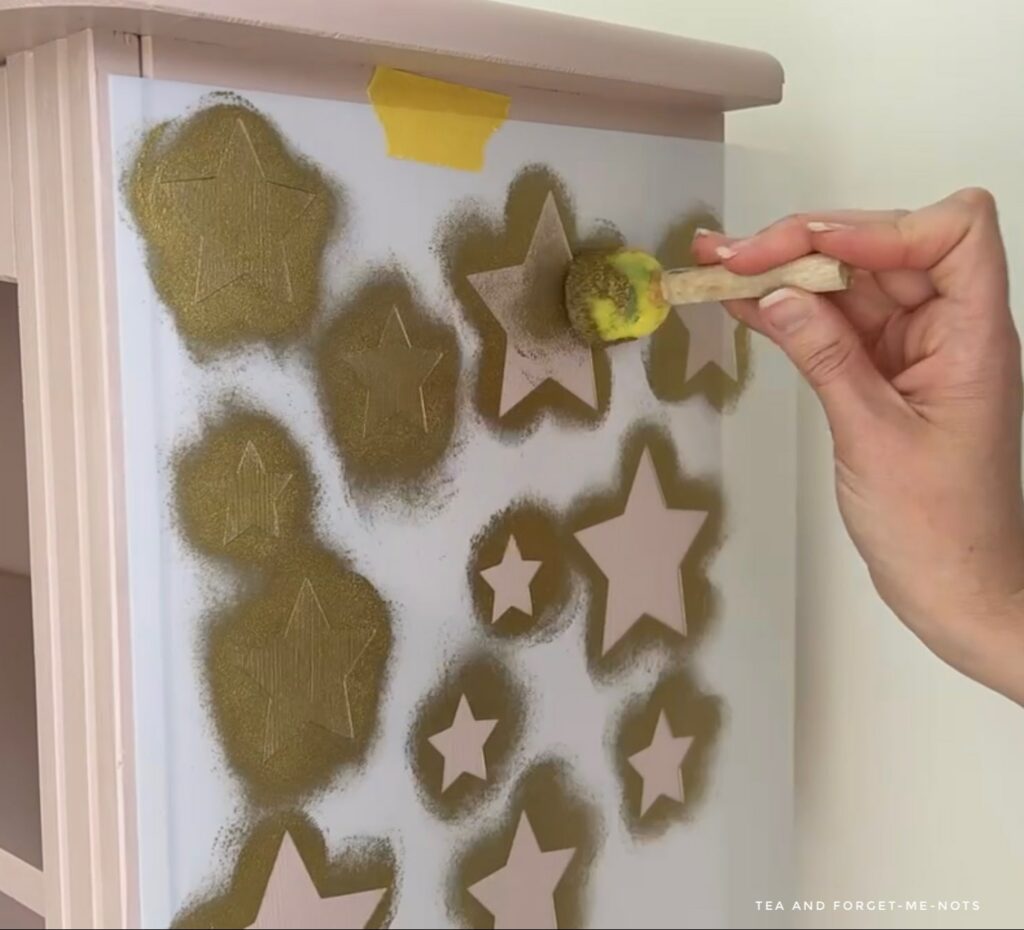
I painted the stars using Gemstone Mousse in Gold. Gold was a great choice as it adds that bit of bling to the pretty, muted pink.
I secured the stencil with Frog Tape while I was adding the paint. Then I applied the gold with a sponge. And made sure to remove any excess paint on a plastic lid. Too much paint and the lines would bleed and require touch-ups.
Check out this in-depth stencil tutorial for all the tips.
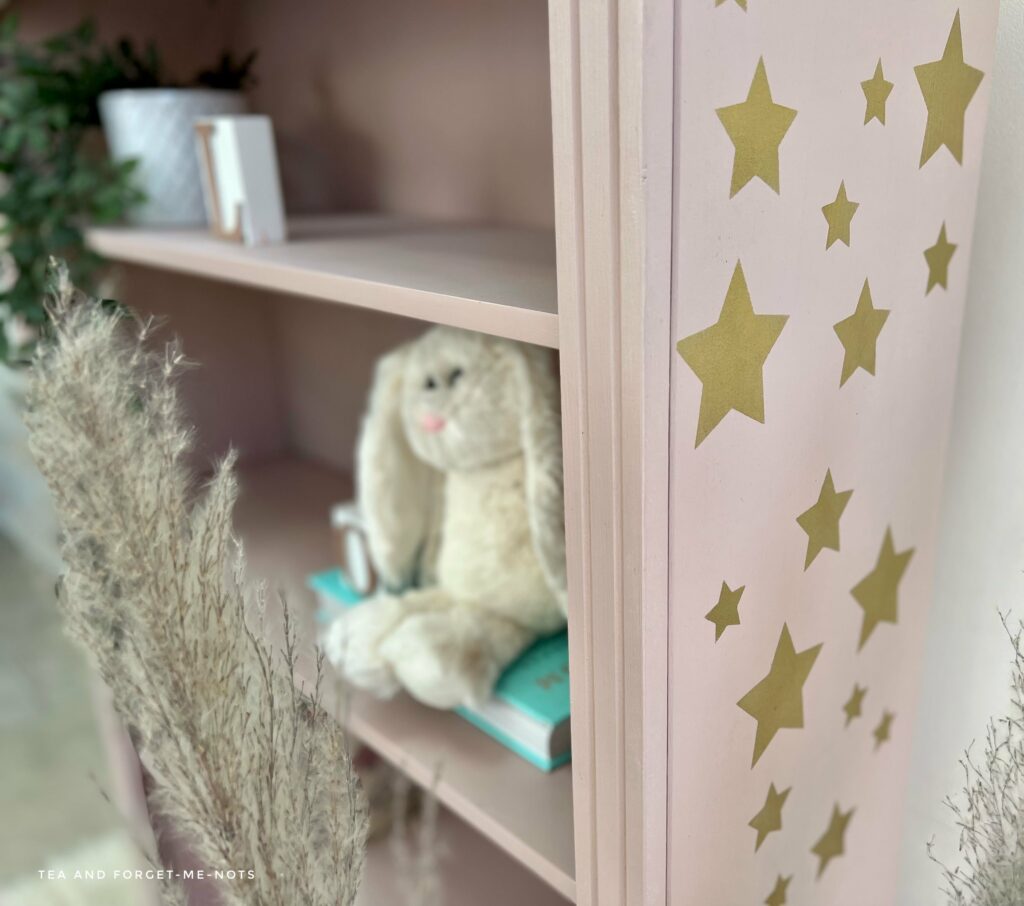
For the sides, I missed out on some of the stars from the stencil as I went down the piece to easily create the cascading look.
The gold doesn’t need sealing, just a day or so to cure and harden so that it’s durable.
The finished bookshelf for a tween
And here we are. A bookshelf fit for a tween. I think they did a great job with their design choice. It’s pretty, subtle from the front and with a funky twist up-close.
I hope they love it for years to come. Until they want a makeover fit for a teenager, whatever that will look like!
If I had free rein to design my furniture at 10 years old. It would probably have had the Spice Girls on it. I’m glad that this tween has more sense than me!
What would you have chosen as a 10-year-old? Please tell me it would have been equally ridiculous!
I hope you enjoyed reading about this transformation. There’s a 6-minute video too if you’d like to watch it in progress.
If you liked this post, you might also enjoy this original stencil post…
Pin it for later – bookshelf for a tween

Hi there! I'm Rachel Bowyer, a passionate DIY enthusiast with a knack for transforming the old into something beautifully new. With a deep love for furniture painting, refinishing, and the art of crafting. I've been documenting my DIY projects and restoration journey since 2018. I specialise in techniques like decoupage, stencilling, and decor transfers. Join me as we explore the world of creativity and home improvement, one project at a time.
I am not a big pink person, but the one you chose is lovely. When I read Spice Girls, I could not laughing. What memories! Great job!
Yeah pink is a bold choice. It can take a while to sell but those who buy them LOVE them!
A beautiful shade of pink
Thanks, Cindy.
What a lovely gift from grandparent to a grandchild! What did you cut the stencil from Rachel?
Yes, it’s such a special gift. I cut the stencils on my Cricut with blank Mylar sheets.