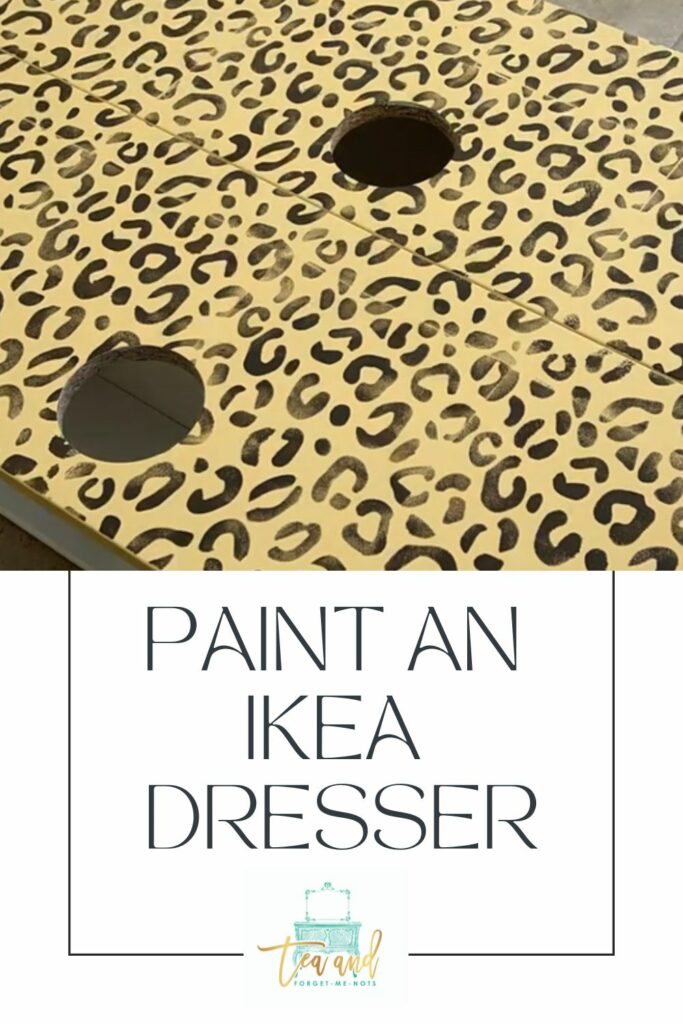
How to paint an IKEA dresser (laminate furniture makeover)
Have laminate furniture or chest of drawers in need of a makeover? Here’s how to paint IKEA dresser so that it lasts.
Normally when I start a makeover of an upcycled piece of furniture. It’s someone else’s. But this time it’s an update of my own dresser.
Thanks to Dixie Belle for sponsoring this post.
This post includes gifted products and affiliate links so you can easily find the products I use myself and recommend to friends. If you purchase these products, I may earn a small commission at no extra cost to you.
How to paint IKEA dresser (laminate furniture makeover)
Here’s the first time I did this makeover, if you missed it.
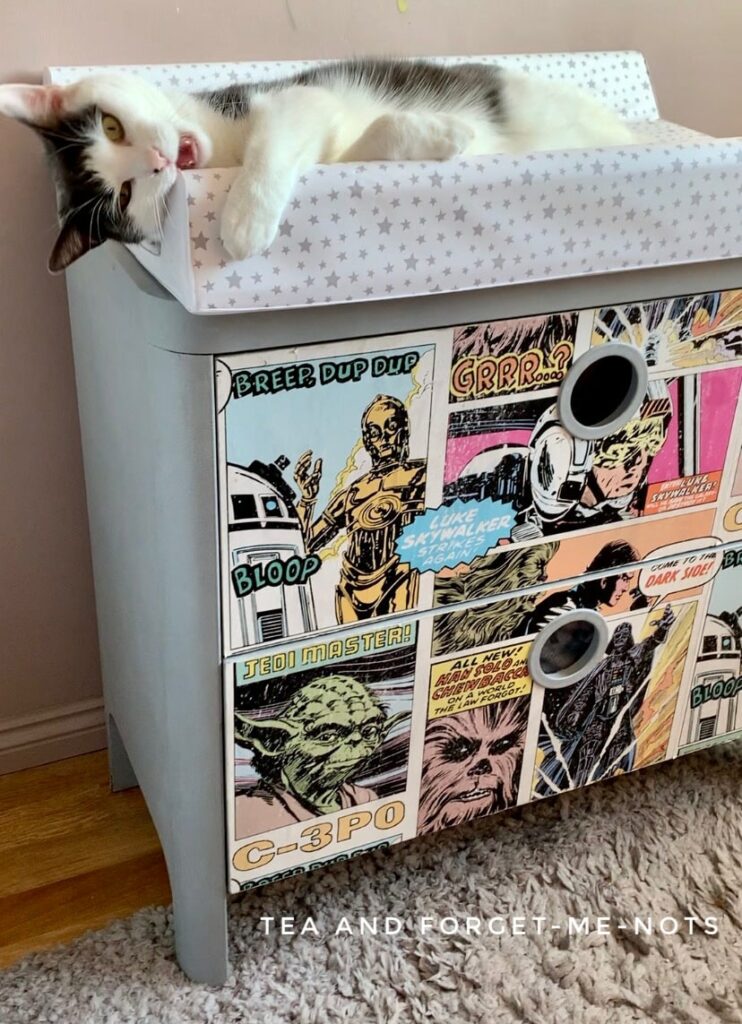
This dresser or chest of drawers is a piece of IKEA furniture called Busunge. Full disclosure, I didn’t know that when I got it. I found that out by using this method!

The original color was called Classic Blue. I painted the piece grey and decoupaged the drawers. In a Star Wars theme for my newborn.
Fast forward to toddler years. I was unsurprised to discover that that wallpaper was a bit too tempting to rip off the drawers.
Would you have resisted the urge to peel off the paper as a toddler? I don’t think I would have been. And, unsurprisingly, neither was my child.
The ripped paper turned this project into a shabby one. Unfortunately not the cute shabby chic kind.
So, time for an update.
Paint Laminate IKEA Dresser Video
How to update an old upcycling project
I got the drawers originally for free from Freecycle.
I didn’t know that they were from IKEA. Regular visitors to the children’s section in IKEA would probably see them as a classic. But I wasn’t aware of them.
This particular piece was still in good condition. I didn’t need any wood filler or have to make any repairs.
Unlike this piece which got ALL of the wood filler!
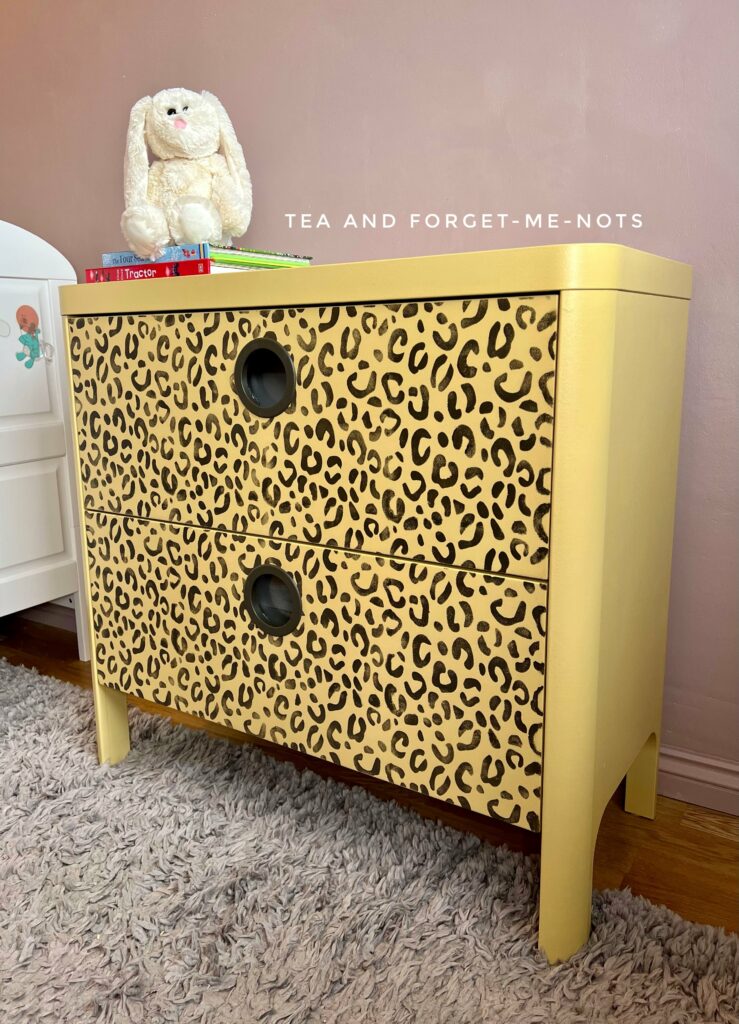
I particularly liked the cute little window holes for the drawer pulls.
One thing I knew for sure was that I didn’t want any more paper on them. But I did want to do something fun that would suit a child’s bedroom.
Fortunately, I had a good option. Safari stencils! These stencils come as a pack of tiger, leopard, zebra and giraffe.
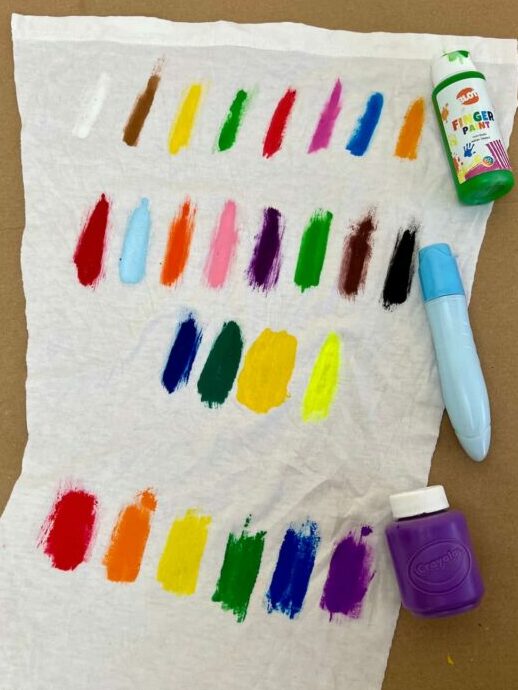
The stencil is the pattern of their markings. I did a mock-up of three of the design options, leopard, zebra and giraffe.
I liked the zebra stripes however I thought white might be a poor choice for a child’s room. I’m learning!
I thought that a yellow base colour for a leopard or giraffe would be a nice colour choice. Bright and cheerful.
But I gave the choice to my child, as it was their dresser. And they chose the leopard. Cute option.
But first I needed to clean up the original decoupage before I could paint.
How to prep an IKEA dresser for paint
Firstly I peeled off the top layer of the wallpaper. The part with the image on it. This left the base layer of paper stuck to the drawers.
I dampened the paper with soapy warm water. Then I used a tool to scrape off the paper, which came away easily.
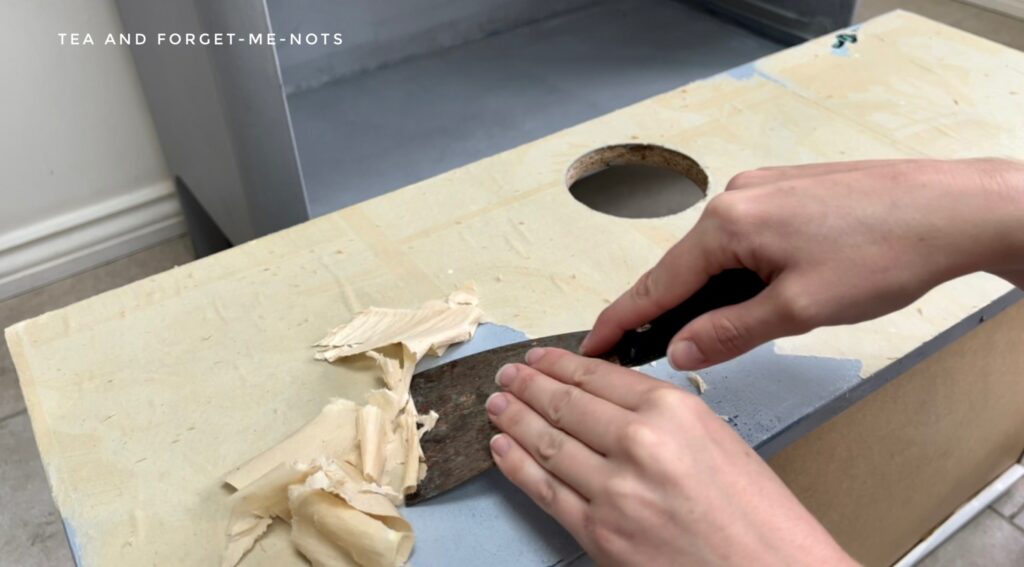
It left me with some of the original grey chalk paint beneath.
Between the water and 180 grit sandpaper, I removed the leftover paint. This was to get back to a clean and flat surface so I could paint on top.
I also used the 180 grit sandpaper to scuff up the surface of the main chest of drawers. I originally finished them with wax. So this took the shine off of them and gave a slightly rough surface.
If I’d used an orbital sander, there would have been a risk of sanding through the laminate surface to the particleboard underneath. So I was careful to only scuff sand by hand.
Real wood is more forgiving if you sand too heavily.
I then cleaned the drawers with White Lightning. I decant this into a spray bottle so I always have it to hand. Finally, I rinsed it with clean water to remove any leftover soap residue.
Priming a laminate surface
So, back to the start.
Now, as these drawers are not solid wood but IKEA laminate furniture, they’re shiny.
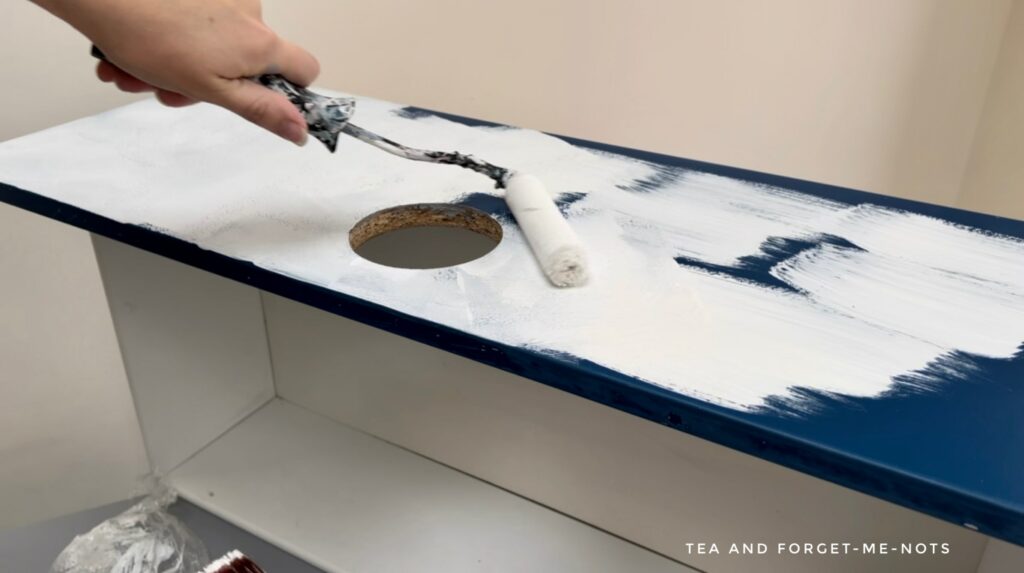
For the first step, I needed a primer on the drawer fronts. The chalk paint on the base of the chest of drawers saved me from needing to do this step on that too.
I did one coat of Slick Stick on the drawers. I love the impact that Slick Stick has. It takes a shiny or laminate surface that paint would struggle to adhere to and gives it a matte finish.
I recently used it on my fridge!
If I had started with a darker paint colour, I would have used a second coat of primer. But the first coat of primer was enough to add grip to the particleboard furniture.
I didn’t need a shellac-based primer because this wasn’t wood furniture. There is no risk of tannins bleeding through.
For me, the best primer is a water-based primer. It’s easy to clean up and doesn’t smell. But if I were priming a piece of furniture that wasn’t particle board and dark wood, shellac would do a better job of protecting it.
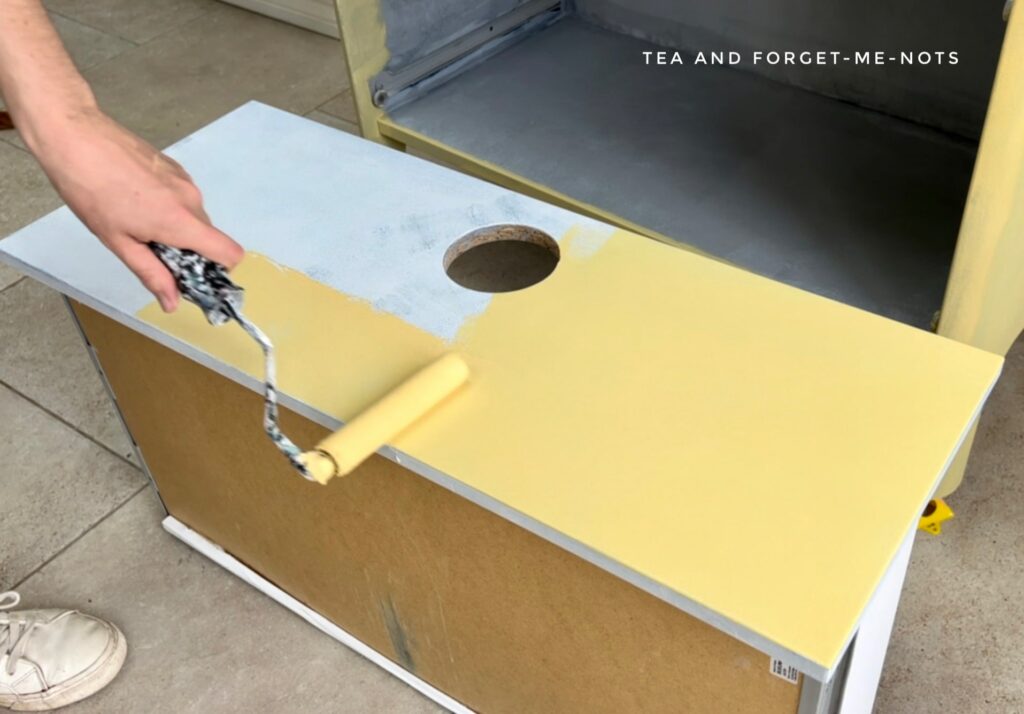
I applied this with both a paint brush and a foam roller. Paint brushes are great for areas like ridges so you can get into the details. And I like to use foam rollers for large areas like the top of the dresser to get a smooth finish.
A paint sprayer is also a good choice for an even finish across a large smooth surface. Spray paint helps you to control the paint coverage without getting brush strokes.
So, prep work is complete.
What color to paint a child’s dresser
The next step was to choose the paint color for the leopard. Naturally, we needed yellow. Not a colour I have a lot of paint of.
I had two options, Sand Castle and Daffodil. Sand Castle is a mineral paint. And Daffodil is clay paint.
Sand Castle is a mellow yellow colour, almost a warm cream. Daffodil is a bright, canary-like yellow.
Neither of which was the perfect colour for a leopard. But, perfect to create a mix of different colors.
I often use a paint syringe when mixing paint because it means you can recreate the colour precisely. However, I didn’t have one available. So the next best option is to mix a paint colour, but only enough for one coat.
Then when you mix it again for a second coat, it doesn’t have to be identical. As long as the entire coat is the same, it will look good.
But if you mix paint and touch up an area with another batch, it’s going to be difficult to get a perfect match.
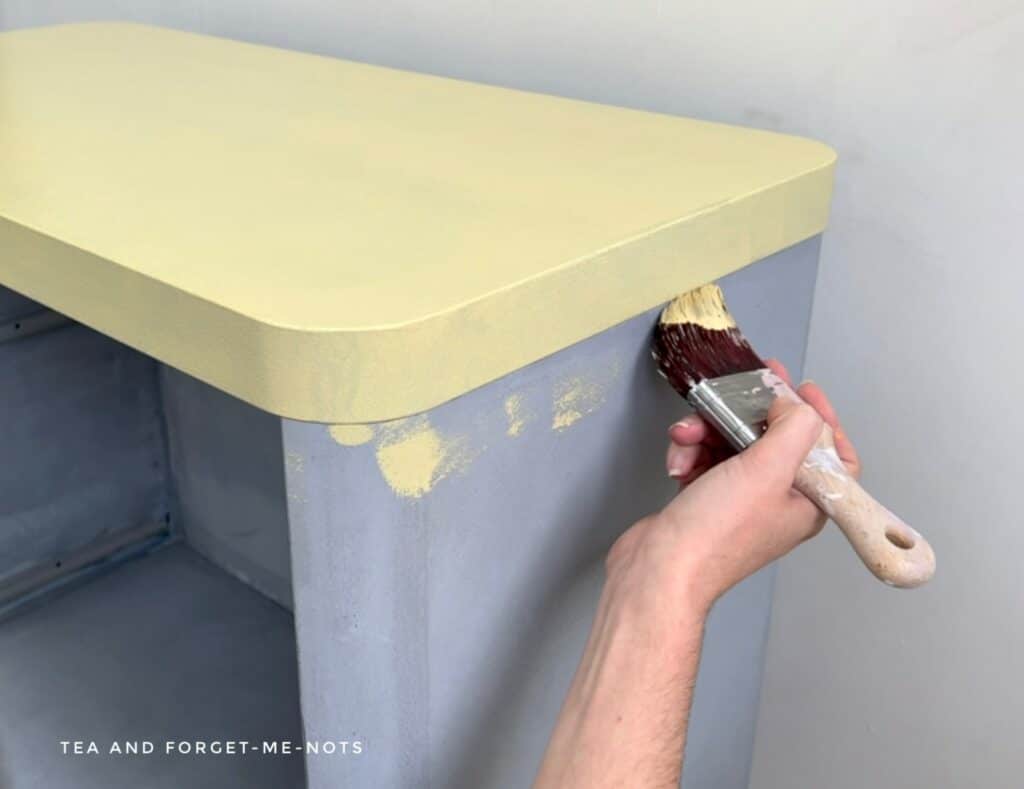
I created a mix of about 2/3rds Sand Castle to 1/3 Daffodil. It made a sunny yellow that was still quite mellow but with a bit of a kick.
I wanted something calming for a bedroom.
Does yellow paint needs a lot of coats?
Yellow is a colour that needs a lot of coats for good coverage. The first coat of paint will always look patchy.
The type of paint you use doesn’t matter. Whether it’s latex paint, acrylic paint, oil-based paints etc. Some colours always take more coats.
But undoubtedly good quality paint will get the job done more quickly because there’s more pigment in them.
I did three coats of paint with this mix to get an even paint finish. The drying time between coats is a couple of hours. So I was able to paint this IKEA dresser in a couple of days.
In between coats I did a light sand to remove any paint nibs. Then I took off the sanding dust with a damp cloth. I was careful with using the damp cloth because clay paint can easily come off with water before being sealed.
You can also use a tack cloth to remove sanding dust. Make sure it doesn’t have silicone in it which would not help the paint stick to the surface.
Sand Castle is a Silk paint and therefore has a built-in sealer. However, Daffodil is a Terra paint and is made from clay.
This combination means that it still needs an extra top coat. As mixing the two dilutes the effectiveness of the built-in sealer.
How to stencil an animal print chest of drawers
But first, time to turn the dresser drawer into a leopard.
Again I made a custom mix for the colour of the leopard’s spots. I used Coffee Bean, Desert Tan and Mojave. It turned out to be a milk chocolate type of colour.
Each safari stencil is about 22cm x 17cm (9in x 7in) in size. So I need to reposition the stencil 12 times to cover the two drawers.
Can you paint a stencil with a roller?
Normally I use a sponge to paint a stencil. It gives a clean, crisp edge. However as this was such a large area, I wanted to dry using a foam roller.
I stuck the stencil down with Frog-Tape which is a low adhesive tape. This keeps the stencil in place but is unlikely to pull off the new paint when removed.
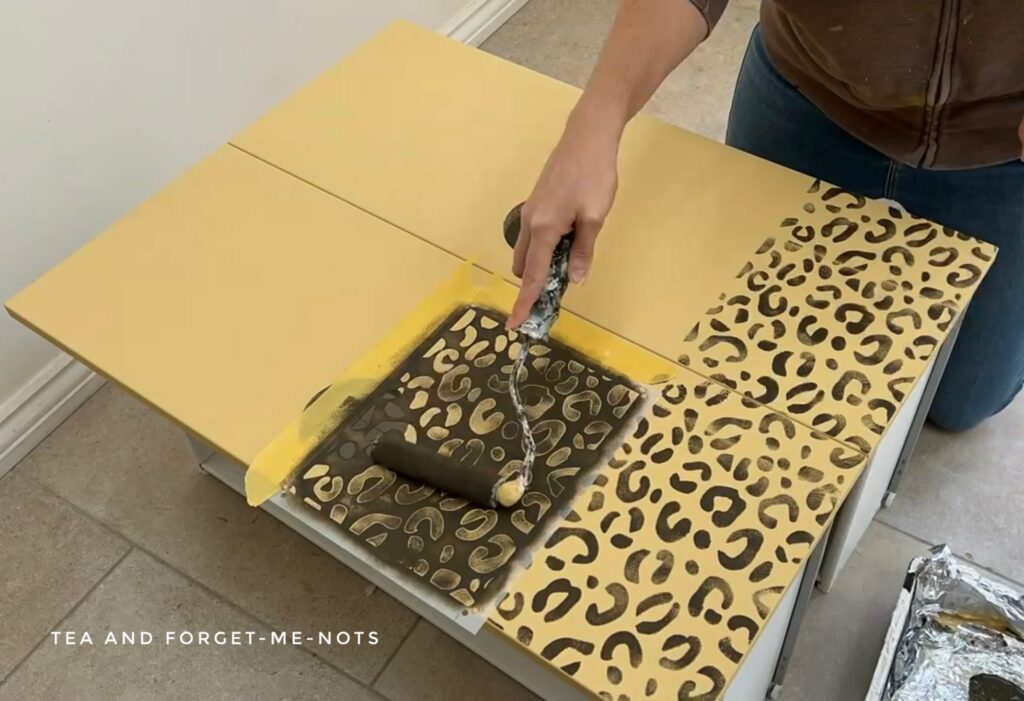
I didn’t wait until the paint was dry before repositioning the stencil for the second time. You never want to have much paint on a sponge (or roller) as it risks bleeding out of the stencil. Which also means that it dries quickly.
Fortunately, the roller worked perfectly. I didn’t aim for a solid block of colour. I preferred it with a slight variation in the level of paint.
There were a few gaps where the stencils lined up with each other. So I used a tiny sponge and an artist brush to blend the sections.
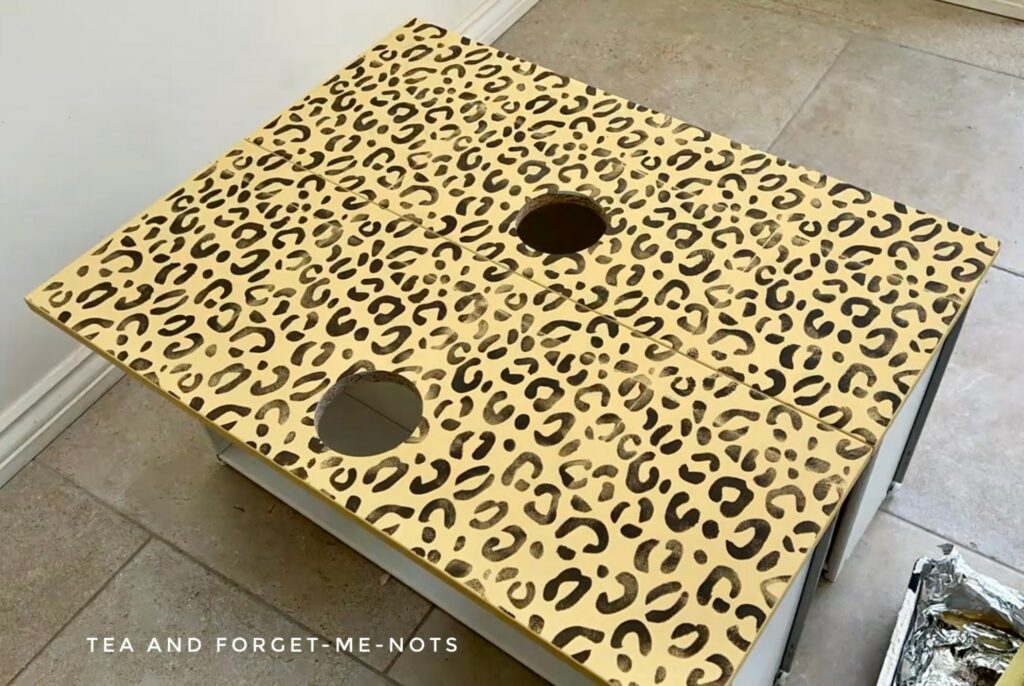
So for a fresh coat of paint, I think this new look is adorable. It will go well in a child’s bedroom and be easy to update further down the line.
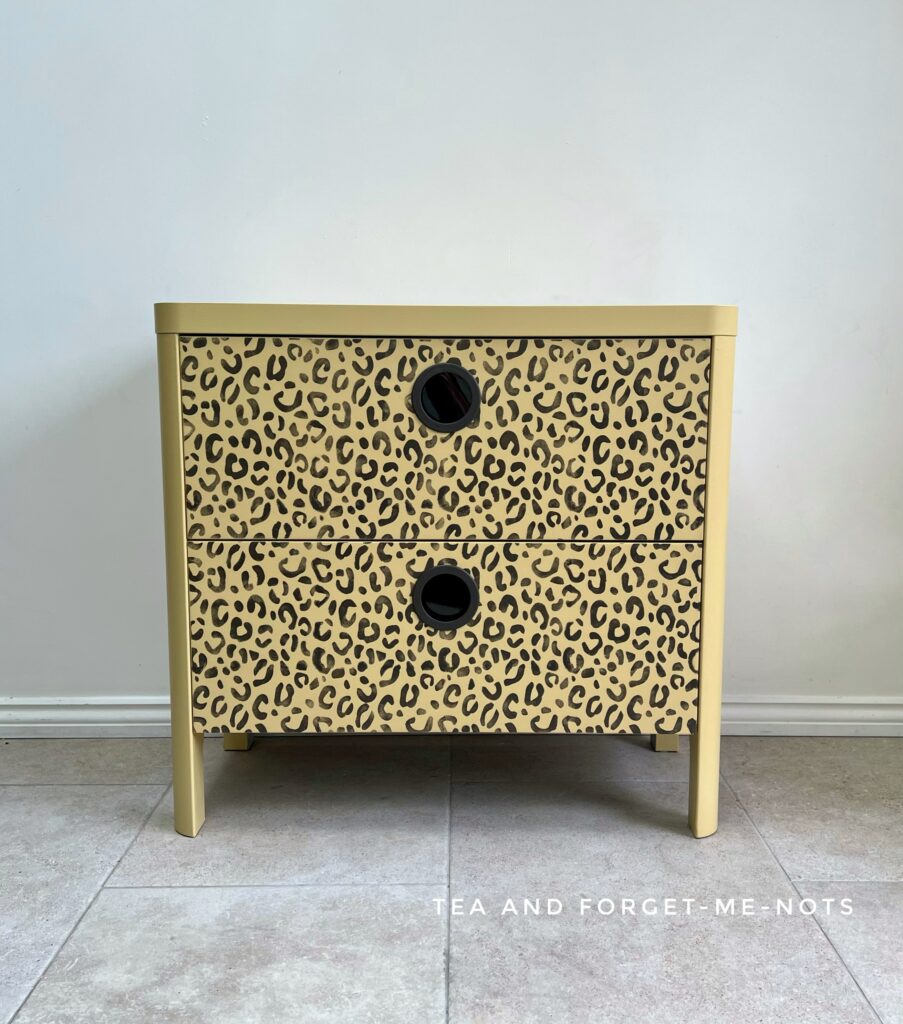
The final step was to seal the paint. Especially important as I had a mix including clay paint.
I did two coats of Clear Coat in Satin across the entire surface. I did this with a brush rather than a roller for a bit of variation.

Due to the unique circular drawer pull, I didn’t need new hardware. So to update them I painted them in the same brown mix as the leopard’s spots.
The final result – how to paint IKEA dresser
While a leopard print safari-theme dresser won’t be for everyone. My child said “wow” when they saw it. Whether your customer is big or little, that’s a pretty great review.
The good news is that you simply need enough time to let the entire piece dry between coats. It’s an easy update and should last a long time with the right kind of paint.
It can be easy to paint IKEA furniture. But the best way to get a good result is by solving the problem of having a shiny surface.
So the first thing you need is one or two coats of primer. That part of the painting process is one of the main reasons why your laminate IKEA furniture makeover will last.
Painting furniture doesn’t fall into the typical IKEA hacks category that is so popular. But it’s great to know the best paint to be able to update your own IKEA piece.
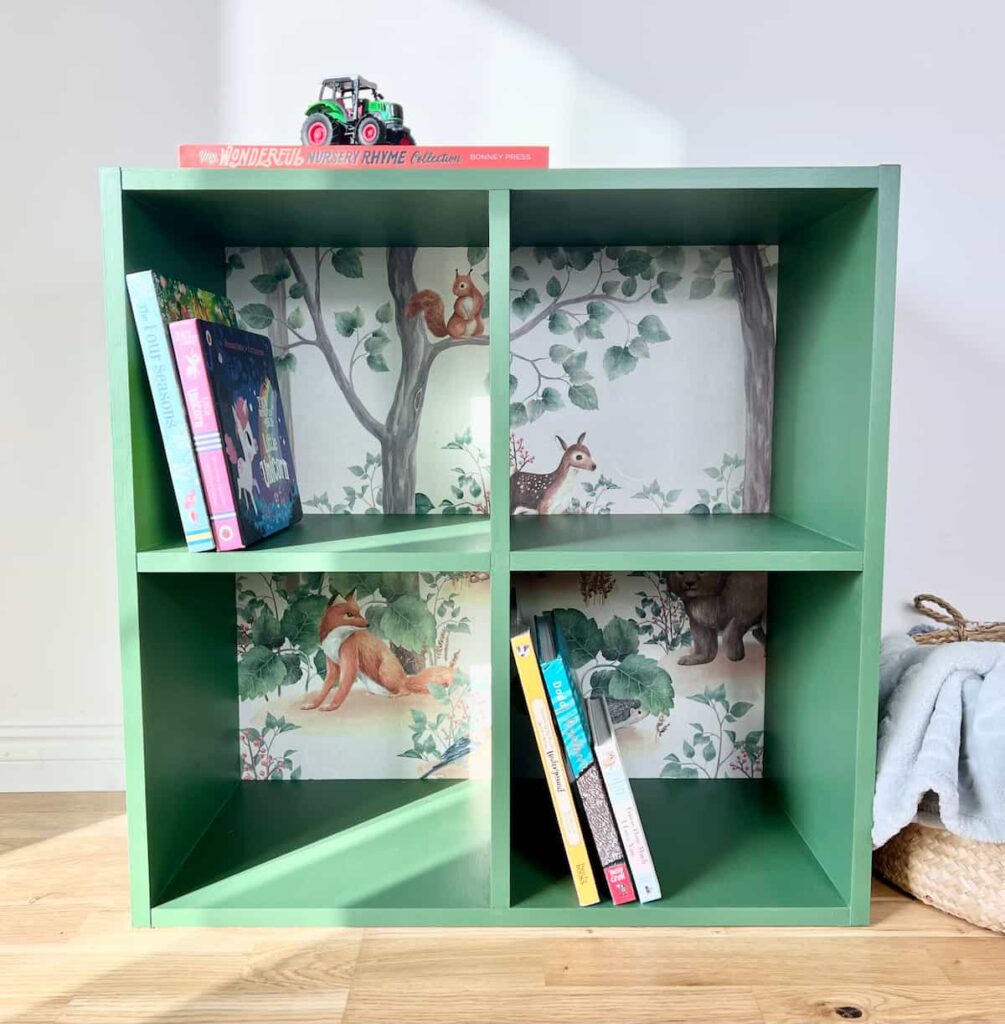
But if you’re looking for the best IKEA hack or makeover that I’ve done, here’s my most popular creation!
Want to watch the makeover come to life? Check out the YouTube video.
I don’t think that the Busunge dresser is available in IKEA anymore. However, keep your eyes peeled for a makeover of an IKEA Malm dresser. That is a furniture piece with a lot of potential due to its smoother finish.
Pin it for later – how to paint IKEA dresser
If you loved this project, you’ll love these projects too:

Hi there! I'm Rachel Bowyer, a passionate DIY enthusiast with a knack for transforming the old into something beautifully new. With a deep love for furniture painting, refinishing, and the art of crafting. I've been documenting my DIY projects and restoration journey since 2018. I specialise in techniques like decoupage, stencilling, and decor transfers. Join me as we explore the world of creativity and home improvement, one project at a time.
You always share great information and this turned out great!
Thank you, Cindy, that’s very kind.
Rachael, Thanks for the run down on painting laminate furniture. I have wondered if I’ve been doing it correctly. The dresser turned out very cute!
My pleasure, is there anything you do differently?
so so cute
Thank you