Upcycle Cabinet Door Into Repurposed Sign Project
Looking for an easy upcycle cabinet door project? Here’s how you can DIY a beautiful sign from your old kitchen cabinet doors.
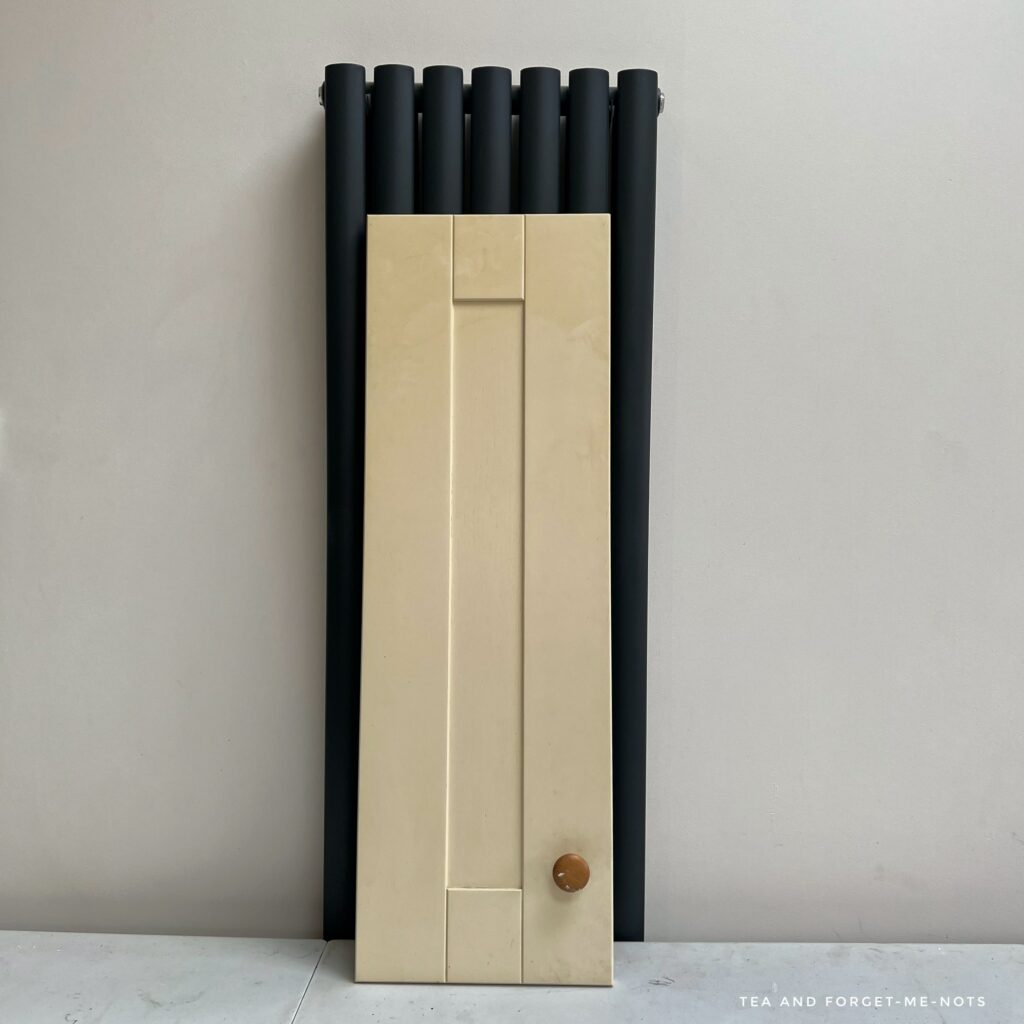
I found one of these old doors for free on Facebook. Someone was getting rid of their old kitchen cabinets and they had this one door left. Perfect as I knew I had a door DIY project challenge coming up!
This post is a collaboration with some talented friends who have done makeovers of their own old kitchen cabinet doors. Please also check out their creations at the end of this post. One of them even turns a small door into a coat rack! Let me know which your favourite is!
Thank you to Dixie Belle for sponsoring this post.
This post includes gifted products and affiliate links so you can easily find the products I use myself and recommend to friends. If you purchase these products, I may earn a small commission at no extra cost to you.
How to Upcycle Old Doors
The first step was removing the knob and hinges so that the door would lie flat on the table.
For the next step, I used wood filler over the handle hole.
Then I cleaned it with White Lightning and rinsed it with fresh water to remove any leftover soap. Fortunately, it was pretty clean and only needed a little hard work.
Upcycled Cabinet Door Video
So, naturally, I made it a bit dirtier by sanding it. I did this with a 220 grit sandingpaper, just to rough up the surface.
I then used a tack cloth to wipe back the sanding dust. Tack cloths are a slightly sticky, netted material which is a great way to pick up little bits of dust.
If you have shiny, laminate cabinets, you might want to use Slick Stick as a base coat. This is how it worked on a painted plastic front door.
Staining Old Cabinet Doors
My goal was to create a rustic-style sign. So I needed to change the yellow paint of the old cabinets to something a bit more earthy and natural.
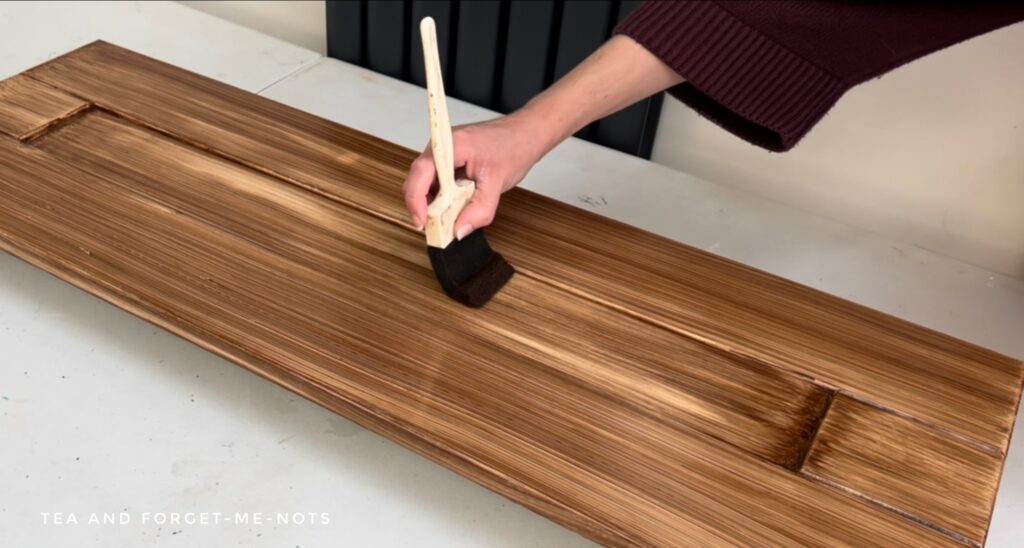
Dixie Belle has just released several new stain colours, including this one, American Honey. This is in their No Pain Gel Stain range.
I applied it with a wide foam brush in a straight line and wiped it back after a few minutes with a paper towel. This was the first coat on the front of the door. A little stain was already giving the smooth surface of the plain door more character and an aged look. The new look makes a huge difference.
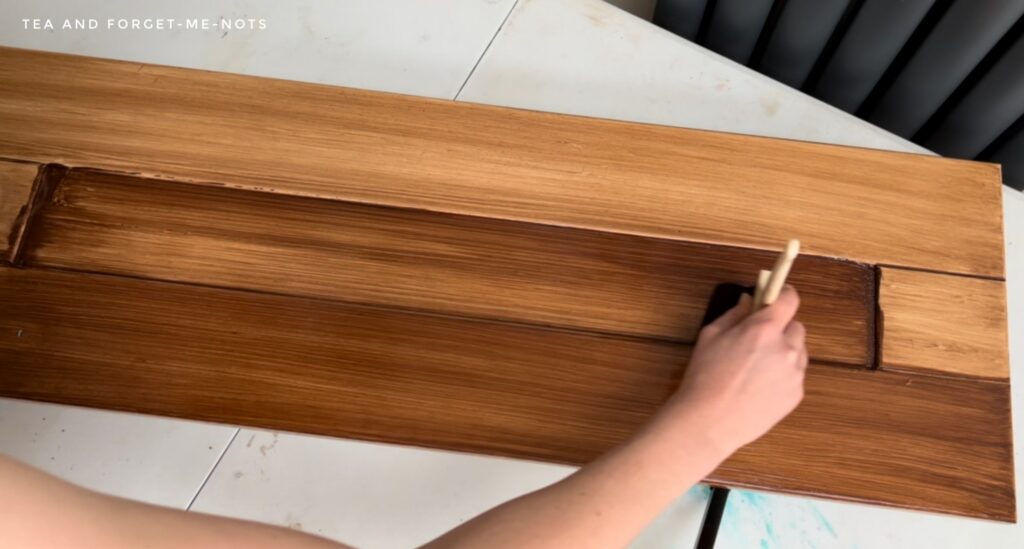
You can see how it got the name American Honey. How beautiful does this look after one coat? The bottom is where I’m applying a second coat. In the end, I chose three coats to make it a really rich brown.
This would be an even faster making process by simply using chalk paint or spray paint for quick coverage.
This was my first attempt at using a wood graining tool. It’s a tool with ridges like tree rings.
How to Create a Faux Wood Effect on Old Cabinet Doors
The first thing you do is apply a fresh coat of paint or stain to the surface. This is the colour you will be creating the grain with. Then by dragging the tool through the paint, it creates grain-like patterns within the wood.
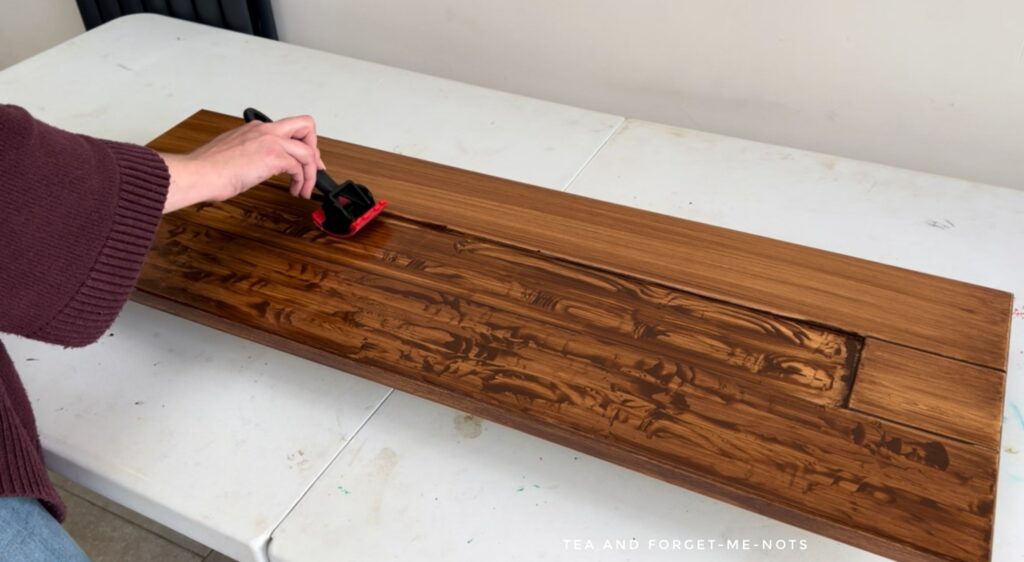
As you rotate the tool, it creates the knots. I probably added a few too many than would occur naturally. It was a lot of fun to play with! But I knew that this was just the background and would be well covered, so I wasn’t concerned.
What a fun tool and great place to add some texture!
What Are Repurposed Cabinet Door Ideas?
So how can you easily repurpose cabinet doors? I wanted to make a sign. So I went to my trusty Cricut to create a stencil. This is what I use my Cricut for 90% of the time.
This was a recent easy project on a fun nautical-themed makeover.
For the quote, I used the words of my uncle who passed away this month. In 2021 for a graduation class video, he was asked what the secret to a happy life was. I loved his words when I heard them, so it felt fitting to use them for this.
You’ll see there’s an overlap where I duplicate one of the words on each line. I deliberately cut out the same word twice. That way I know that the stencil is straight, by lining it up with the word before.
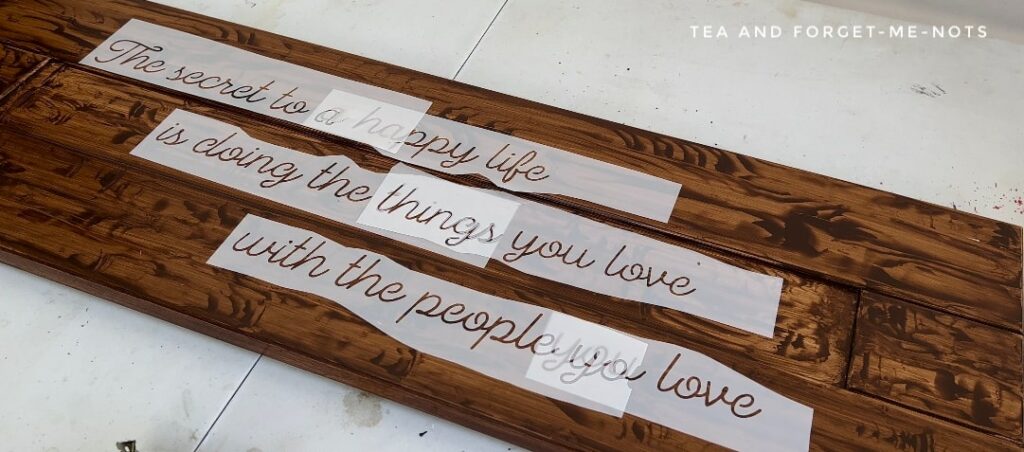
I stuck the words down with stencil spray. This is a great idea to keep them in place long enough to paint, but are still easily removable.
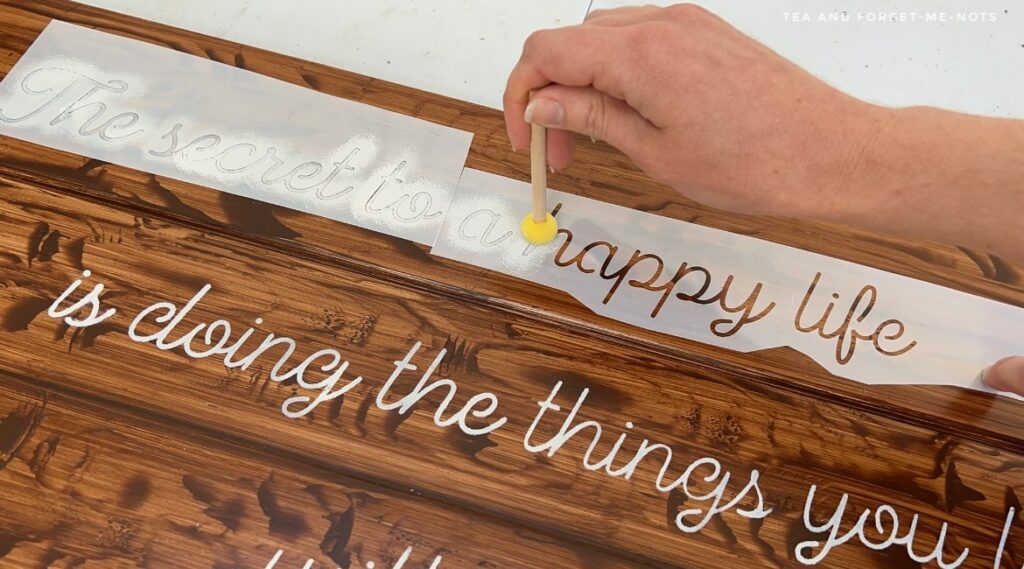
The key to the paint not bleeding out of the stencil is having a very little bit of paint on the sponge. So, I dab off the excess onto a plastic lid until there’s barely any left. I painted the words using a sponge dabber and the grey/white paint, Oyster.
For a better look at Oyster, it was the main colour of this chest of drawers makeover.
Cabinet Door DIY Ideas
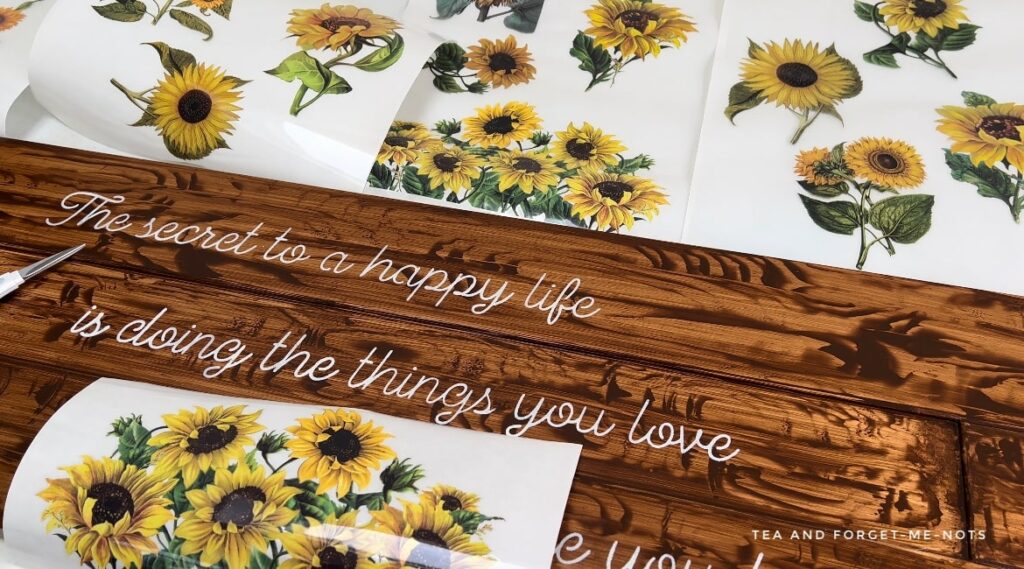
To add some colour, I chose this transfer called Sunflowers. Which comes as four sheets of different sunflowers.
I laid them all out to choose which ones would suit the space the best. It’s a bit like a jigsaw trying to see what the best combination is.
In the end, I chose two multi-sunflower pieces for both sides. This put them to good use and filled out the space nicely.
Then I chose two additional single sunflowers for each side. For the left, I chose ones that leaned to the right so they naturally surrounded the text.
Like floral transfers? Here’s how I paired one with concrete.
Applying transfers is really simple.
I took off the wax backing which is what stops the transfer from sticking to other things before it’s in place. Then, to attach it, I used the ruler-like tool to firmly rub it.
You can see whether it has been attached by peeling up the plastic. If any of the image is still on the plastic, you can lay it back down again and rub it more.
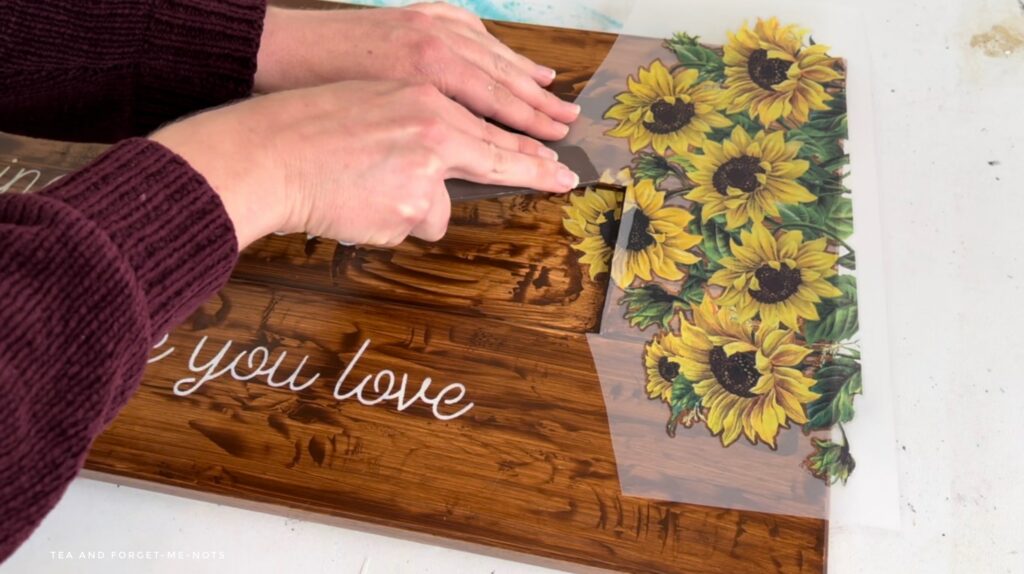
Where there were ridges on the door, I cut that section of the transfer so that it lay in the right place. I also continued the image around the side so that it looked more finished.
It’s easy to layer transfers on top of each other. Personally, I don’t always like it when transfers are just floating in the middle. I think it looks more natural by layering them and having them come in from the sides.
Like the floral look? Here’s how I transformed a French-style clock with them.
Do You Need to Seal a Furniture Transfer?
Some transfers need the paint or stain sealing before it’s applied. For others, you need to seal on top of the transfer only. It depends on the brand.
But for this transfer, it only needs sealing after it is applied. So I did two coats of Clear Coat in Flat to protect the stain, the paint and the transfer.
As a decor piece, it doesn’t need heavy-duty protection so two coats should be plenty.
Recycled Old Cupboard Doors – The Final Result
And the final piece, signed, sealed and delivered!
What a transformation. It’s a long way from the tired yellow door that arrived. I really love how this turned out. The rich brown stain and wood grain texture complement the bright yellow sunflowers beautifully.
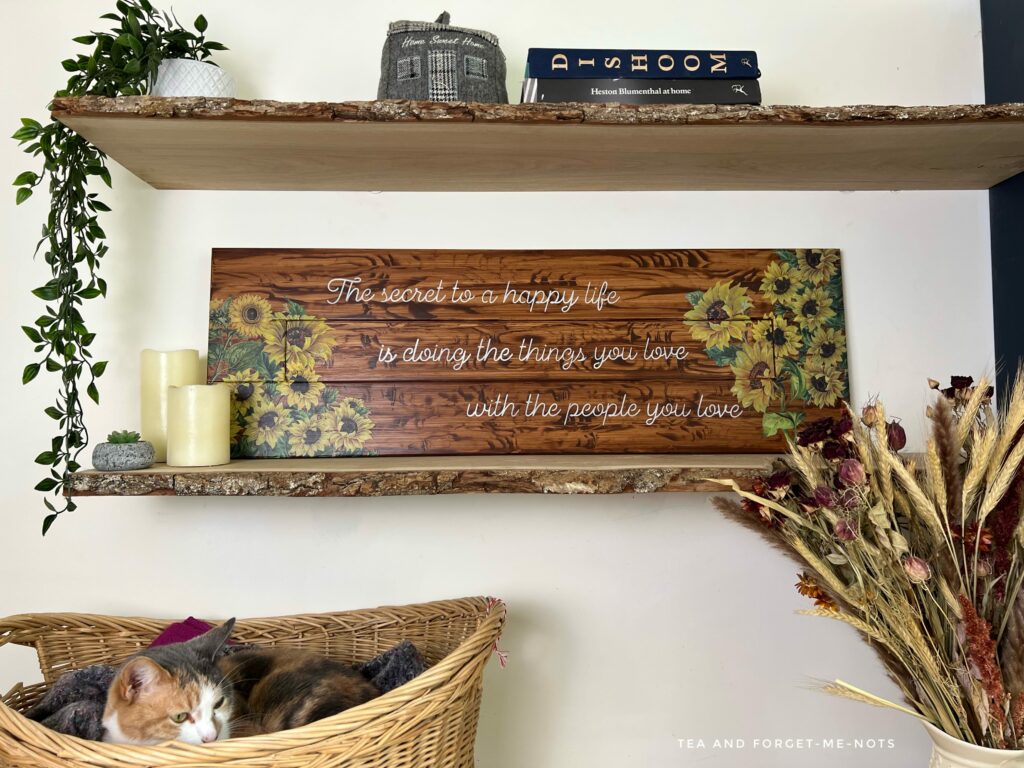
It’s now a lovely piece of great kitchen wall decor. Made more important by how special the words are.
Also, if you’d like to see this simple project take shape, please check out the short YouTube video.
Please don’t forget to check out the other old kitchen doors below and let me know which you like best. Or if you’re here from another artist’s blog post, thanks for stopping by.
If you liked this blog post, you might also enjoy how to paint a front door!
Pin it for later – Upcycle DIY Cabinet Door Ideas

Don’t forget to see what easy cabinet door projects my friends are sharing today…
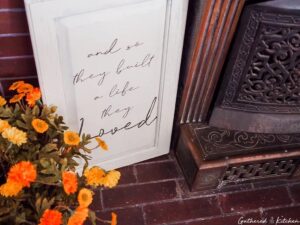
Gathered in the Kitchen – Large Cabinet Door Sign
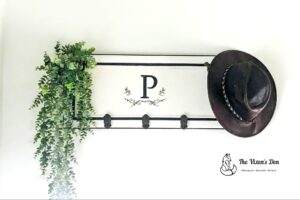
The Vixen’s Den – Easy DIY Coat Rack
Repurpose old cabinet door
If you loved these repurposed cabinet door ideas, you’ll love these too:
Did you make a similar project?
I love seeing what you do. Please mention @teaandforgetmenots and share your creations with me!

Hi there! I'm Rachel Bowyer, a passionate DIY enthusiast with a knack for transforming the old into something beautifully new. With a deep love for furniture painting, refinishing, and the art of crafting. I've been documenting my DIY projects and restoration journey since 2018. I specialise in techniques like decoupage, stencilling, and decor transfers. Join me as we explore the world of creativity and home improvement, one project at a time.
This is beautiful Rachel! I love that you used your uncle’s quote – such meaning behind his words!
Rachel, this is so pretty! I absolutely love the sunflower transfer! I have a package begging to be used! I really love how your project turned out! Thanks so much for joining the cabinet door makeover challenge!
Great transformation, looks lovely
Great sign Rachel; love the wording!
What a sweet and cheerful use for this cabinet door! You did a great job!
Such a clever idea Rachel! I think we should all do something like this. Wood is expensive these days and it’s so smart to find ways to use it all. I’m headed to my local Restore now to see if I can find a wood cabinet door. 🙂
The sign looks amazing and is such a nice tribute to your uncle! Love the sunflowers! Take care, Donna
Great makeover! You’d never guess it was a cabinet door in its previous life.
Another fantastic project! Great tips
Thank you for sharing this informative article! All the information provided by you is really very helpful for all. I agreed that by using tack cloth you can keep your project dust-free and it is useful for cleaning fine dust off a surface and gives you a smooth finish. Everyone should follow the tips provided by you, it will make their work easier. Keep Posting! Keep Sharing!
Thanks for your kind words, I appreciate that and that it was helpful.