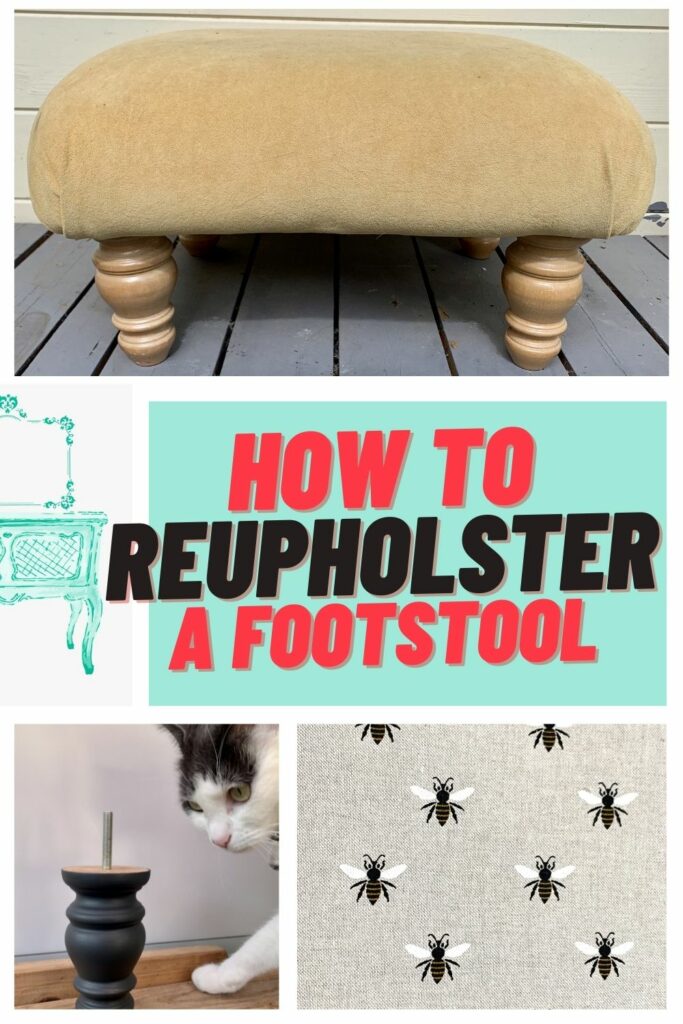
Reupholster a shabby footstool into a beautiful new piece
Want a footstool you can be proud of? Here’s a simple project on how to reupholster an old footstool and give it a new lease of life.
This was a £6 charity shop find and could have been brought back to life with a wash and a nice stencil as it was in good condition.
Take a look if you’d like to know how to find free furniture!

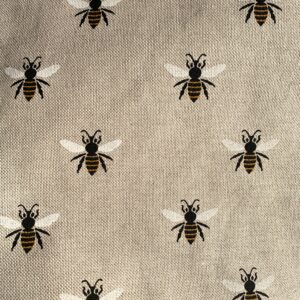
However, I had some bee-a-utiful fabric that I’d be waiting to use on something and this was the time.
This post may include affiliate links so you can easily find the products I love and use myself. If you purchase these products, I may earn a small commission at no extra cost to you.
Reupholster a shabby footstool into a beautiful new piece
Disassembly
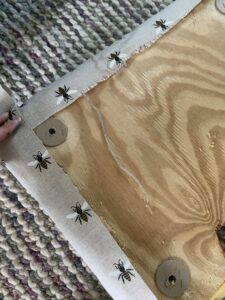
There were hundreds of staples attaching the dust cover (the white fabric underneath) and the yellow material. Fortunately, the foam was in good condition so I didn’t need to replace it.
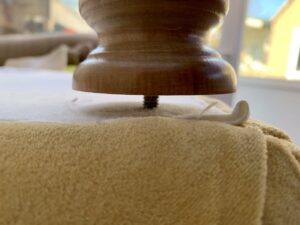
The legs simply screwed off which was the quickest part of the process. It gave me false hope that this would be a really quick project, but I wasn’t yet aware of the staple mountain I would encounter.
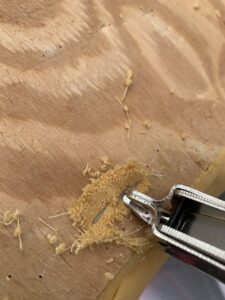
I hoped I’d be able to remove the staples with tools I already had such as chisels and brute force (and ignorance). Alas, the staples had other ideas.
The project was shelved until a heavy duty staple remover arrived and I could carry on. Even with a better tool, it took at least an hour to lever up and remove everything.
Here are my recommended tools to make your life easier!
Down to the final two, so close!
Want to know 23 great DIY tools? Get the list!
Getting a new look
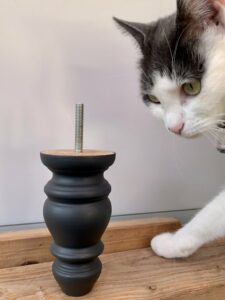
I painted the legs in Fusion Mineral Paint’s Ash, which is a charcoal colour. It’s not a true black but still complements the bees on the fabric nicely. Fusion doesn’t need a primer or top coat, and while I do still use those on heavy traffic areas, I just needed one coat of paint here.
Check out my other painted projects here.
My cat Pixel came to inspect the new paint job, she likes it, this is her delighted face.
To cut the fabric to size, I made sure it overlapped the bottom by about an inch/3 cm. You don’t need the nice fabric on the underside as no one will see it, so save your fabric (and money) for the visible areas.
If you like this bee fabric, here’s another project where I use it.
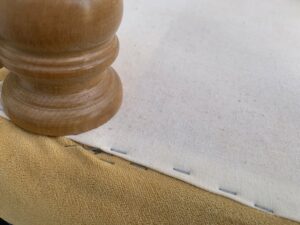
Not the most professional of set ups (these are jewellery making pins), but it did the job and kept the fabric in place. By pinning it, I could see that the bees were in line before I stapled the fabric. This is helpful anyway if you don’t have spare hands to pull the fabric tight with.
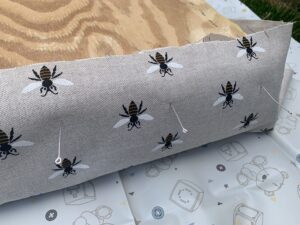
The best order to staple the fabric is top, bottom, side, side. Basically, staple one side and then do the opposite side. Corners are done last and can be pleated or folded in to keep it neat.
I didn’t take a photo of the new dust cover but rest assured it’s there. Doing an excellent job of being inconspicuous. Remember to cut out holes in the fabric to screw the legs back on.
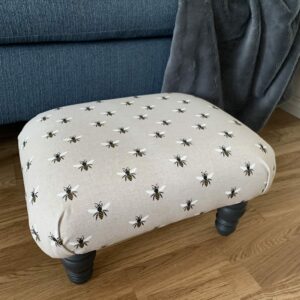
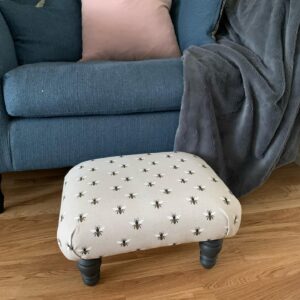
The final piece
And here it is. A simple project but with a charming result.
What do you think? Is this a project you would take on? Let me know in the comments below.
Fancy having a go at upcycling? Here are the 5 must-haves you need to get started.
Pin it for later – reupholster an old footstool

Hi there! I'm Rachel Bowyer, a passionate DIY enthusiast with a knack for transforming the old into something beautifully new. With a deep love for furniture painting, refinishing, and the art of crafting. I've been documenting my DIY projects and restoration journey since 2018. I specialise in techniques like decoupage, stencilling, and decor transfers. Join me as we explore the world of creativity and home improvement, one project at a time.
Such an adorable makeover! Thanks for sharing! You make it look like something I could do!!
Thank you, that’s a lovely compliment!
Wow! What a transformation!!
Thank you!
I love this idea. Thank you so much for linking up with Fabulous Friday link party. We sure appreciate you. Hugs and blessings to you.
Thanks very much, Renae!
Hi Rachel – Thanks so much for joining Fabulous Friday. My husband and I have deconstructed several large upholstered chairs. They were filed with heavy duty staples. I have never heard of a heavy duty staple remover. I’m going to have to get one for my next upholstery project.
The footstool is so cute. I love it.
Glad you found a new useful tool, it helps so much!
I love the bee pattern. So cute!
Thanks, me too!
Absolutely lovely and explained so well. Would bee happy to have this in my home.
Thanks Barb, that’s very kind!